How to Tie a Christmas Bow (The 60-Second Method I Use Everywhere)
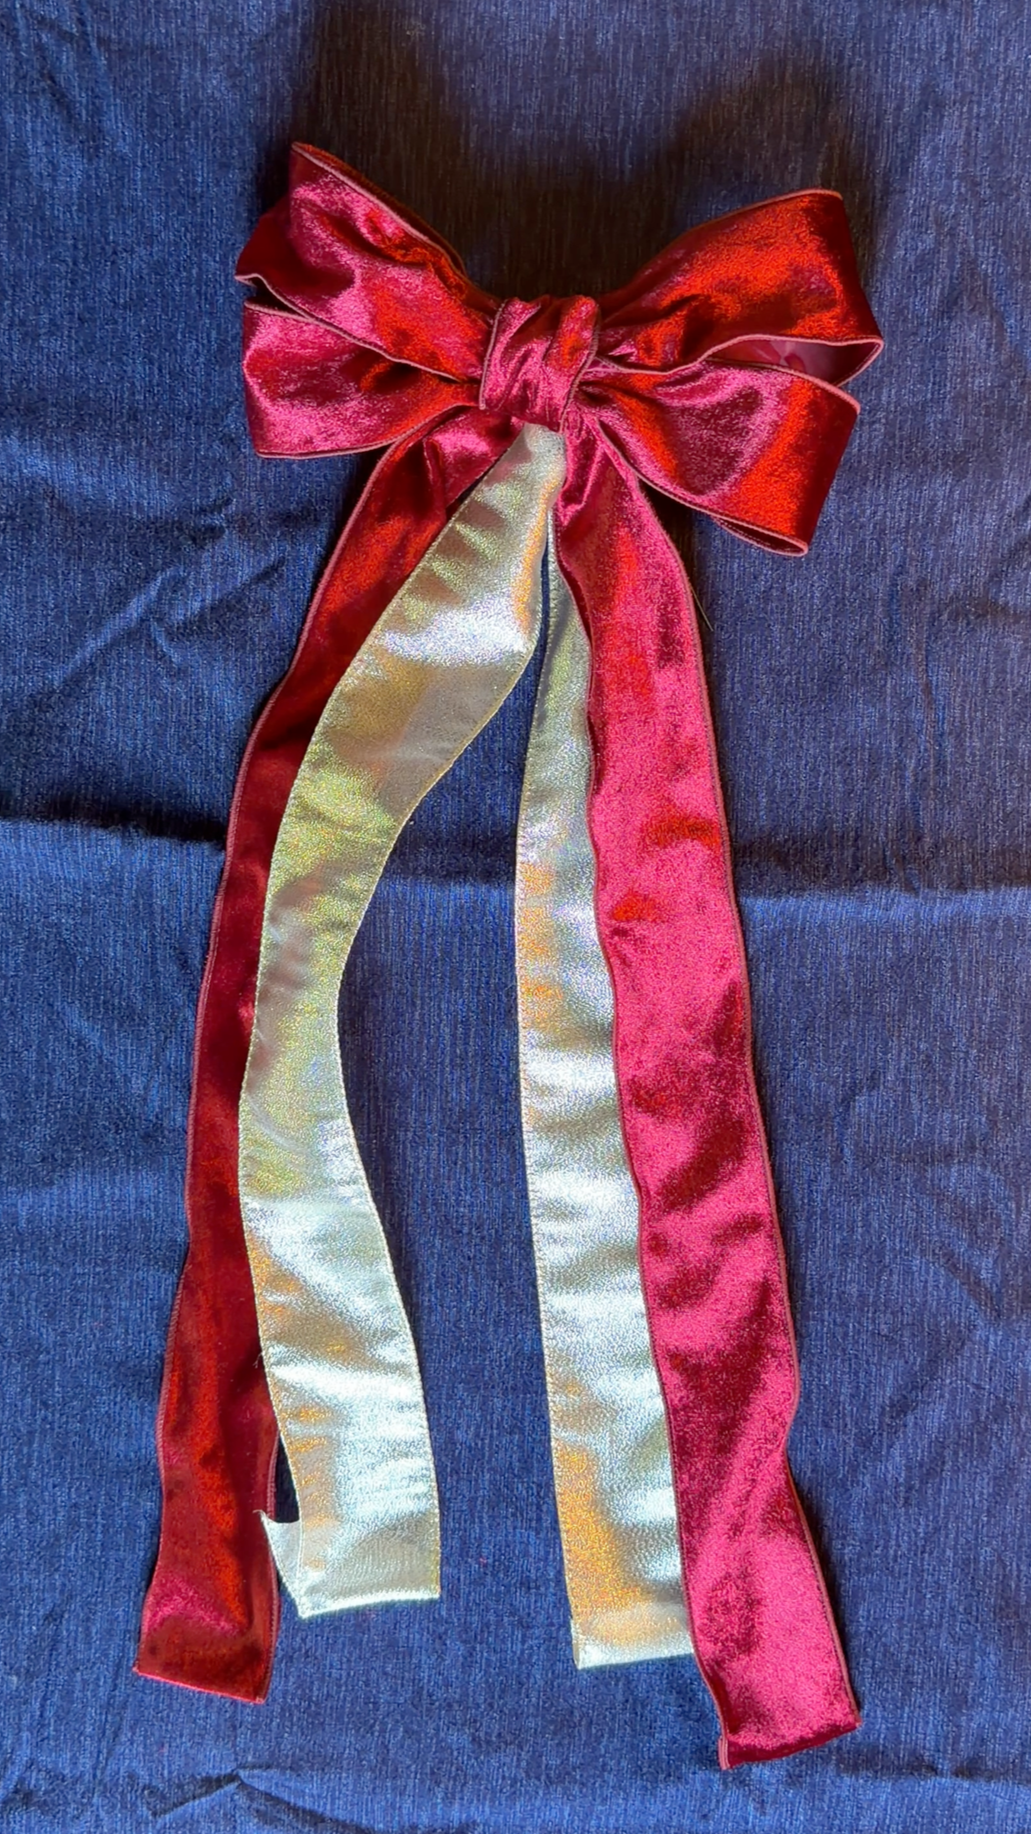
A good Christmas bow does a lot of heavy lifting. Here’s a step-by-step guide to tie a bow with ribbon that works every time. Once you get the rhythm, it takes about a minute, and the best part is there’s no actual tying involved. Floral wire does the hard work.
How to Tie a Christmas Bow, Step by Step
1. Measure the first tail
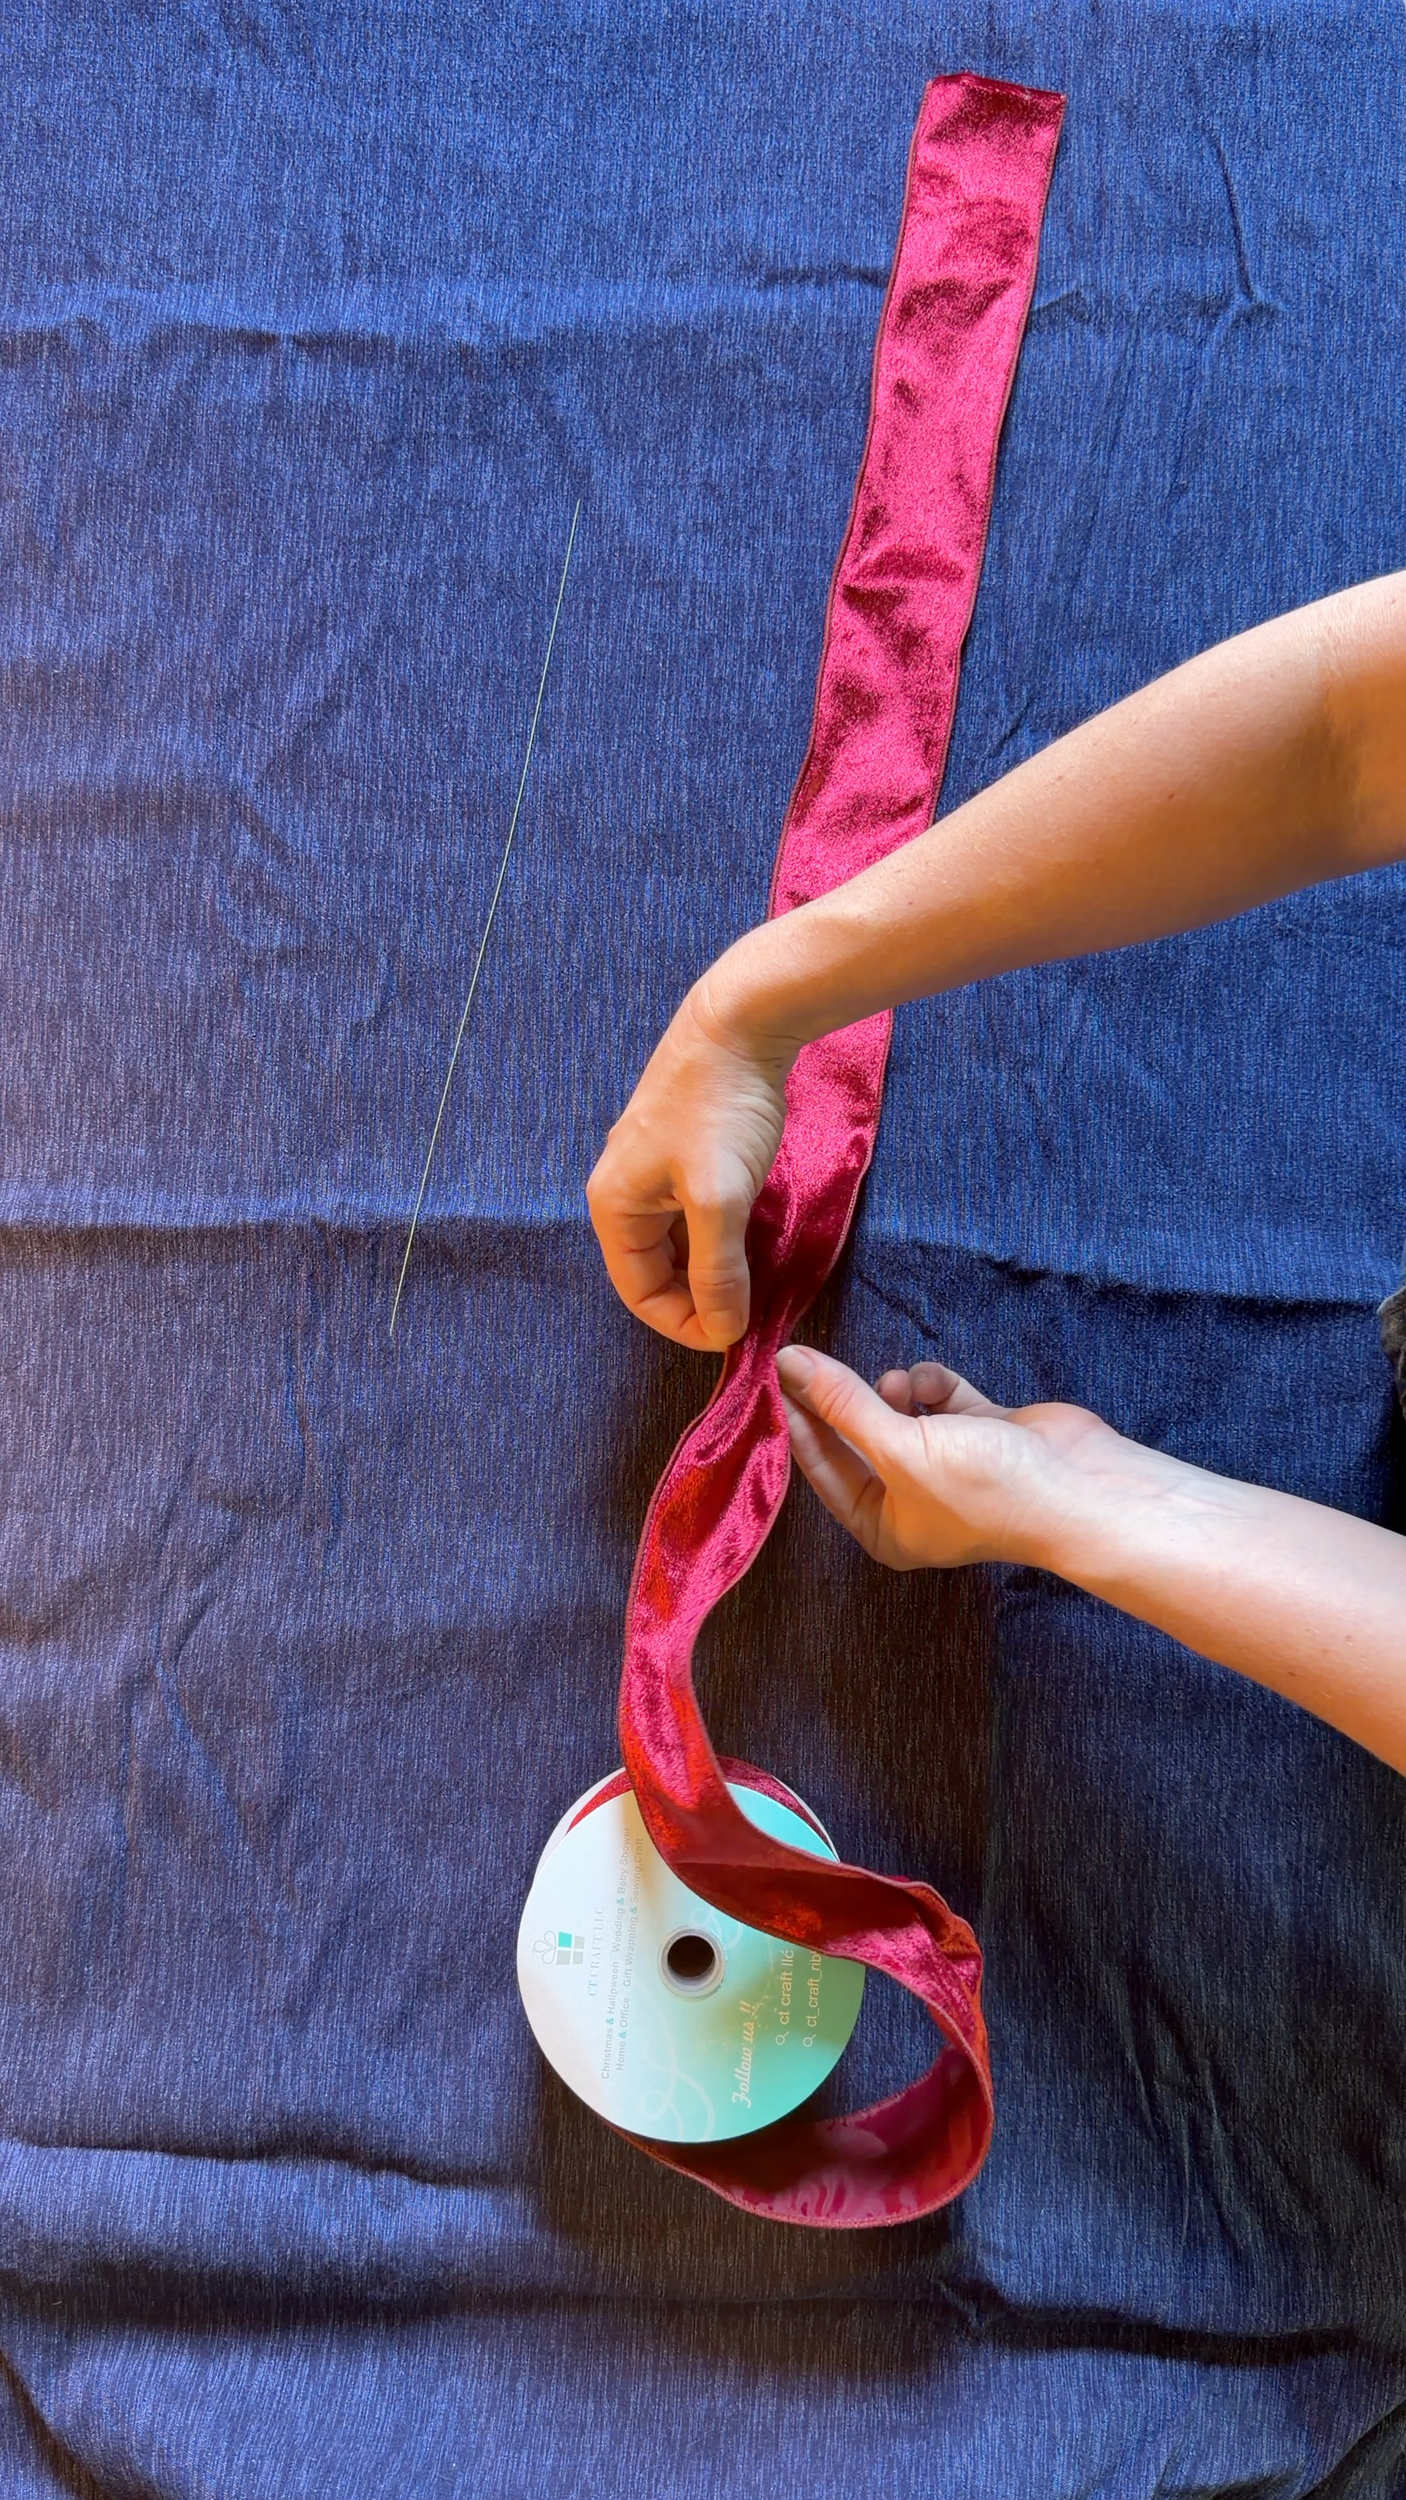
Keep the ribbon on the spool. Pull out as much length as you want for your first hanging tail. Pinch the ribbon at that point by bringing both sides of the wired ribbon together. This becomes the center of your bow, with the first tail hanging down.
2. Make the first loop
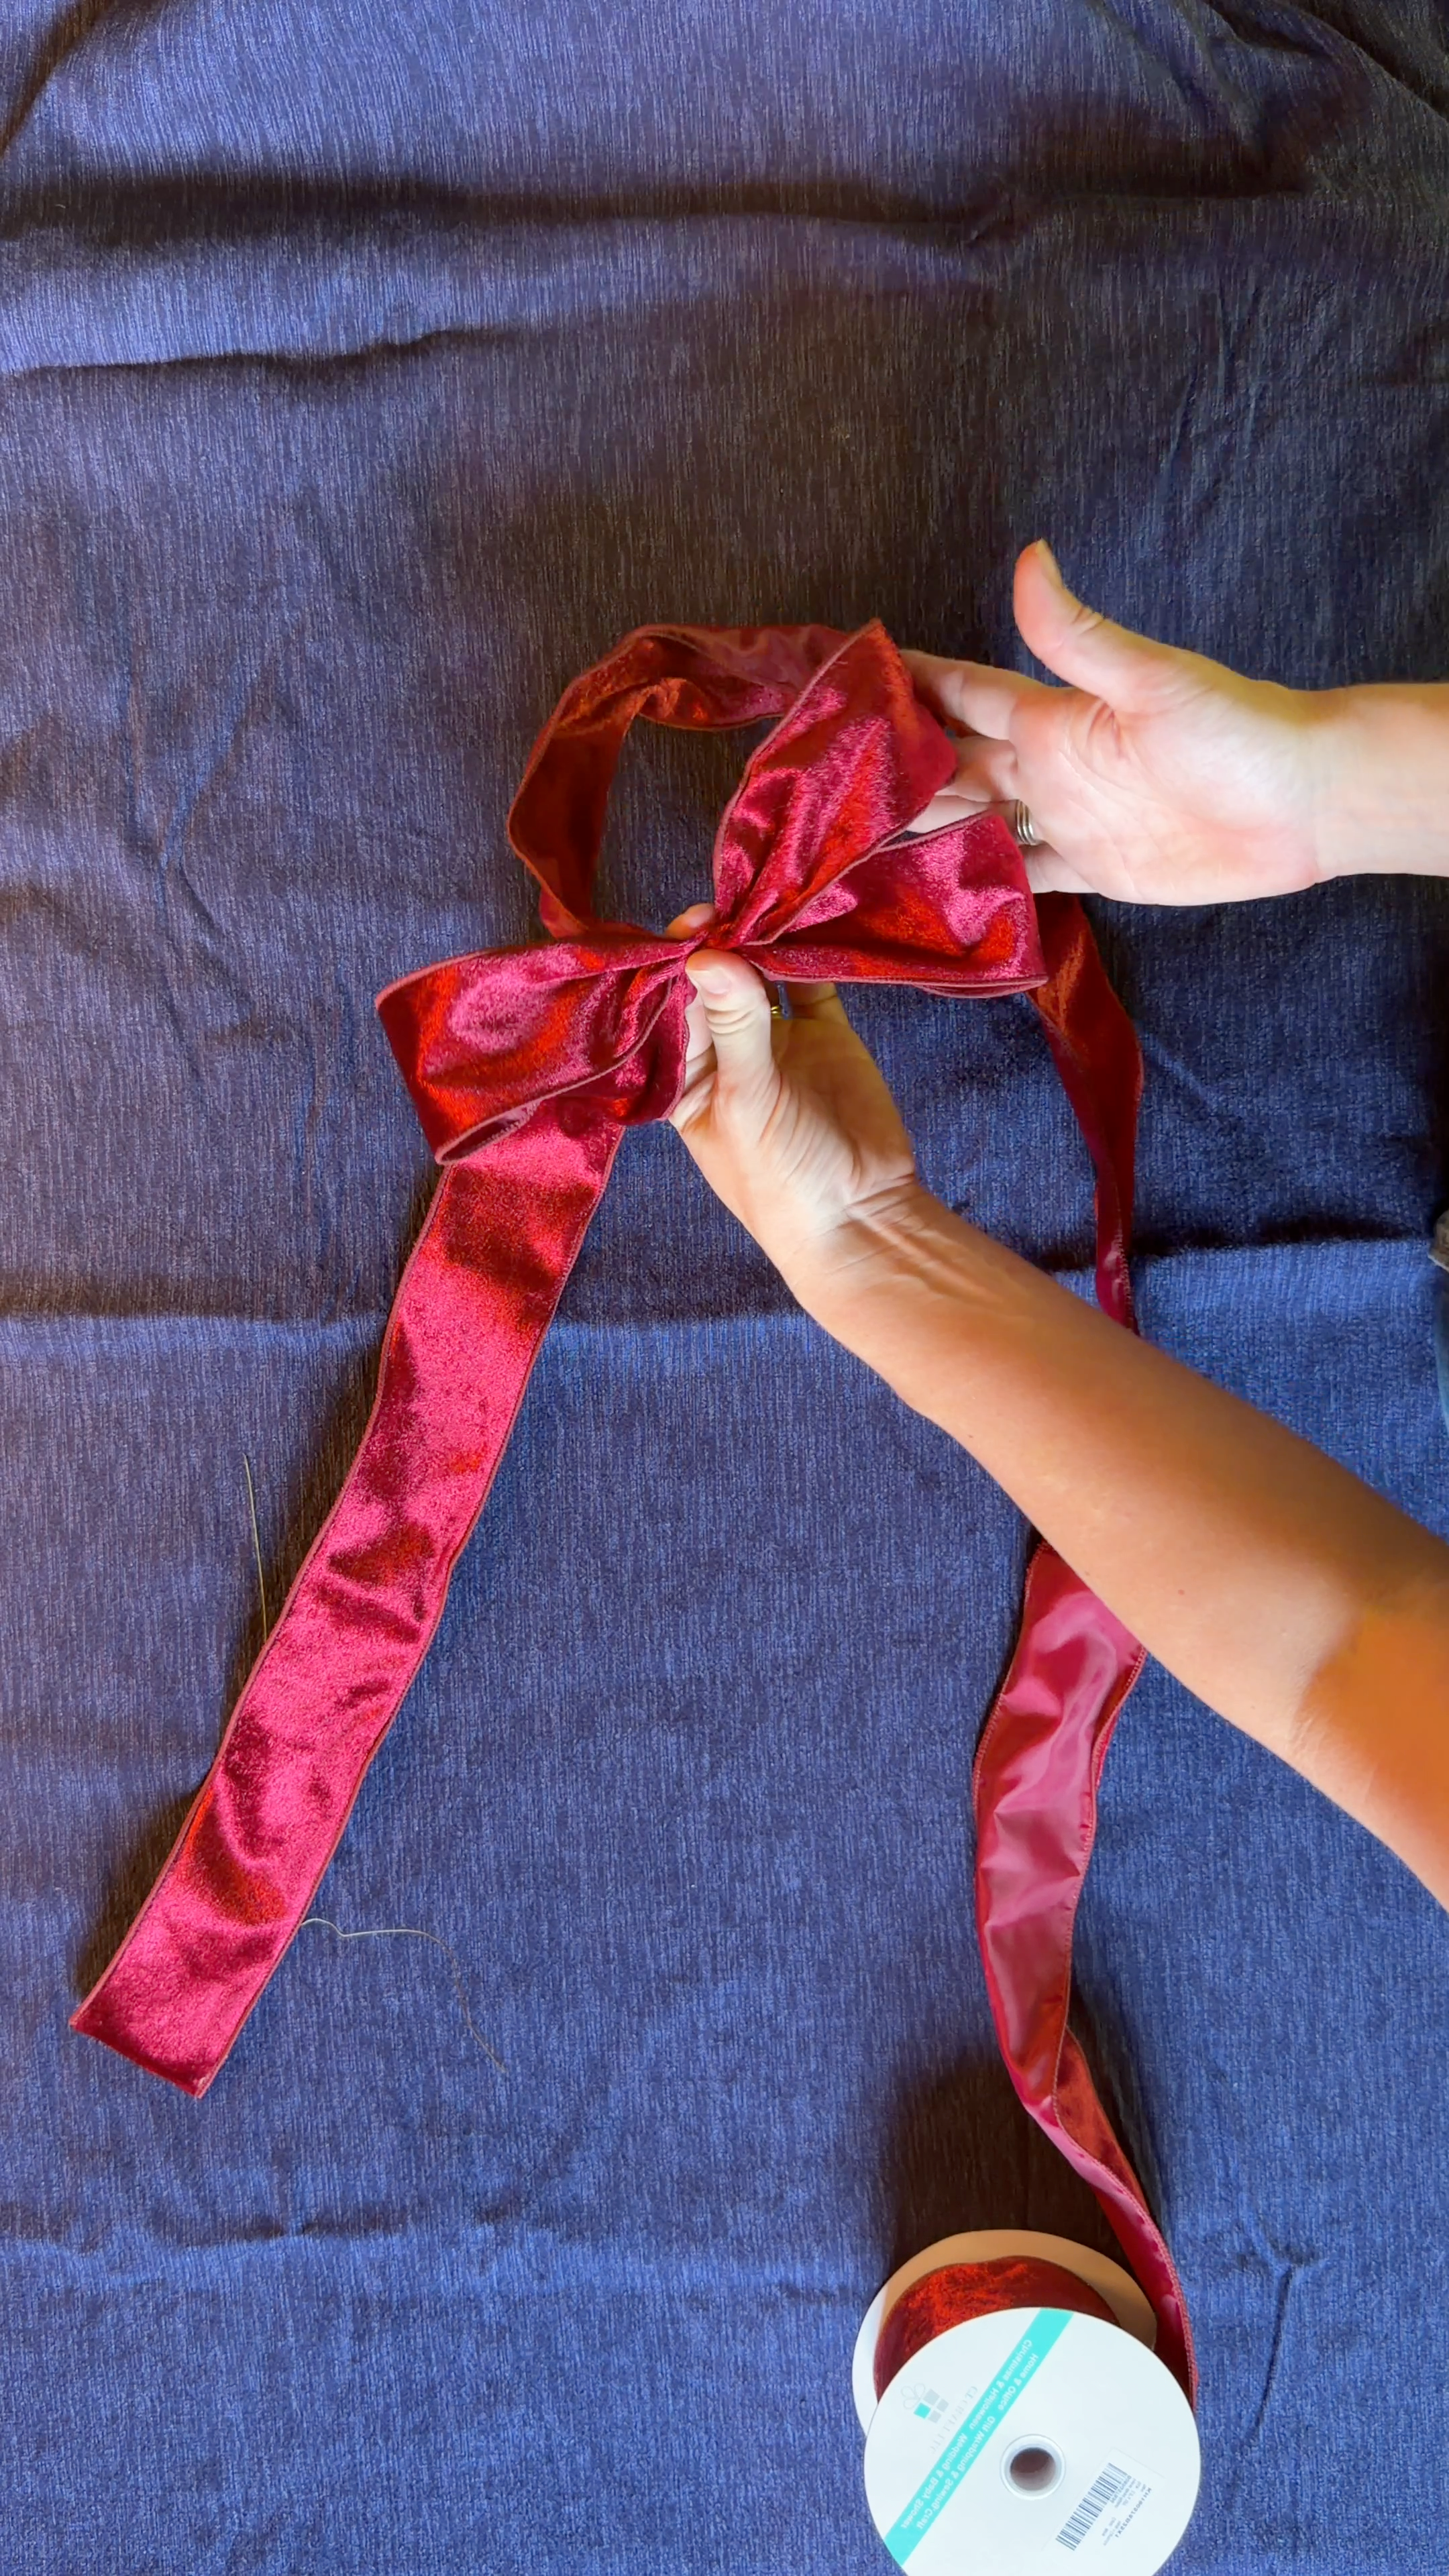
Hold the pinched center between your fingers. Use your other hand to fold the ribbon on the left back behind, bringing it around into a loop. Make the loop as big or small as you like, then pinch it closed just like you did the first time. The two pinches stack right on top of each other. Hold both sides between your fingers—that’s your first loop.
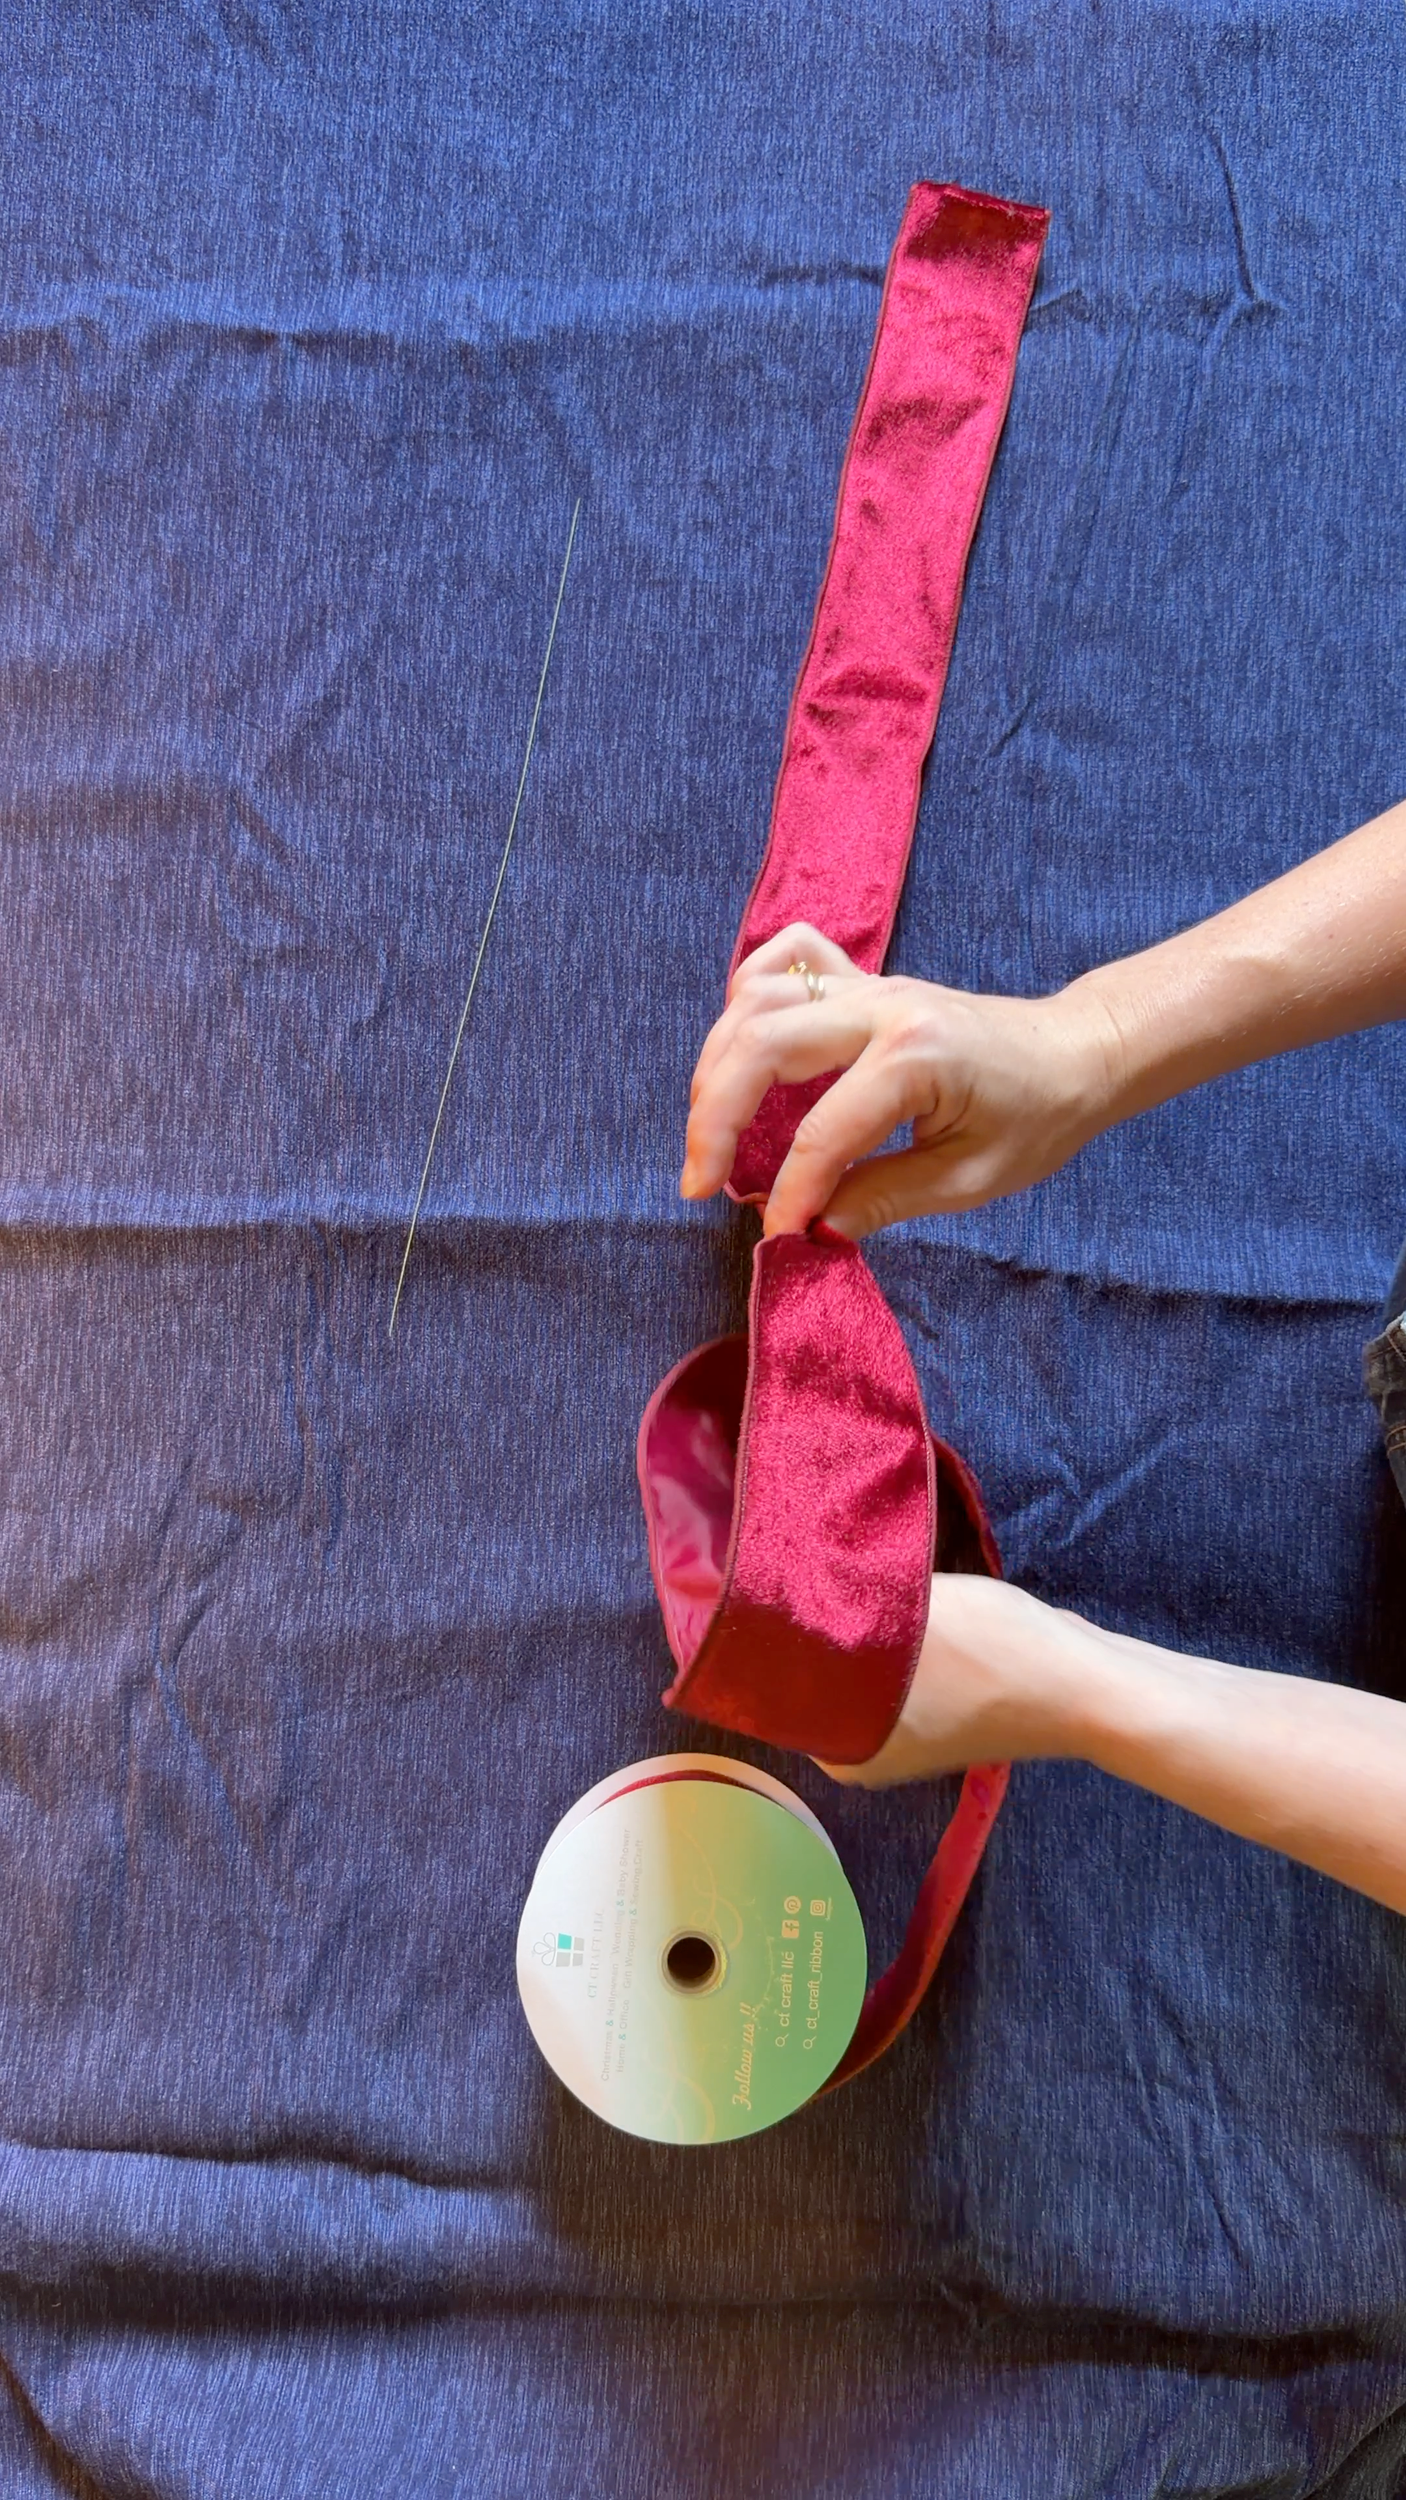
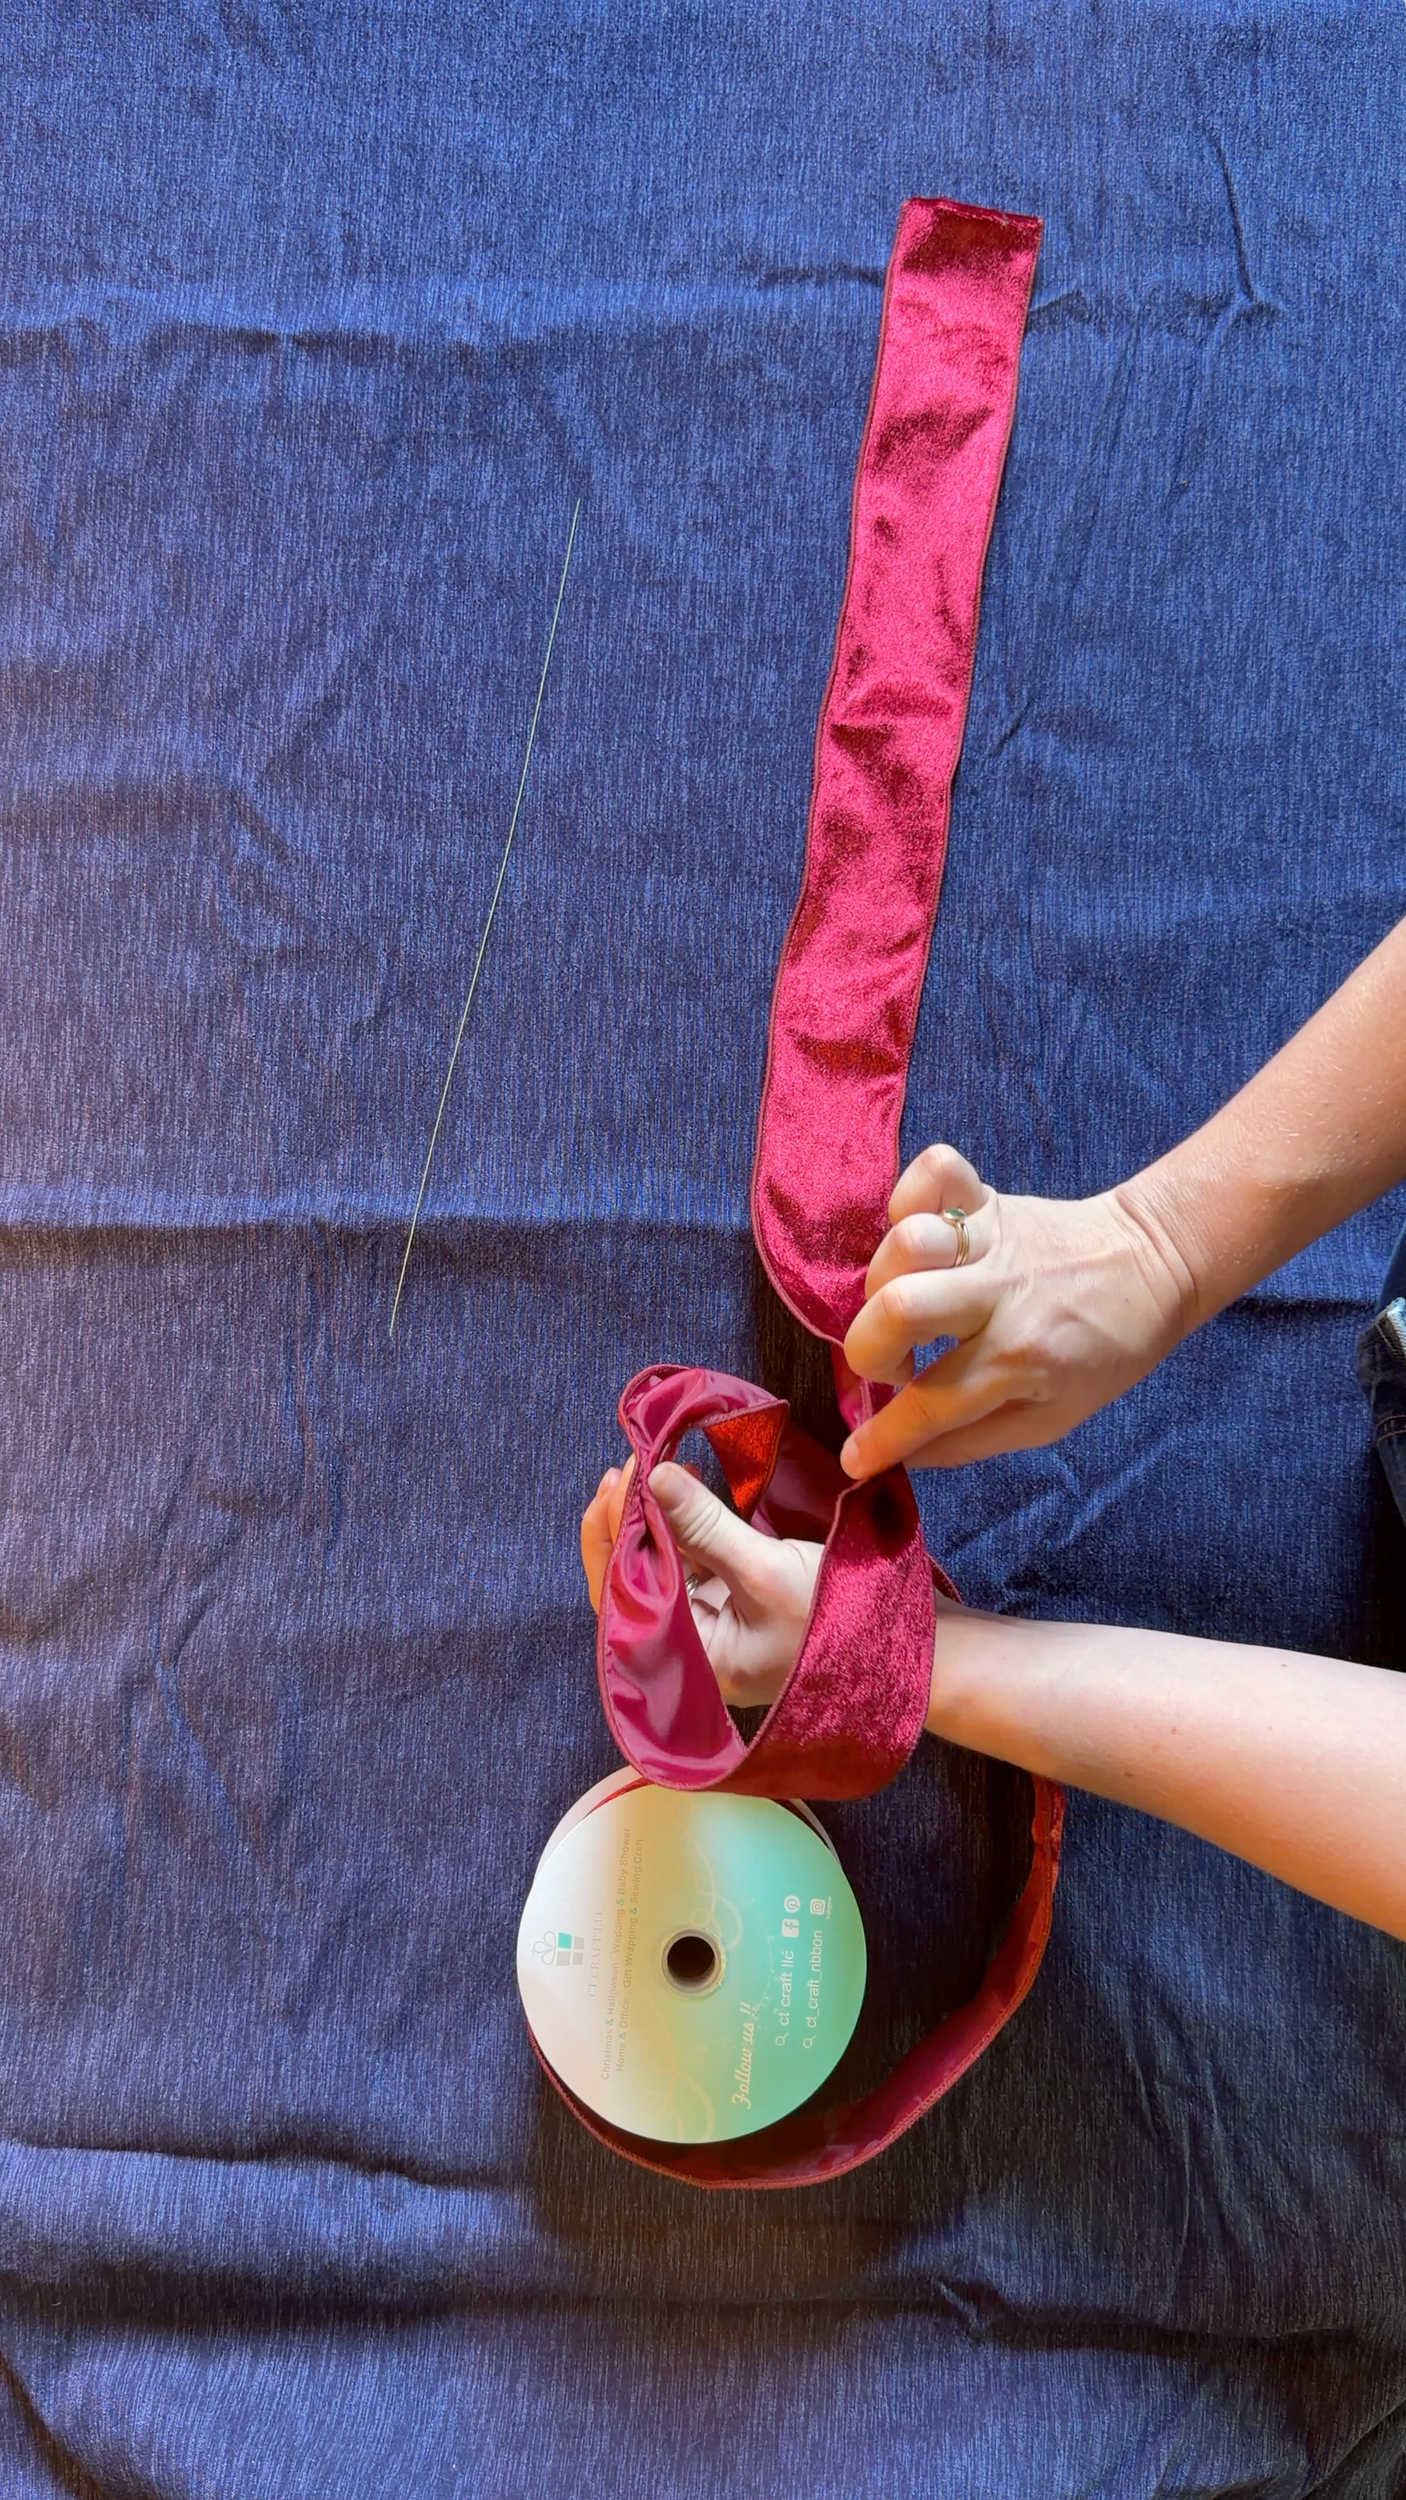
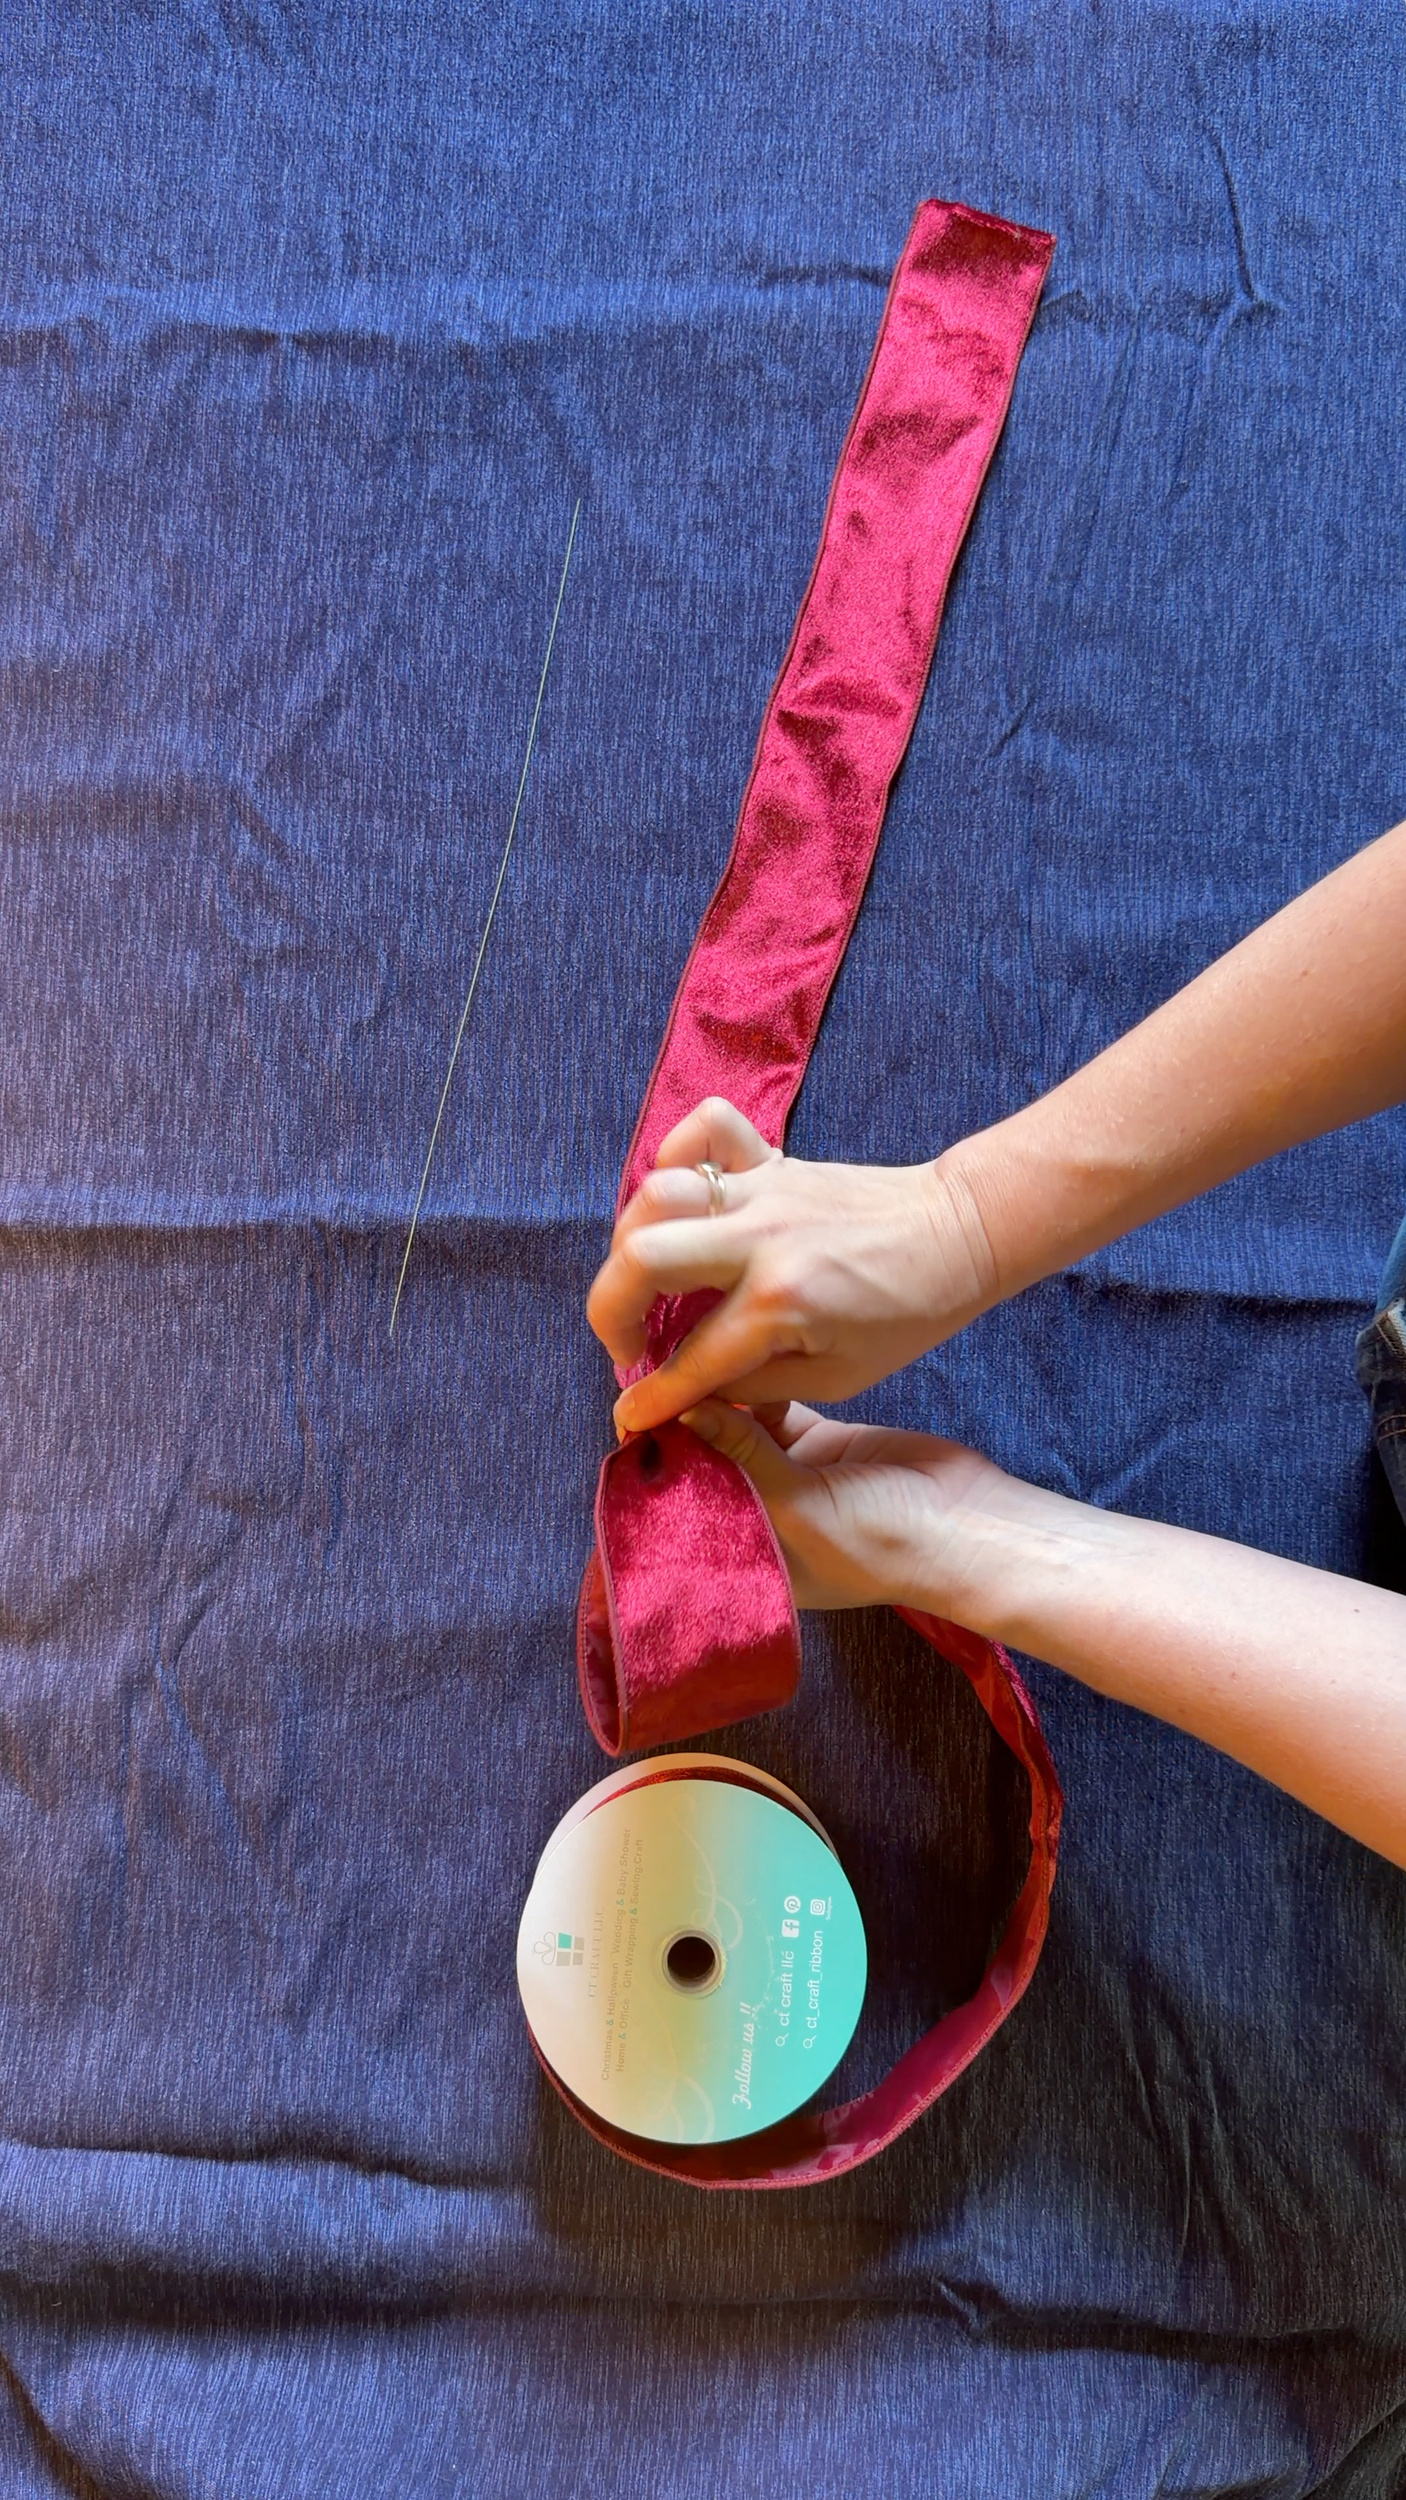
3. Make the second loop
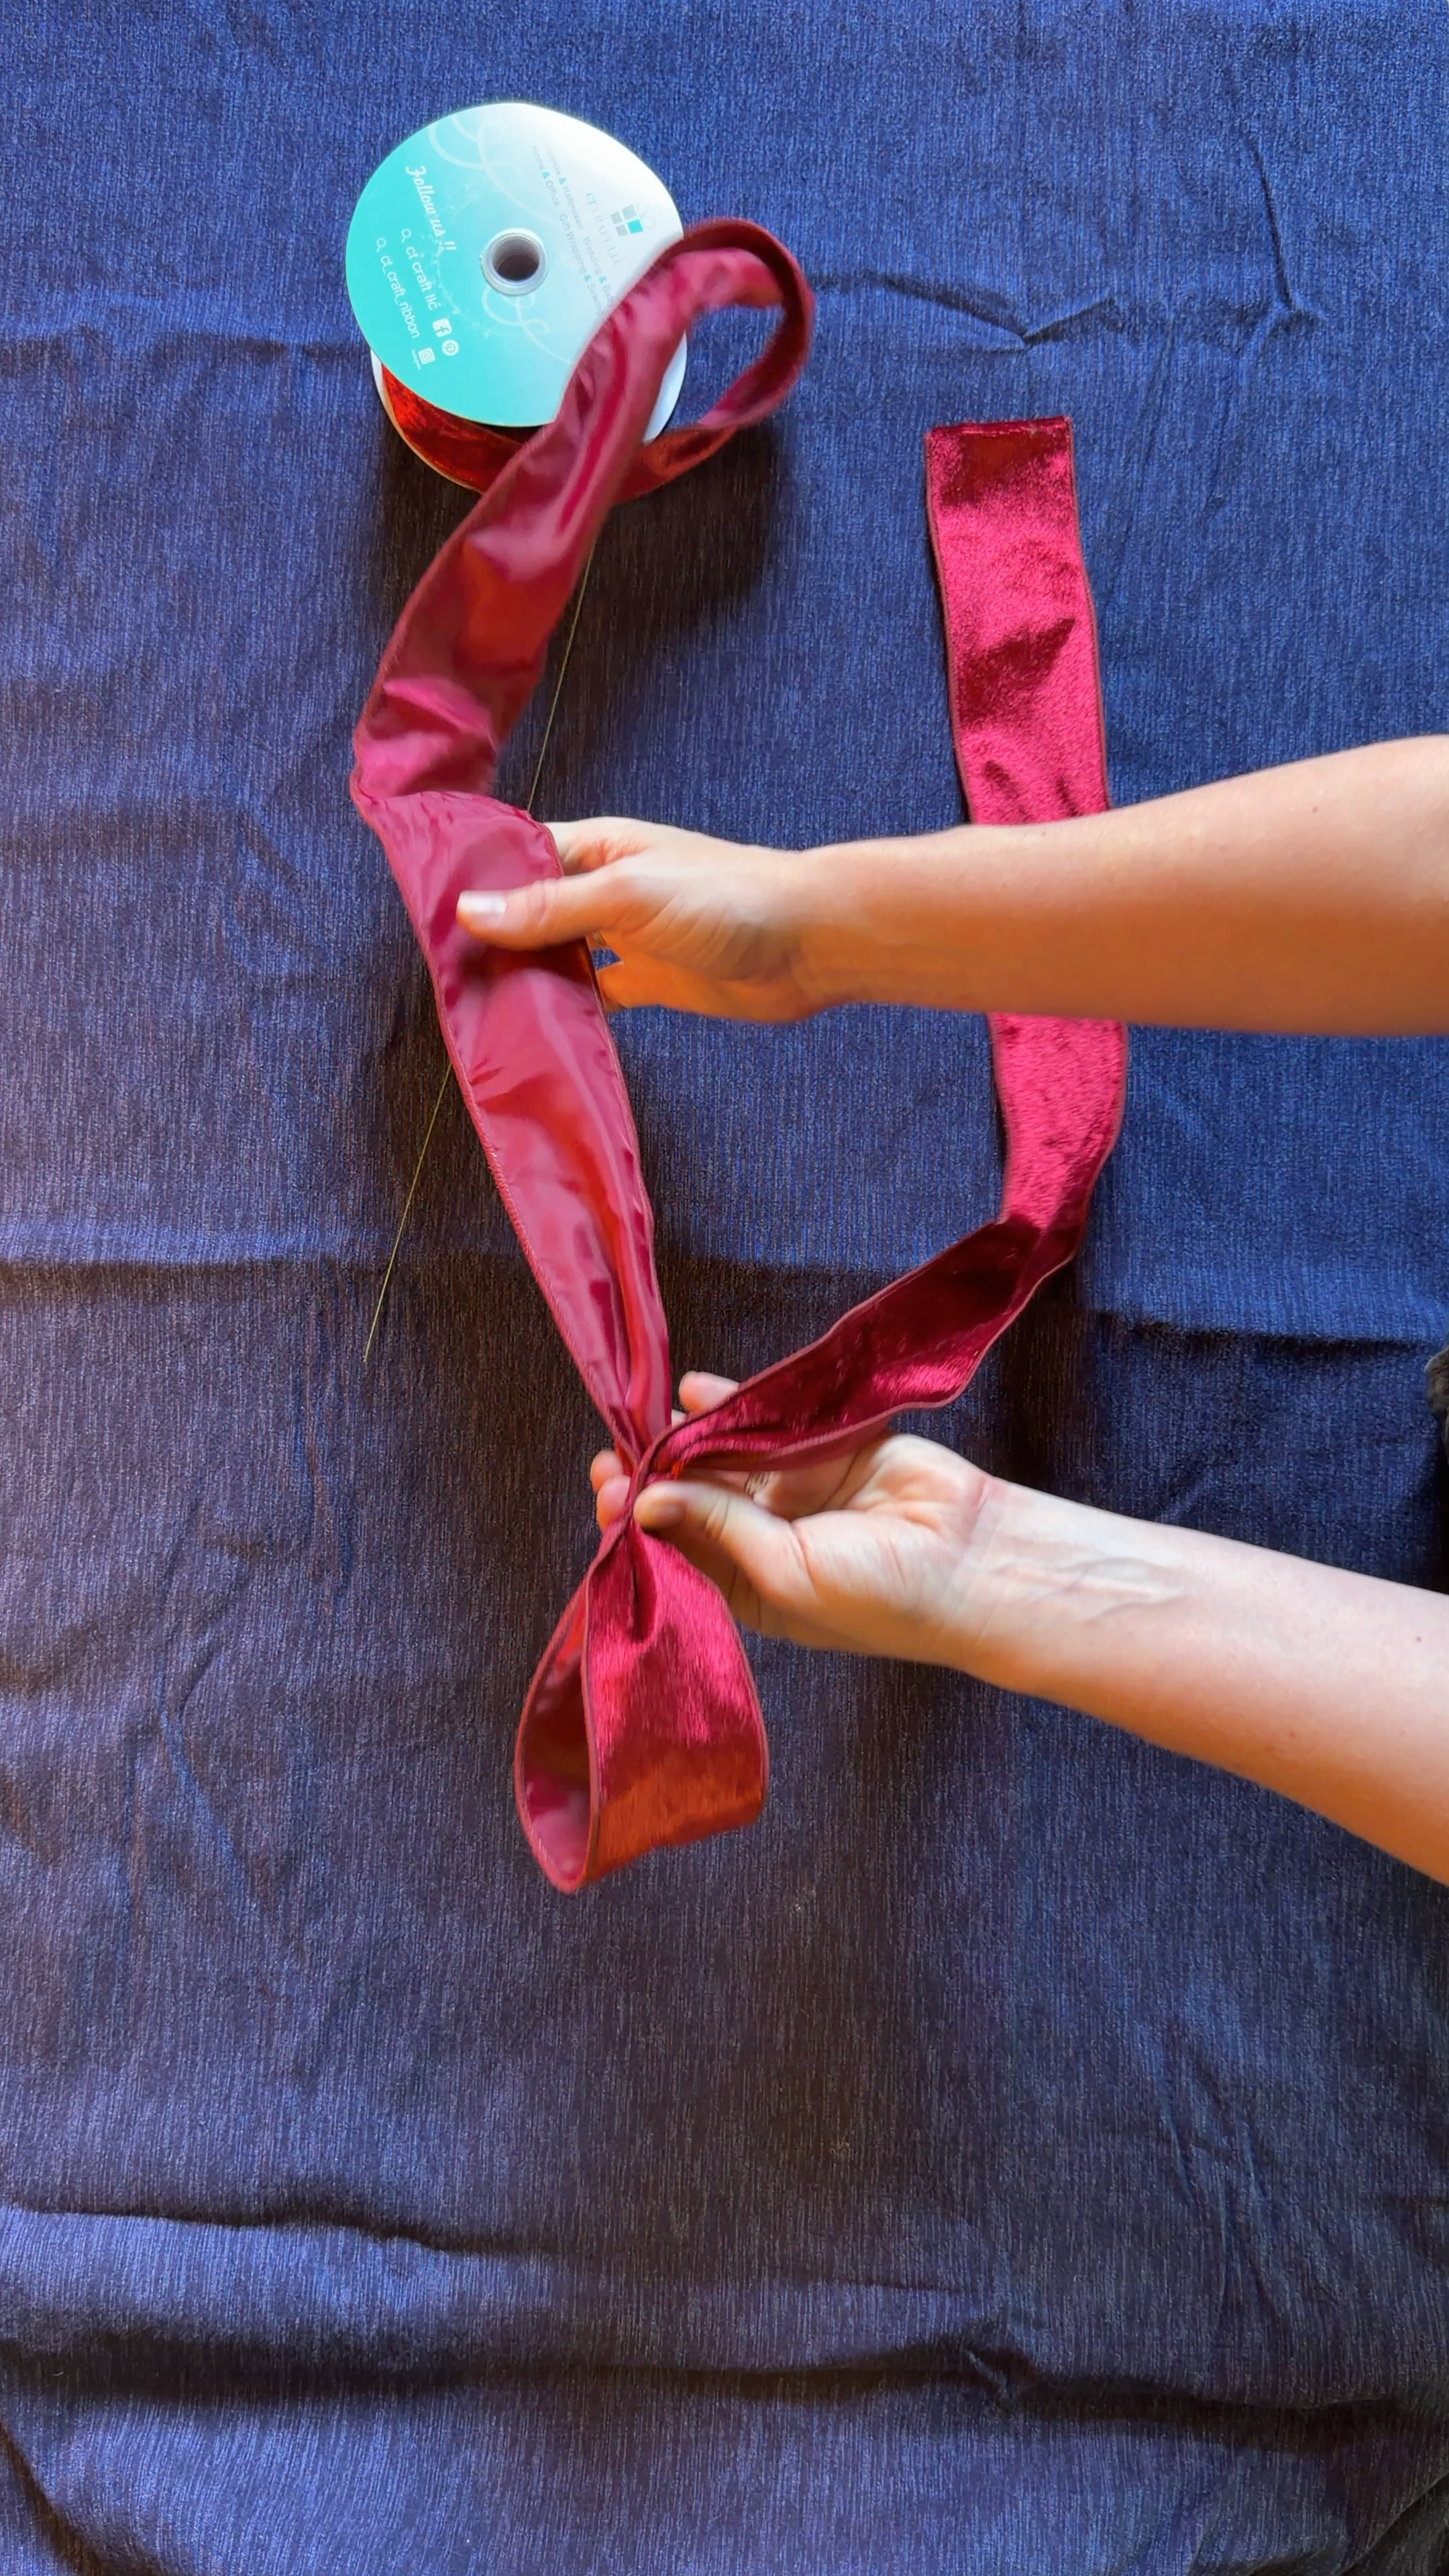
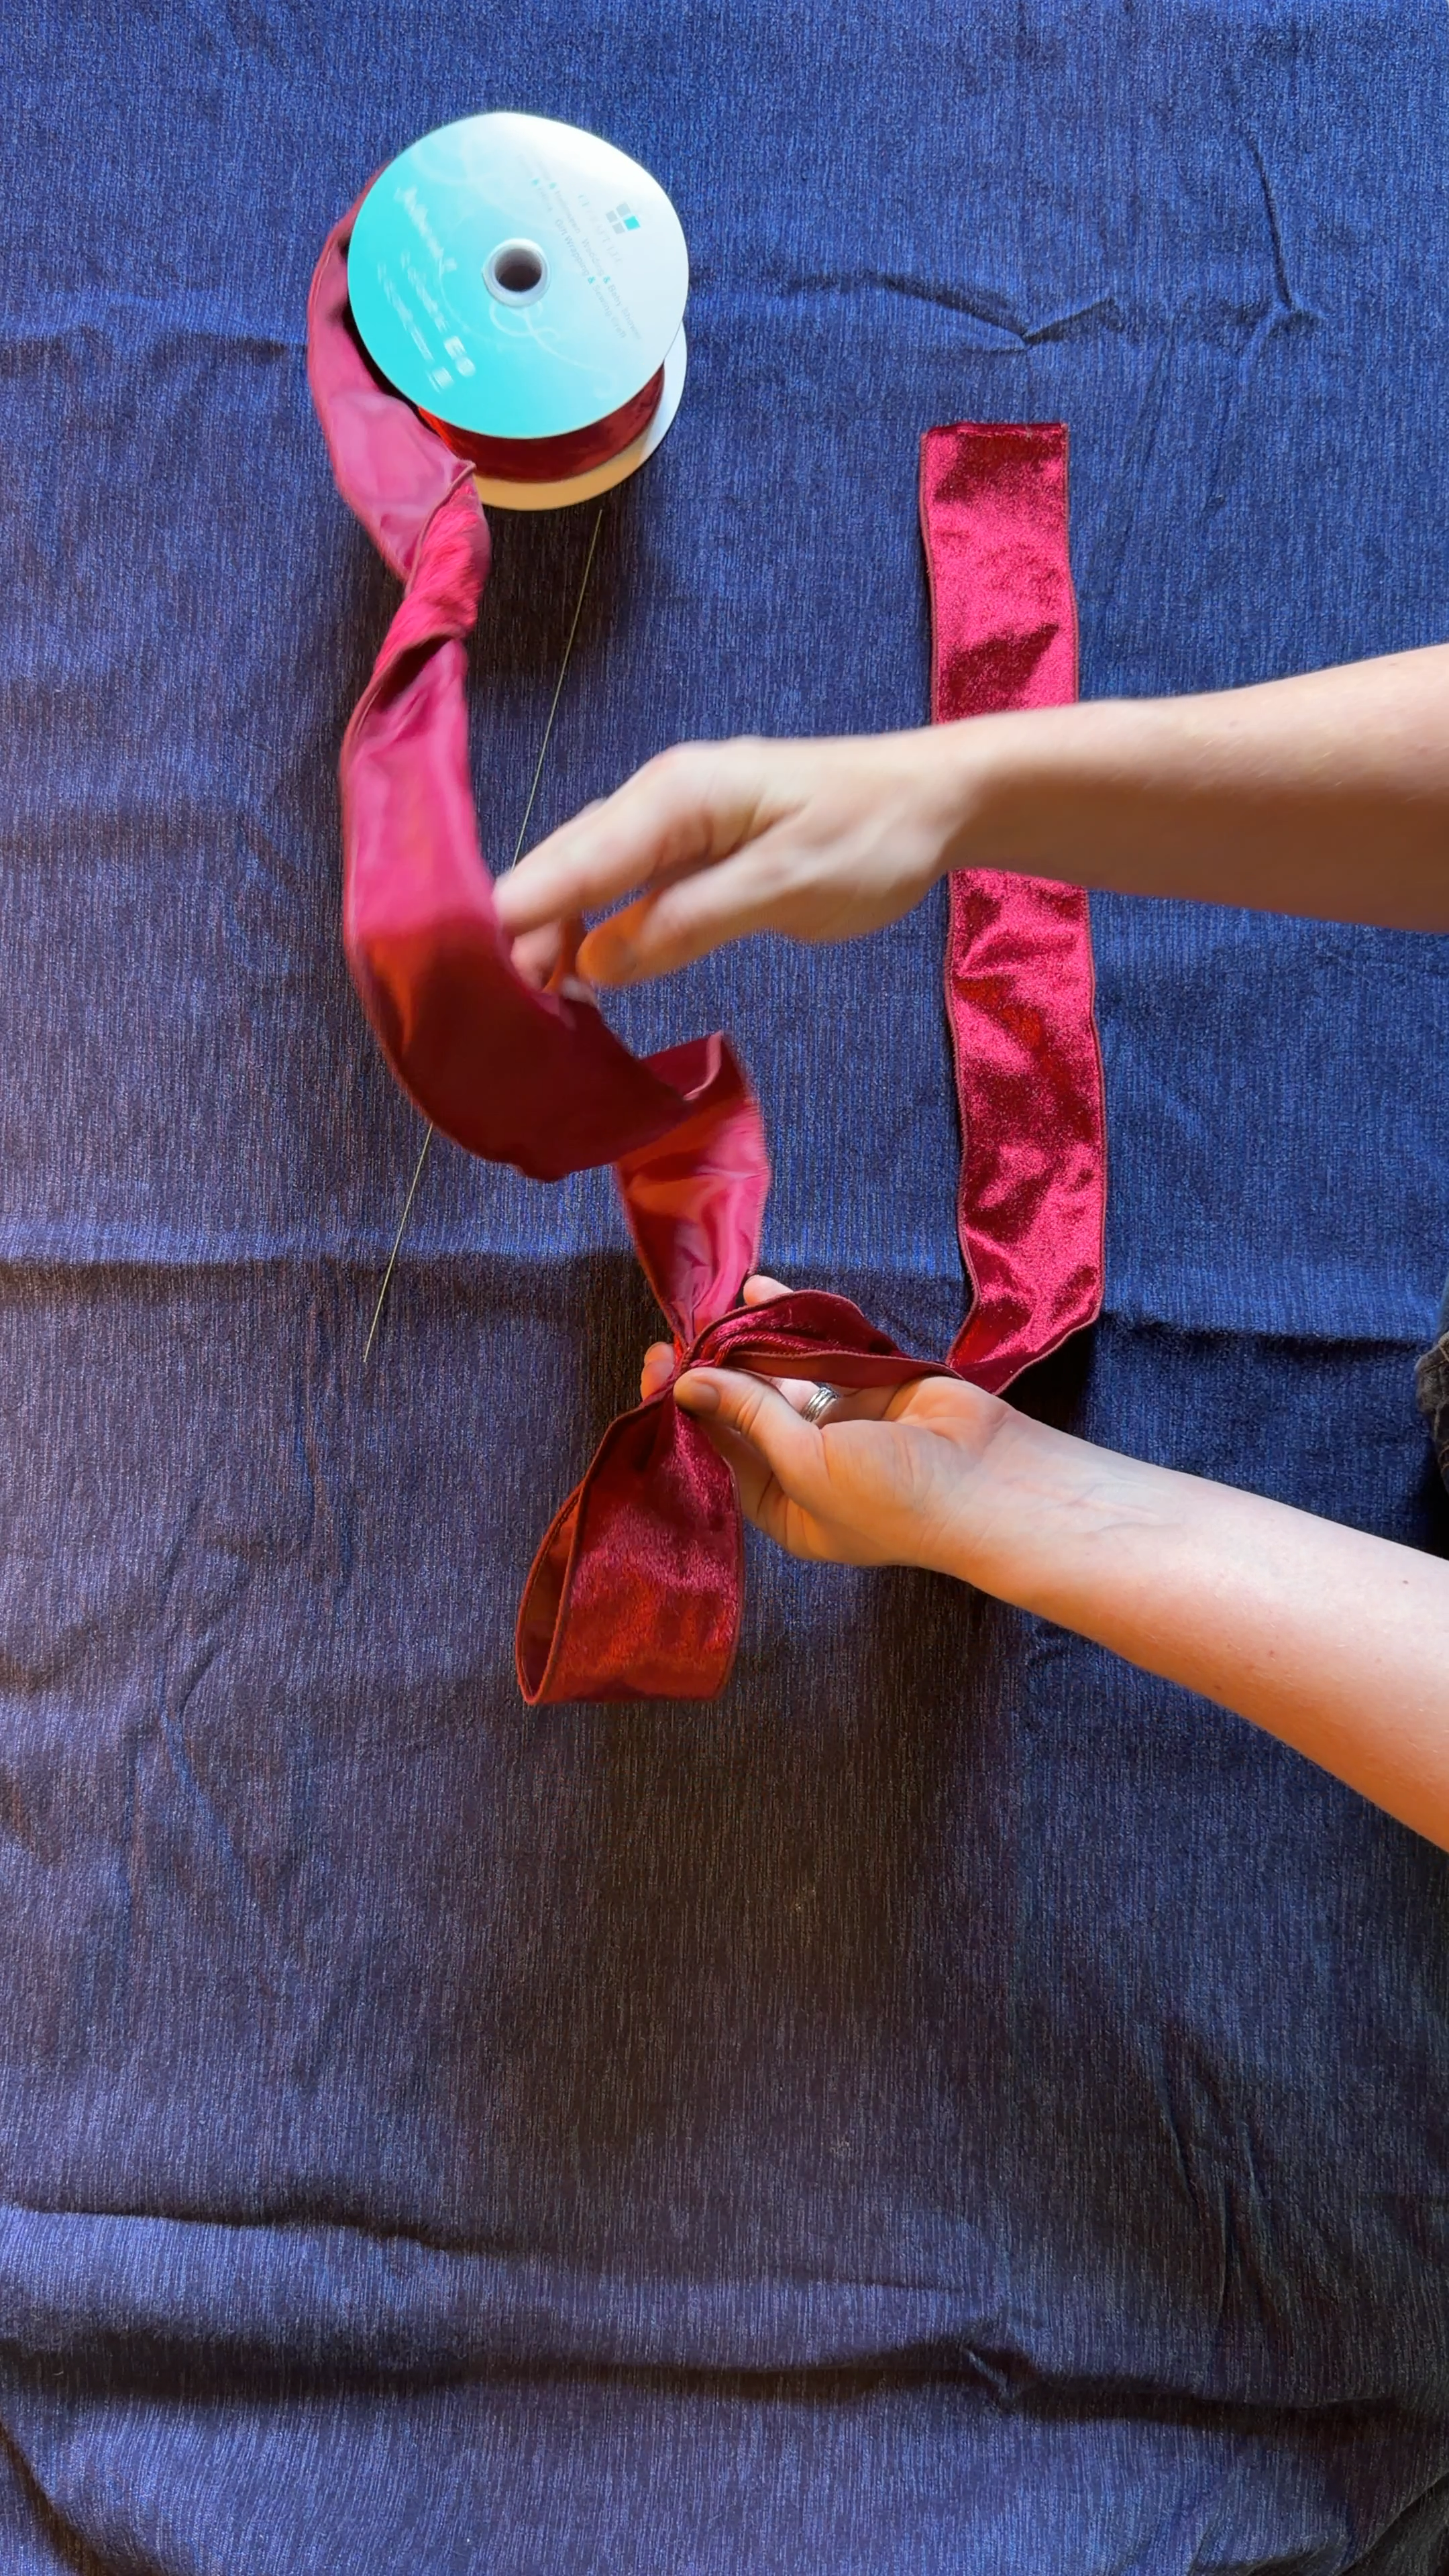
Now do the same thing on the right side. Hold the two pinched ribbons together. Take the ribbon extending from the center pinch and to the right, then loop it up and over, bringing it back to the center. Match the size to your first loop, then pinch it in place on top.
You do not need to twist or flip the ribbon. The back of the ribbon will face you initially. When you fold, the front of the ribbon will now show on the top of the loop, just like it should.
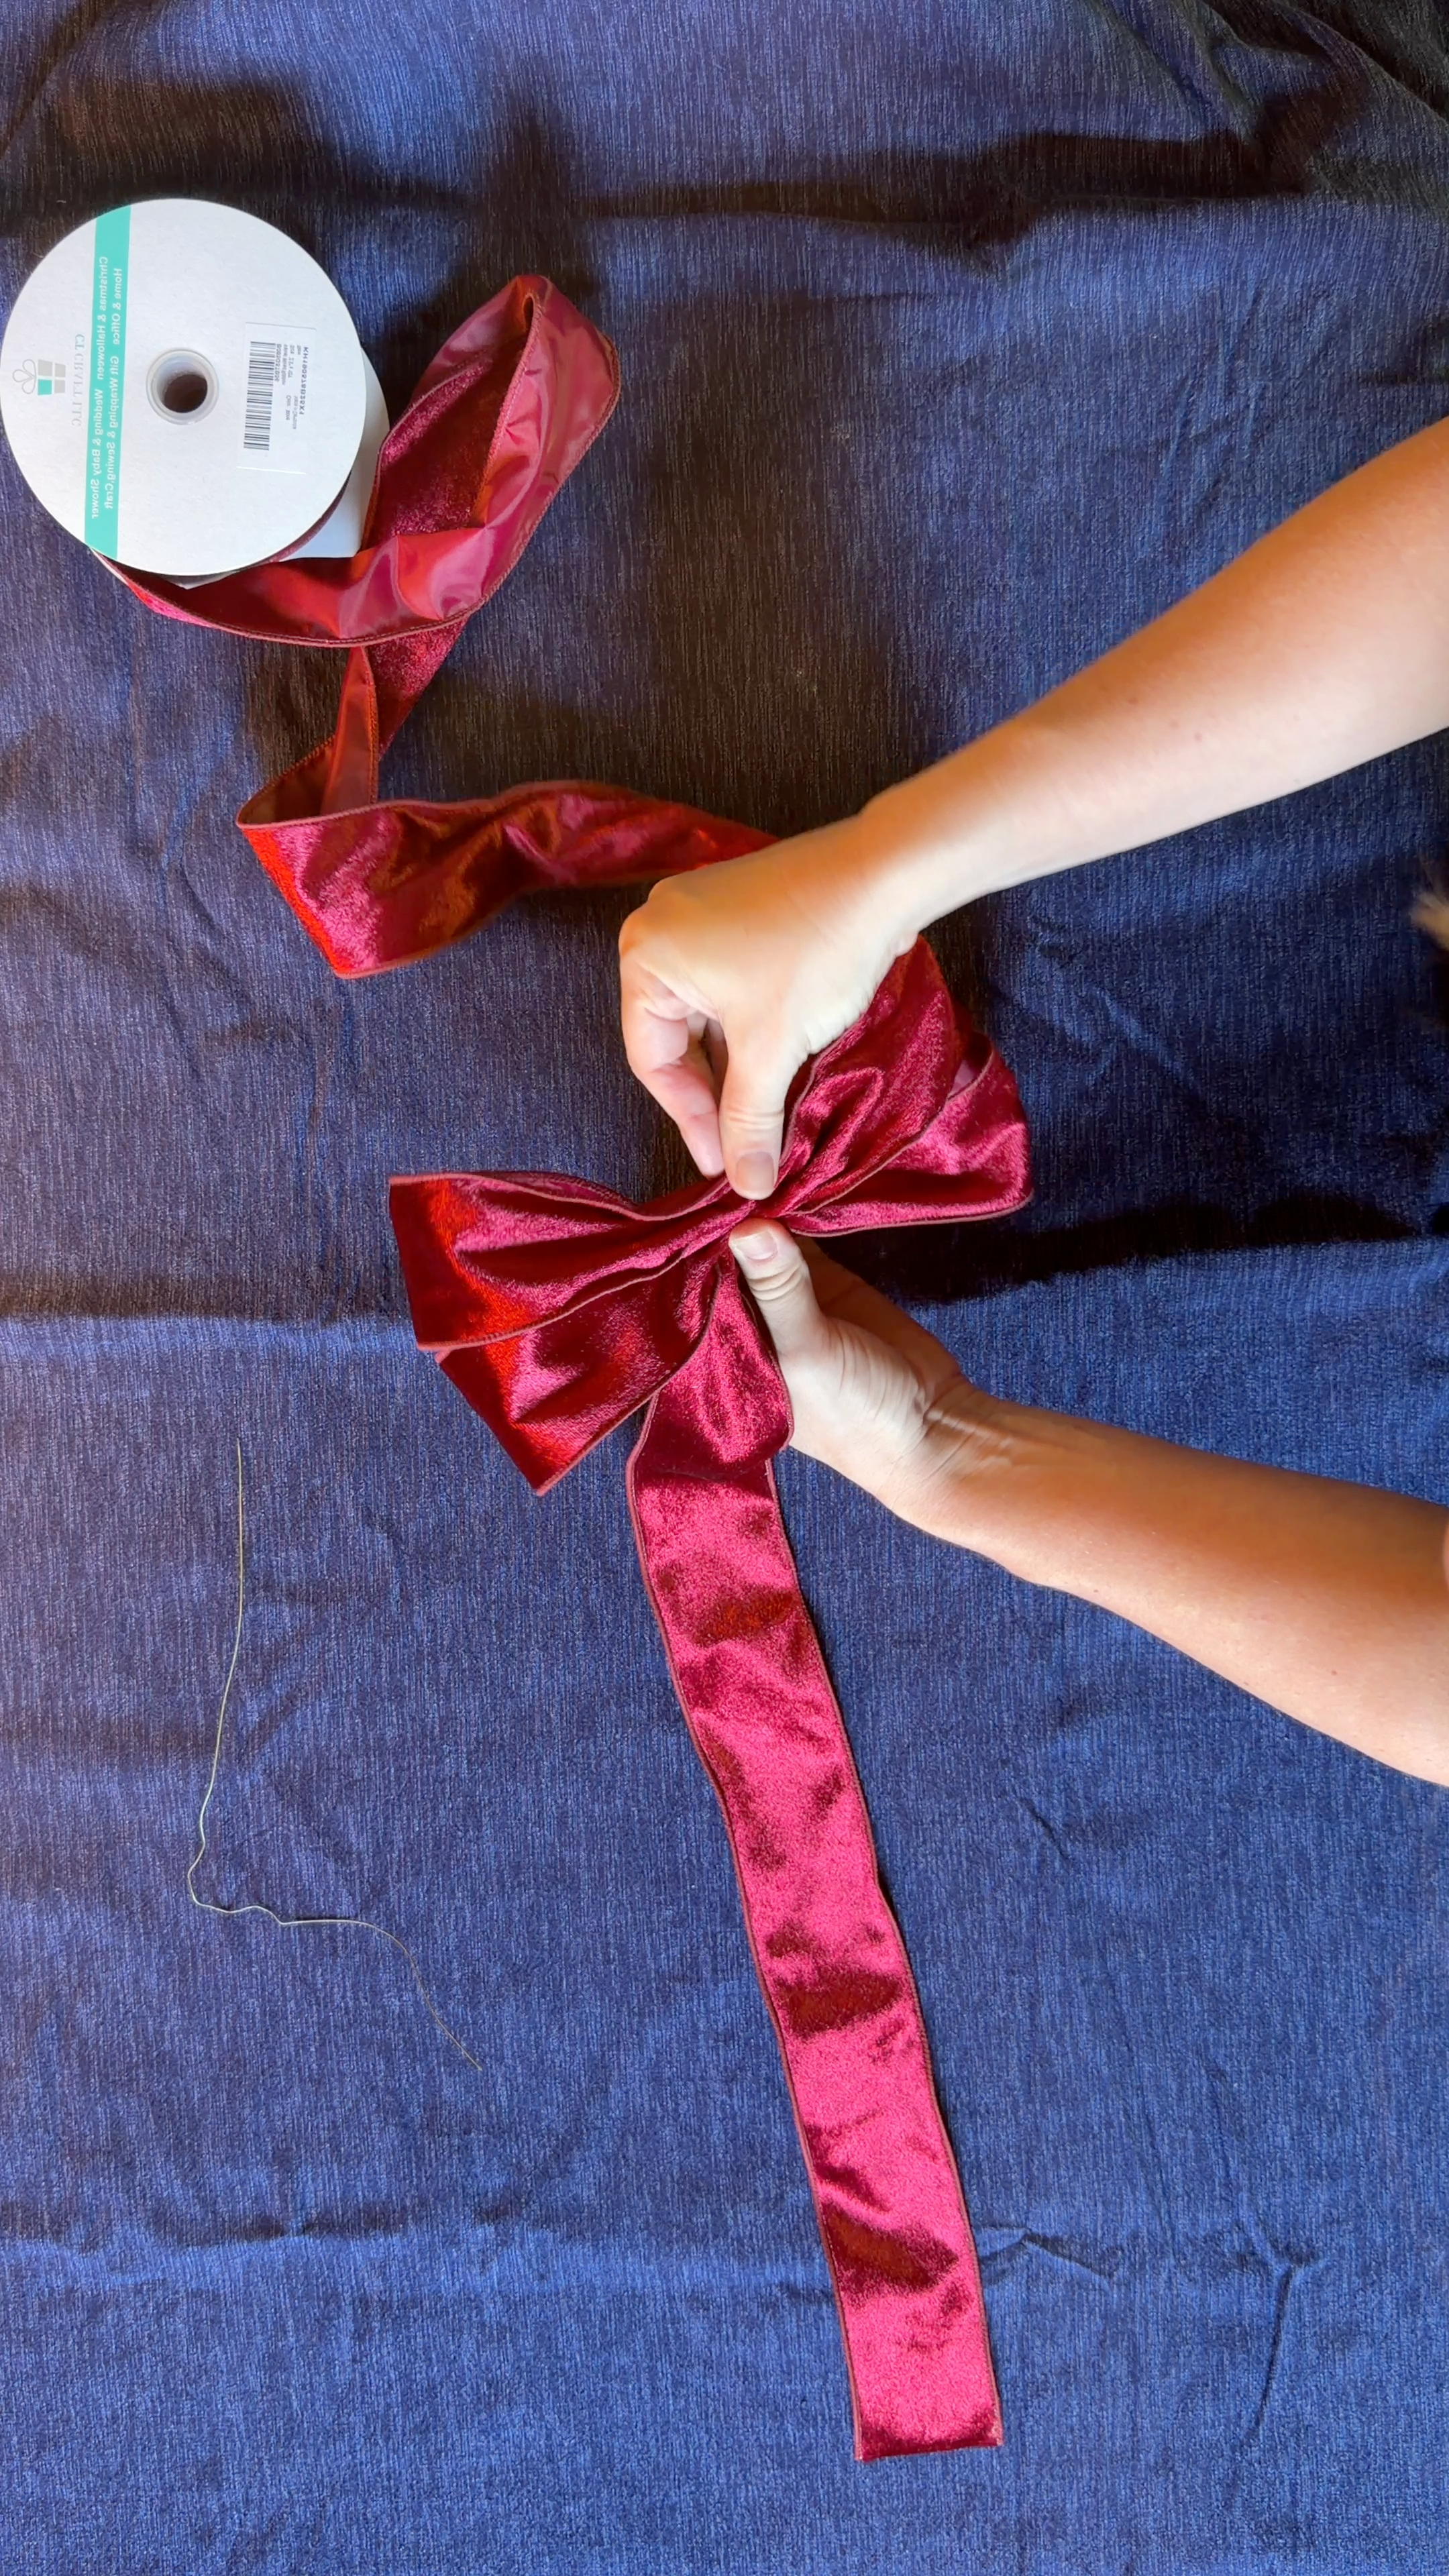
At this point, you’ve got three pinched layers stacked at the center—that's a two-loop bow. If that's the fullness you want, you're ready to wire it. Want it fuller? Jump to the variations below before wiring.
4. Wire the center
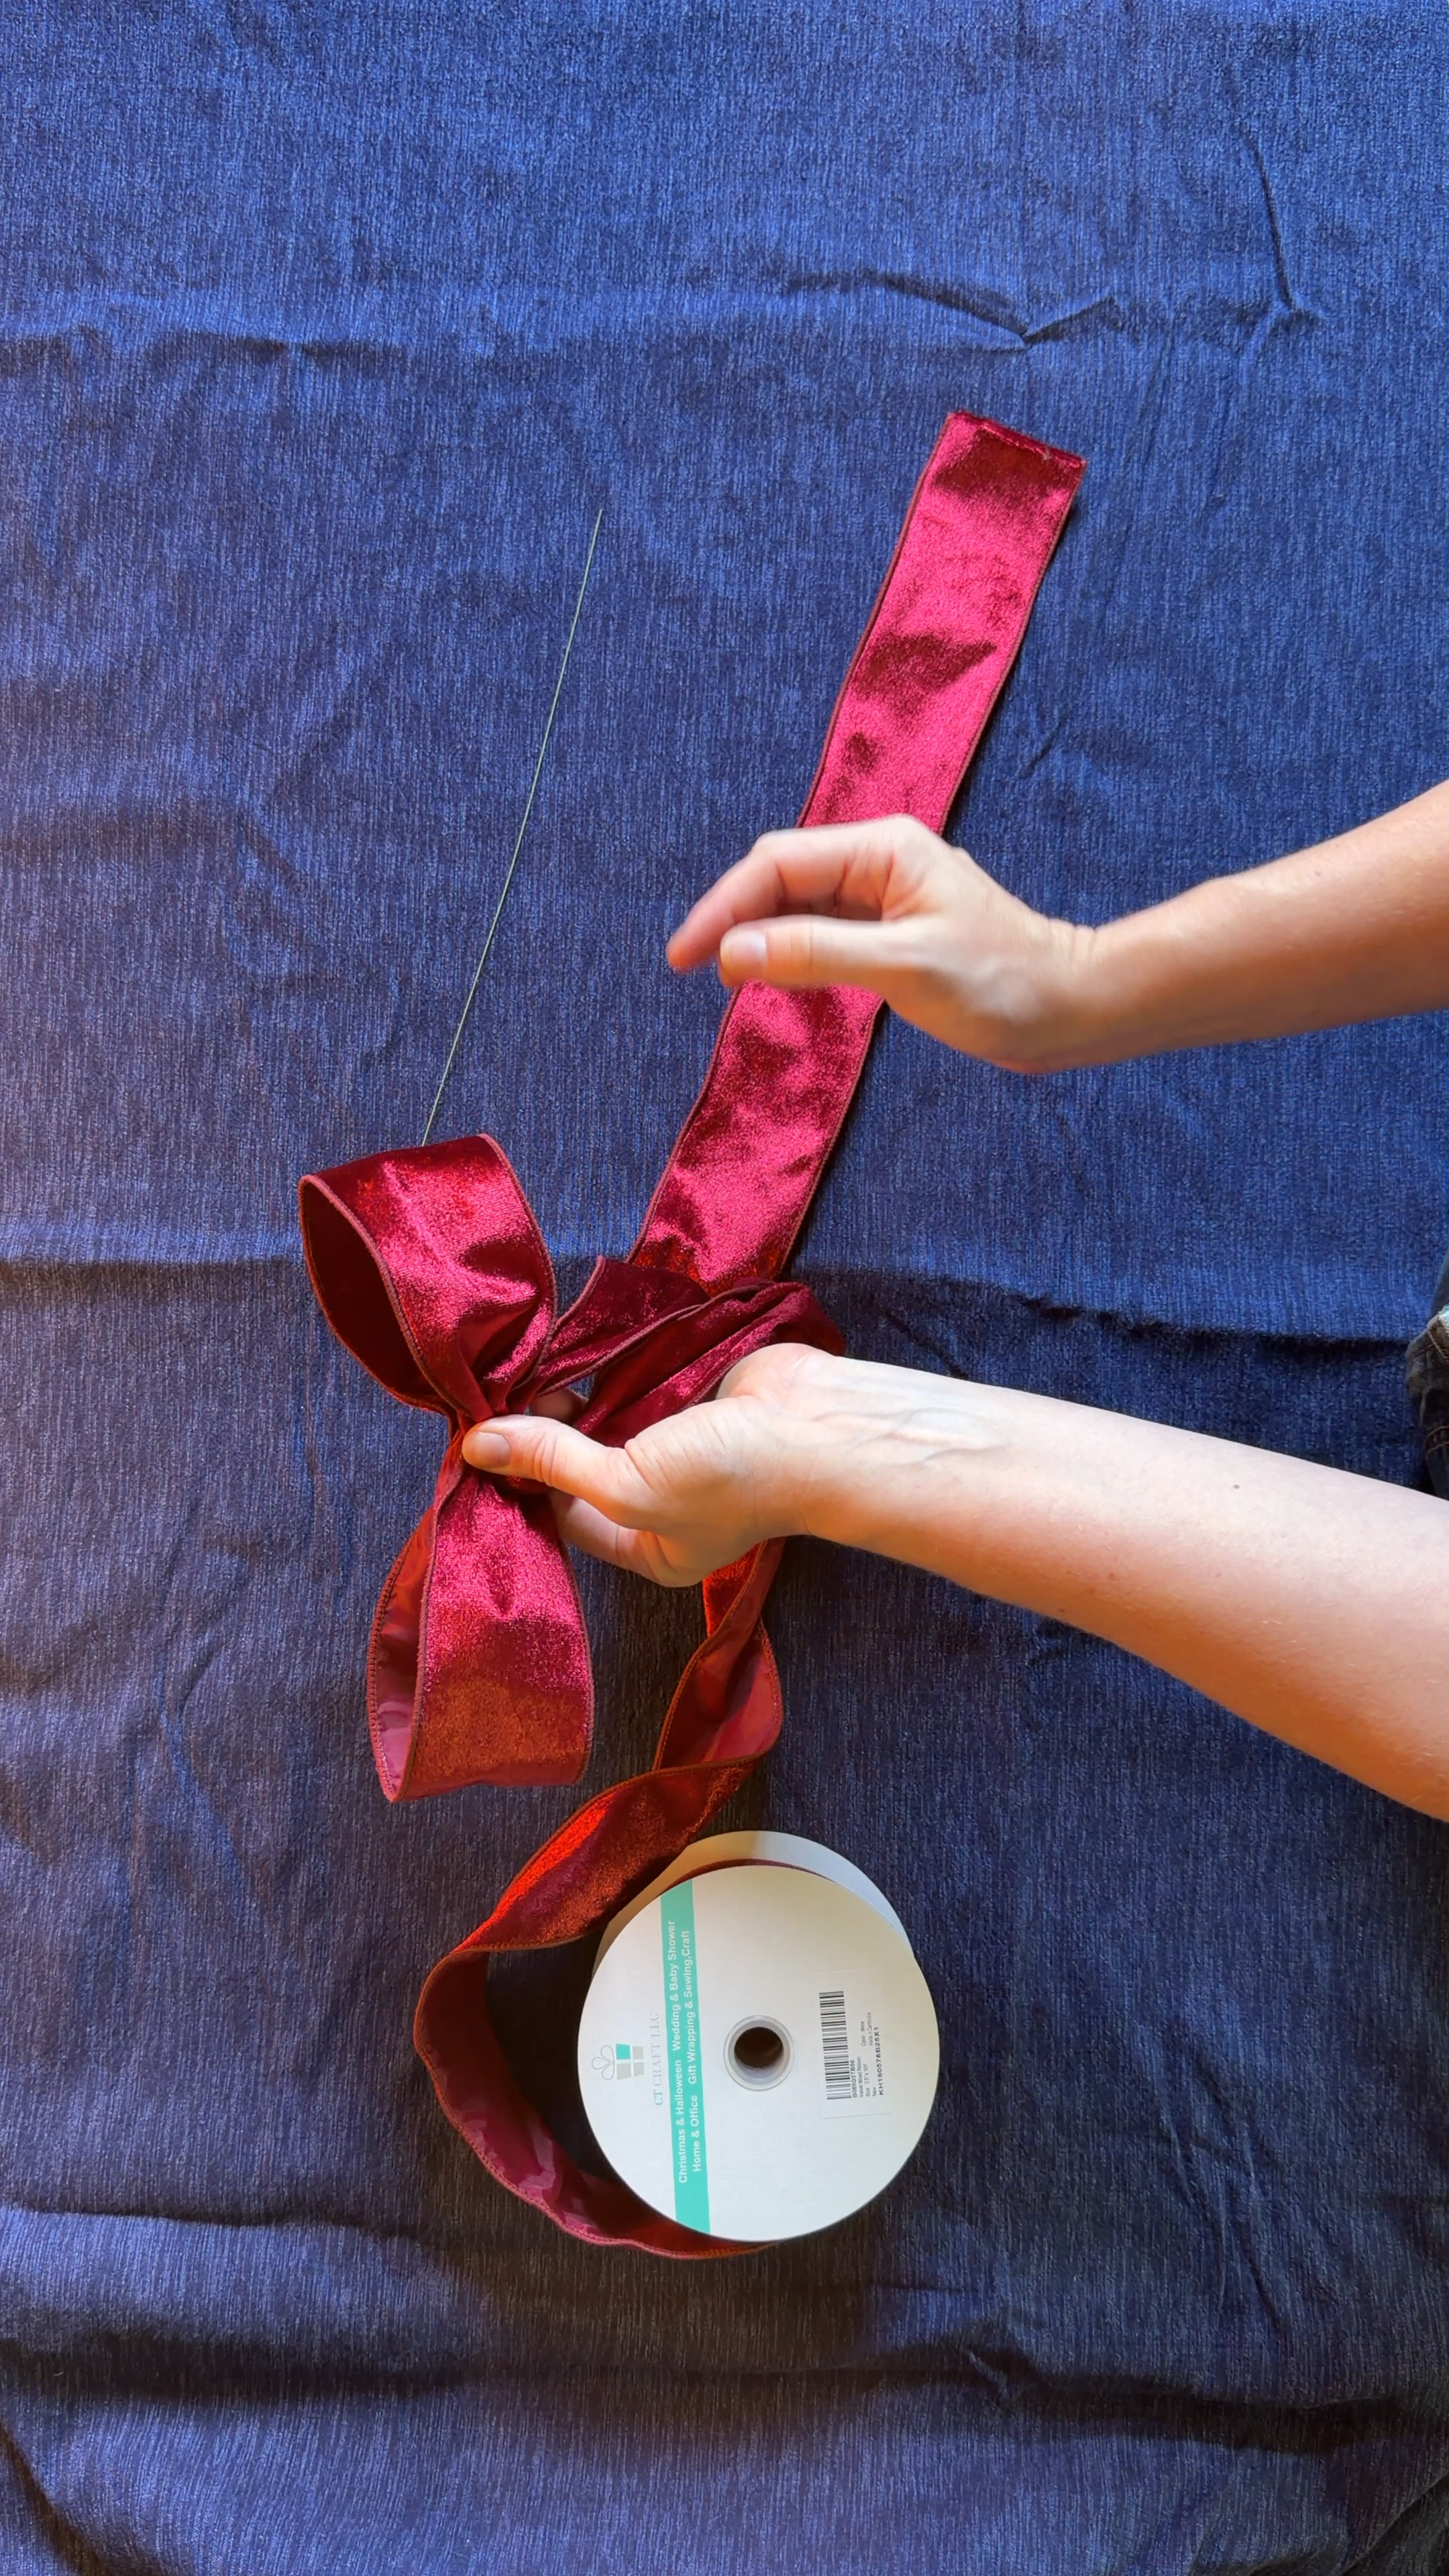
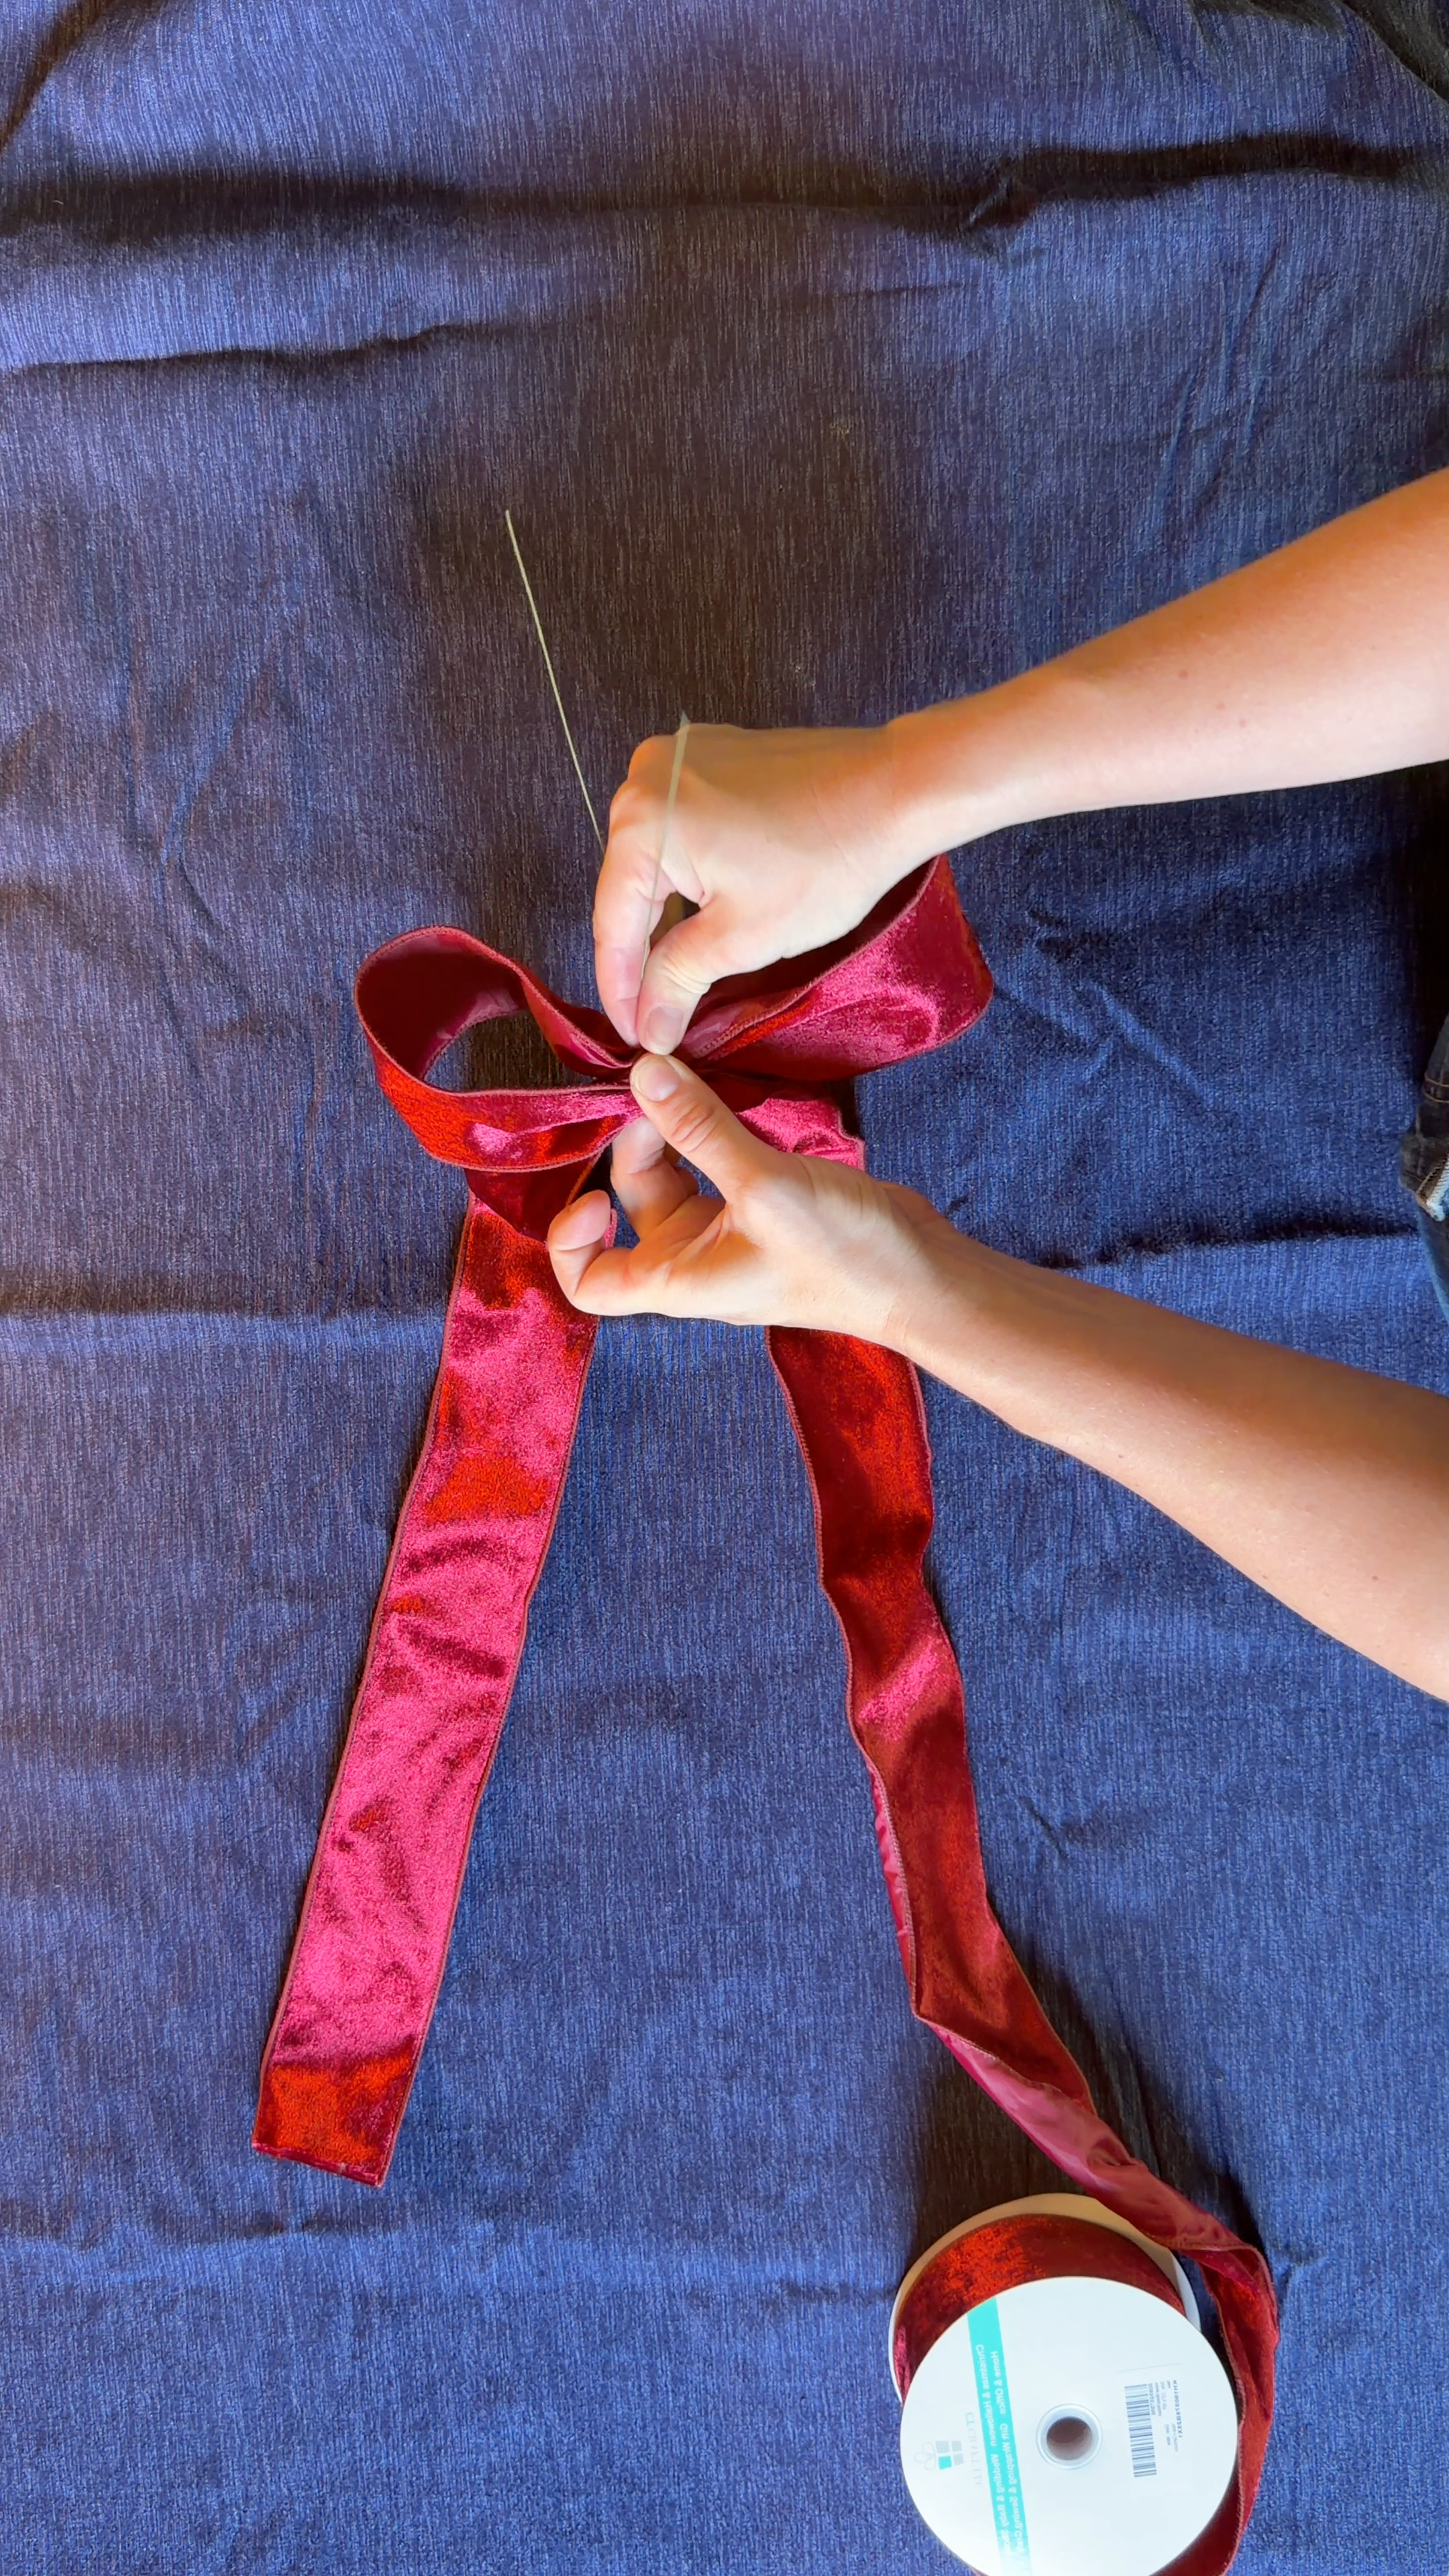
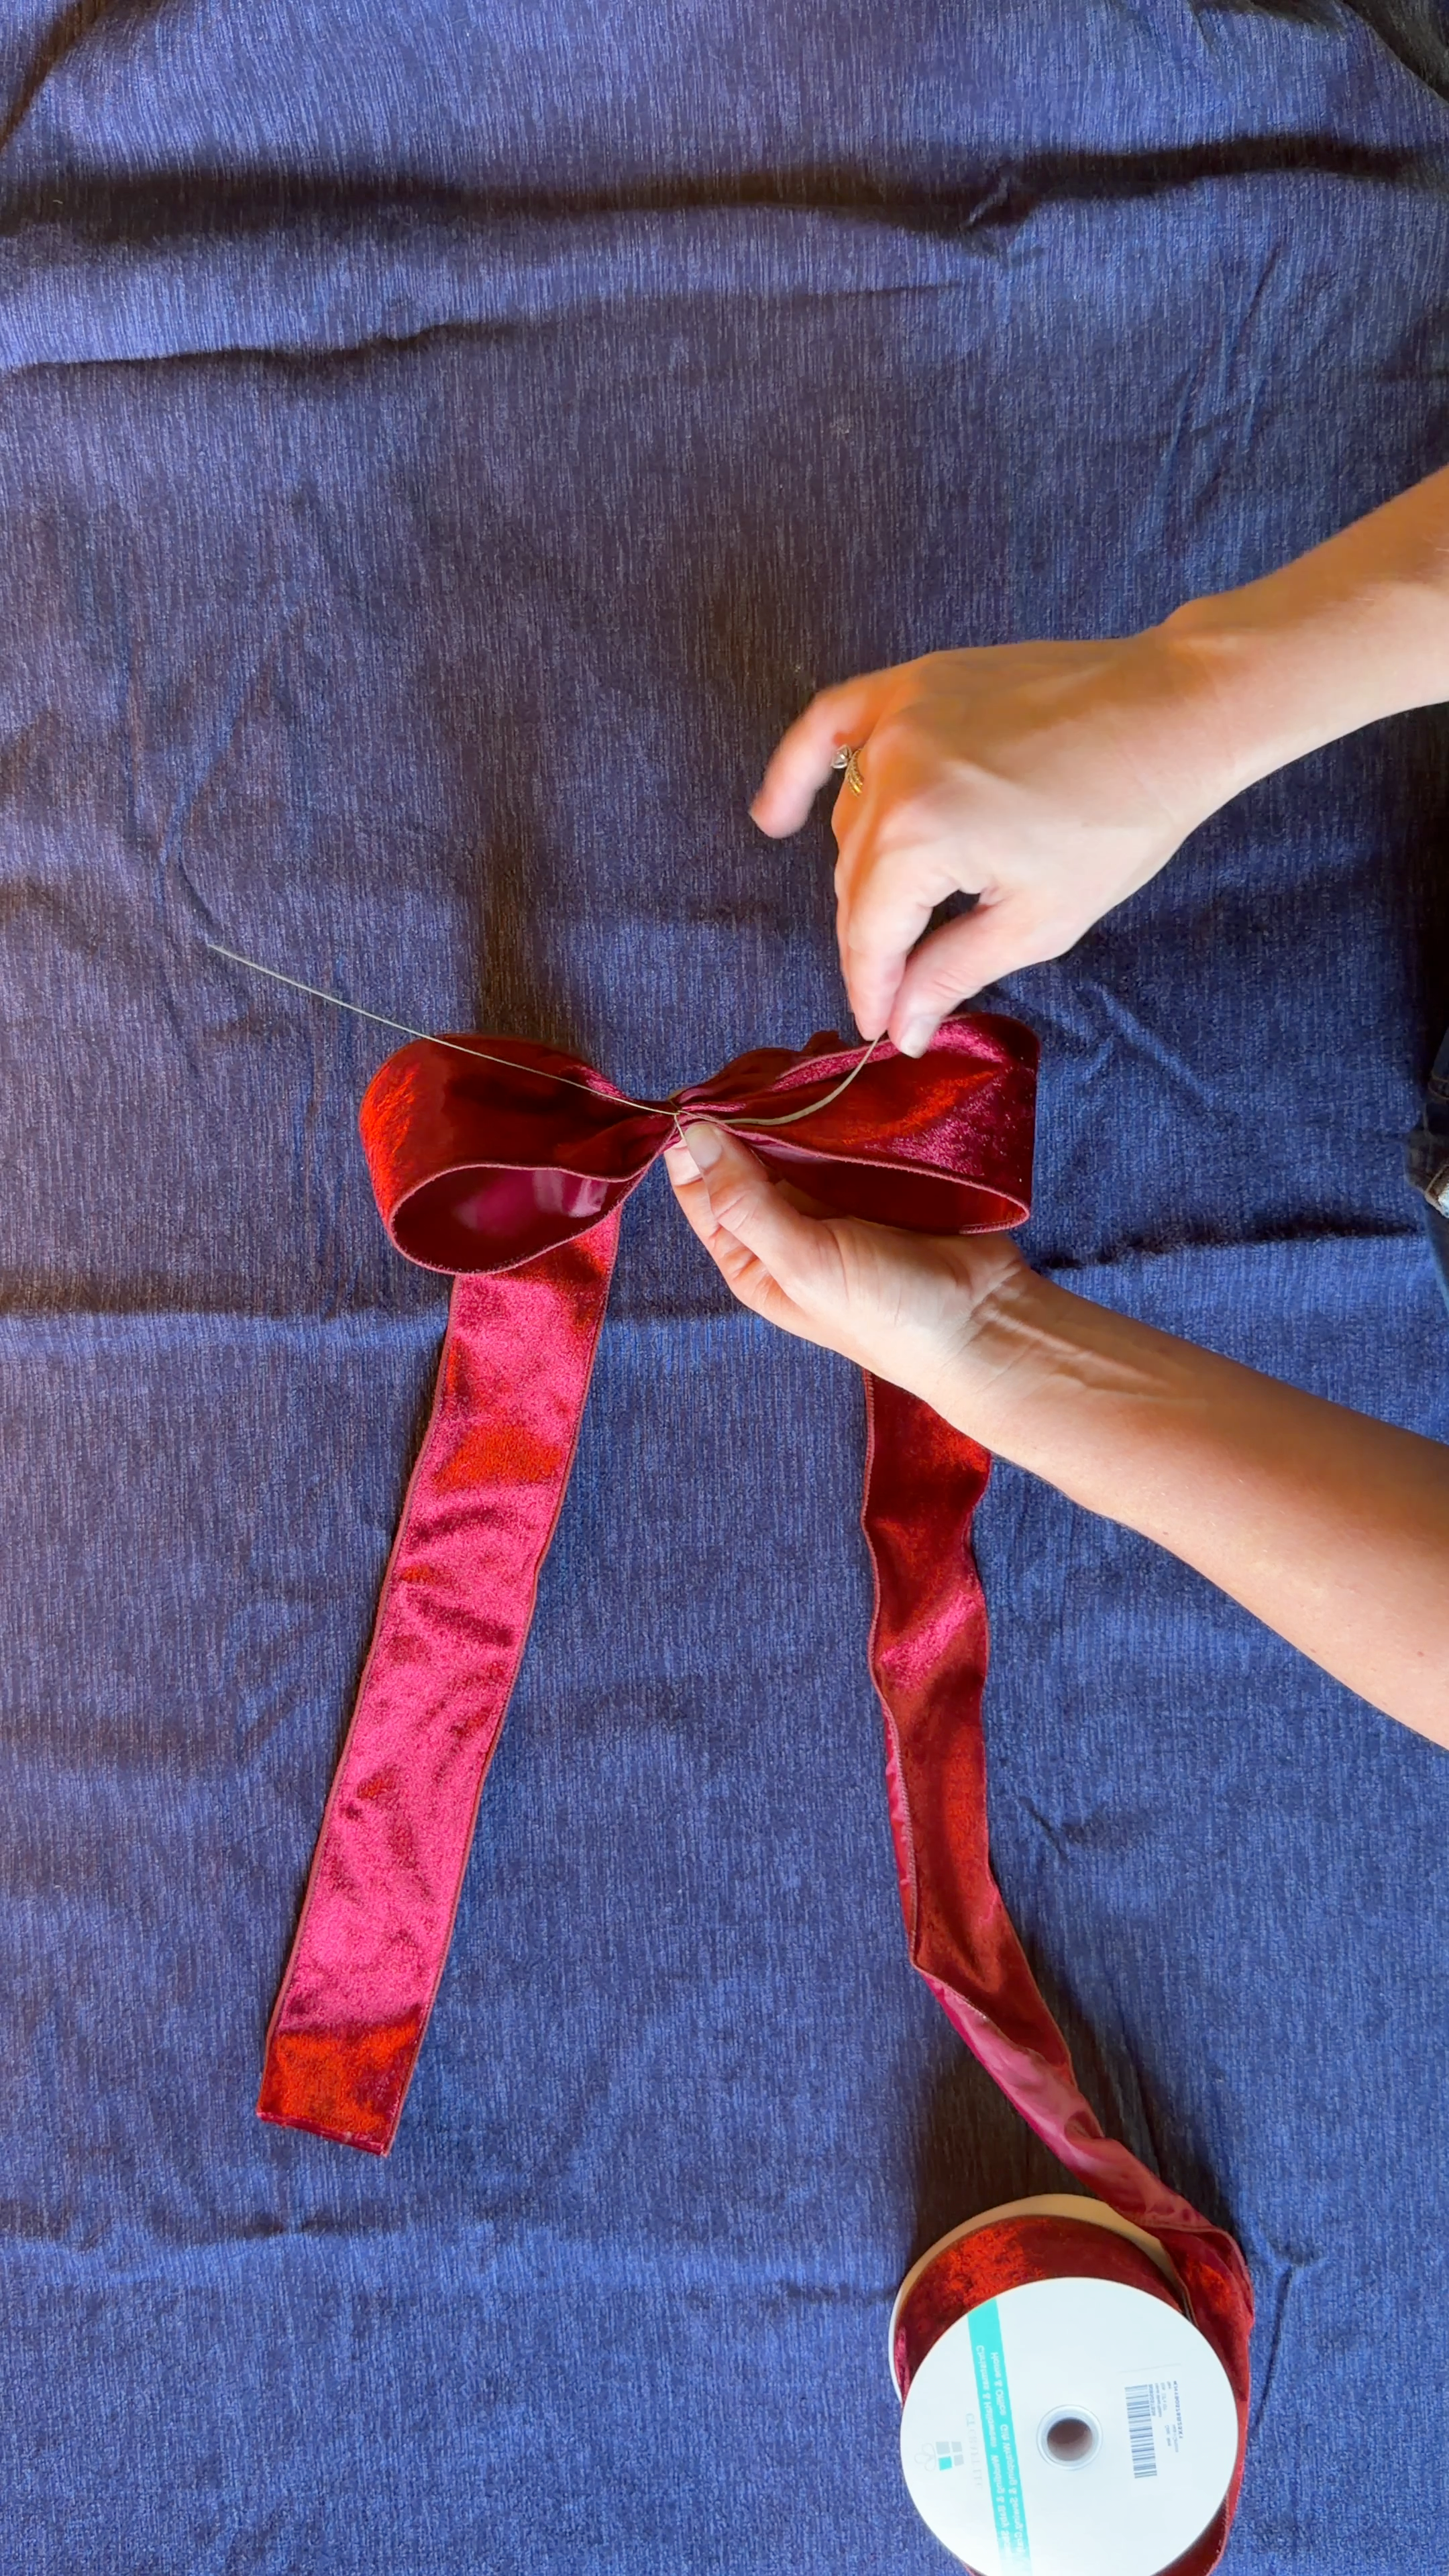
Hold the pinched center in your left hand. With your right hand, wrap floral wire tightly around all the pinched layers to hold them together. It doesn’t need to look pretty yet—we’re about to cover this part up—but it does need to be secure. Twist the wire ends together to tighten, then leave them long and spread apart. You'll need them again in a minute.
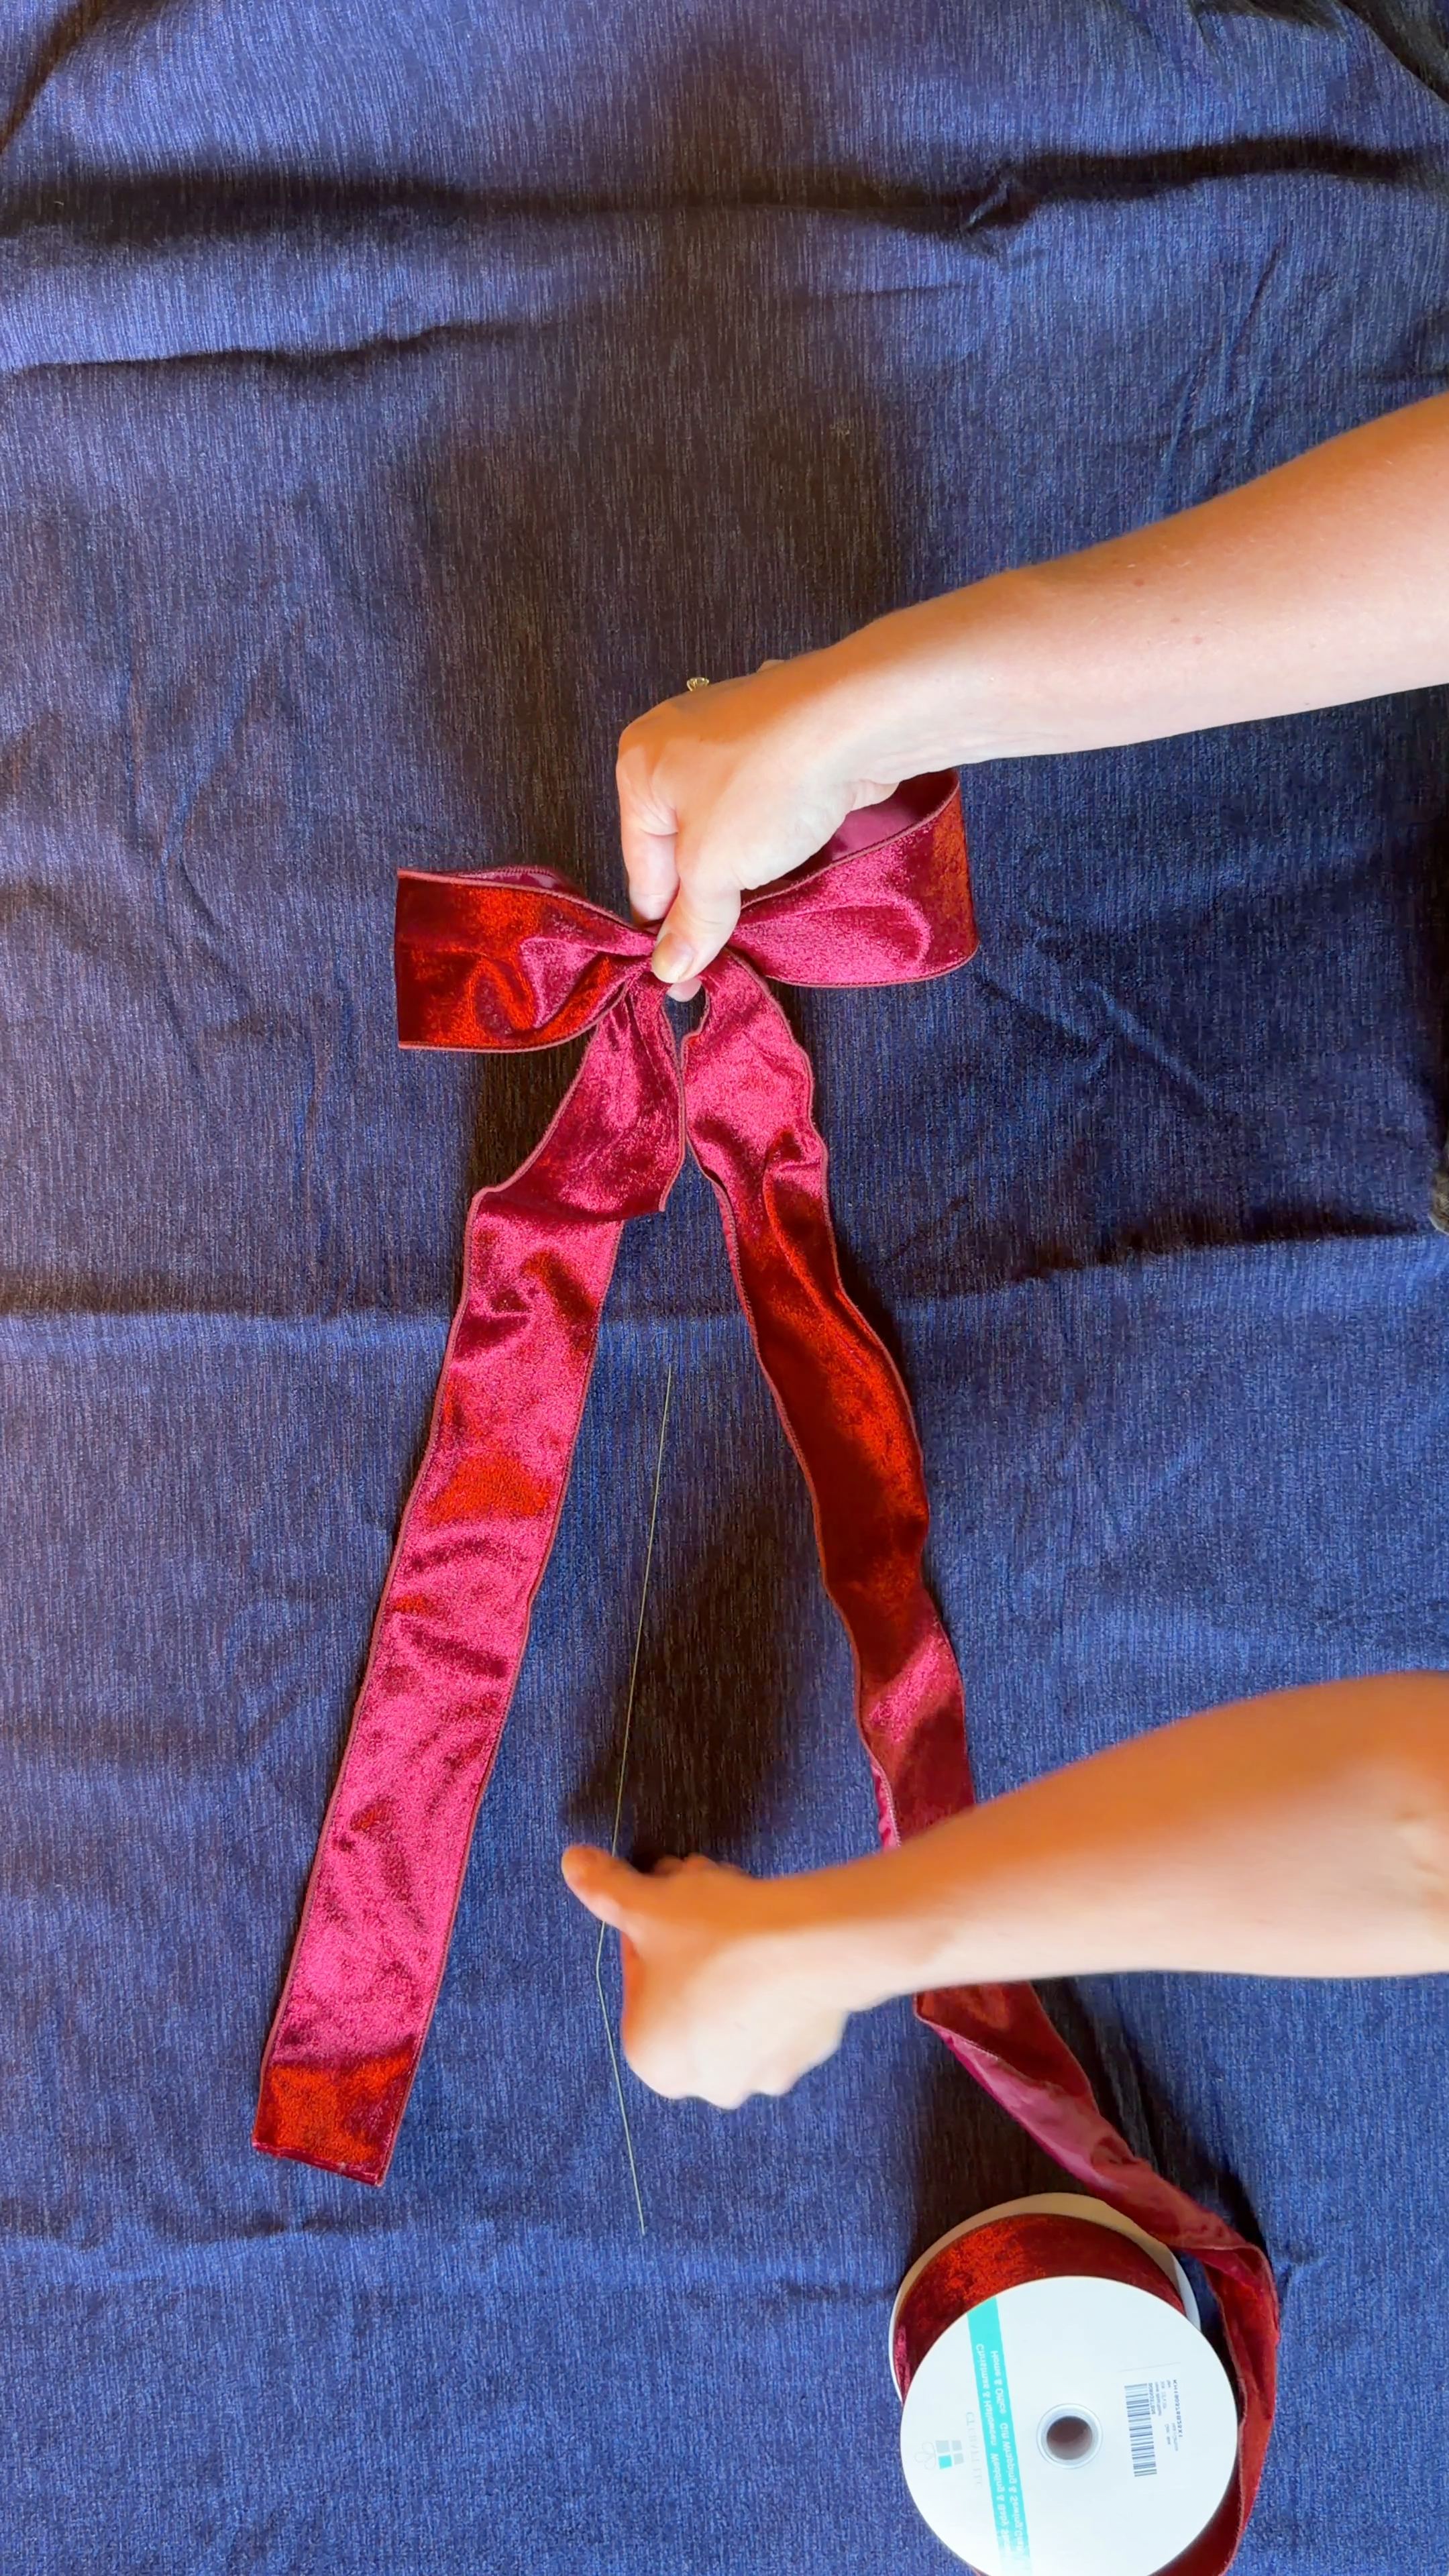
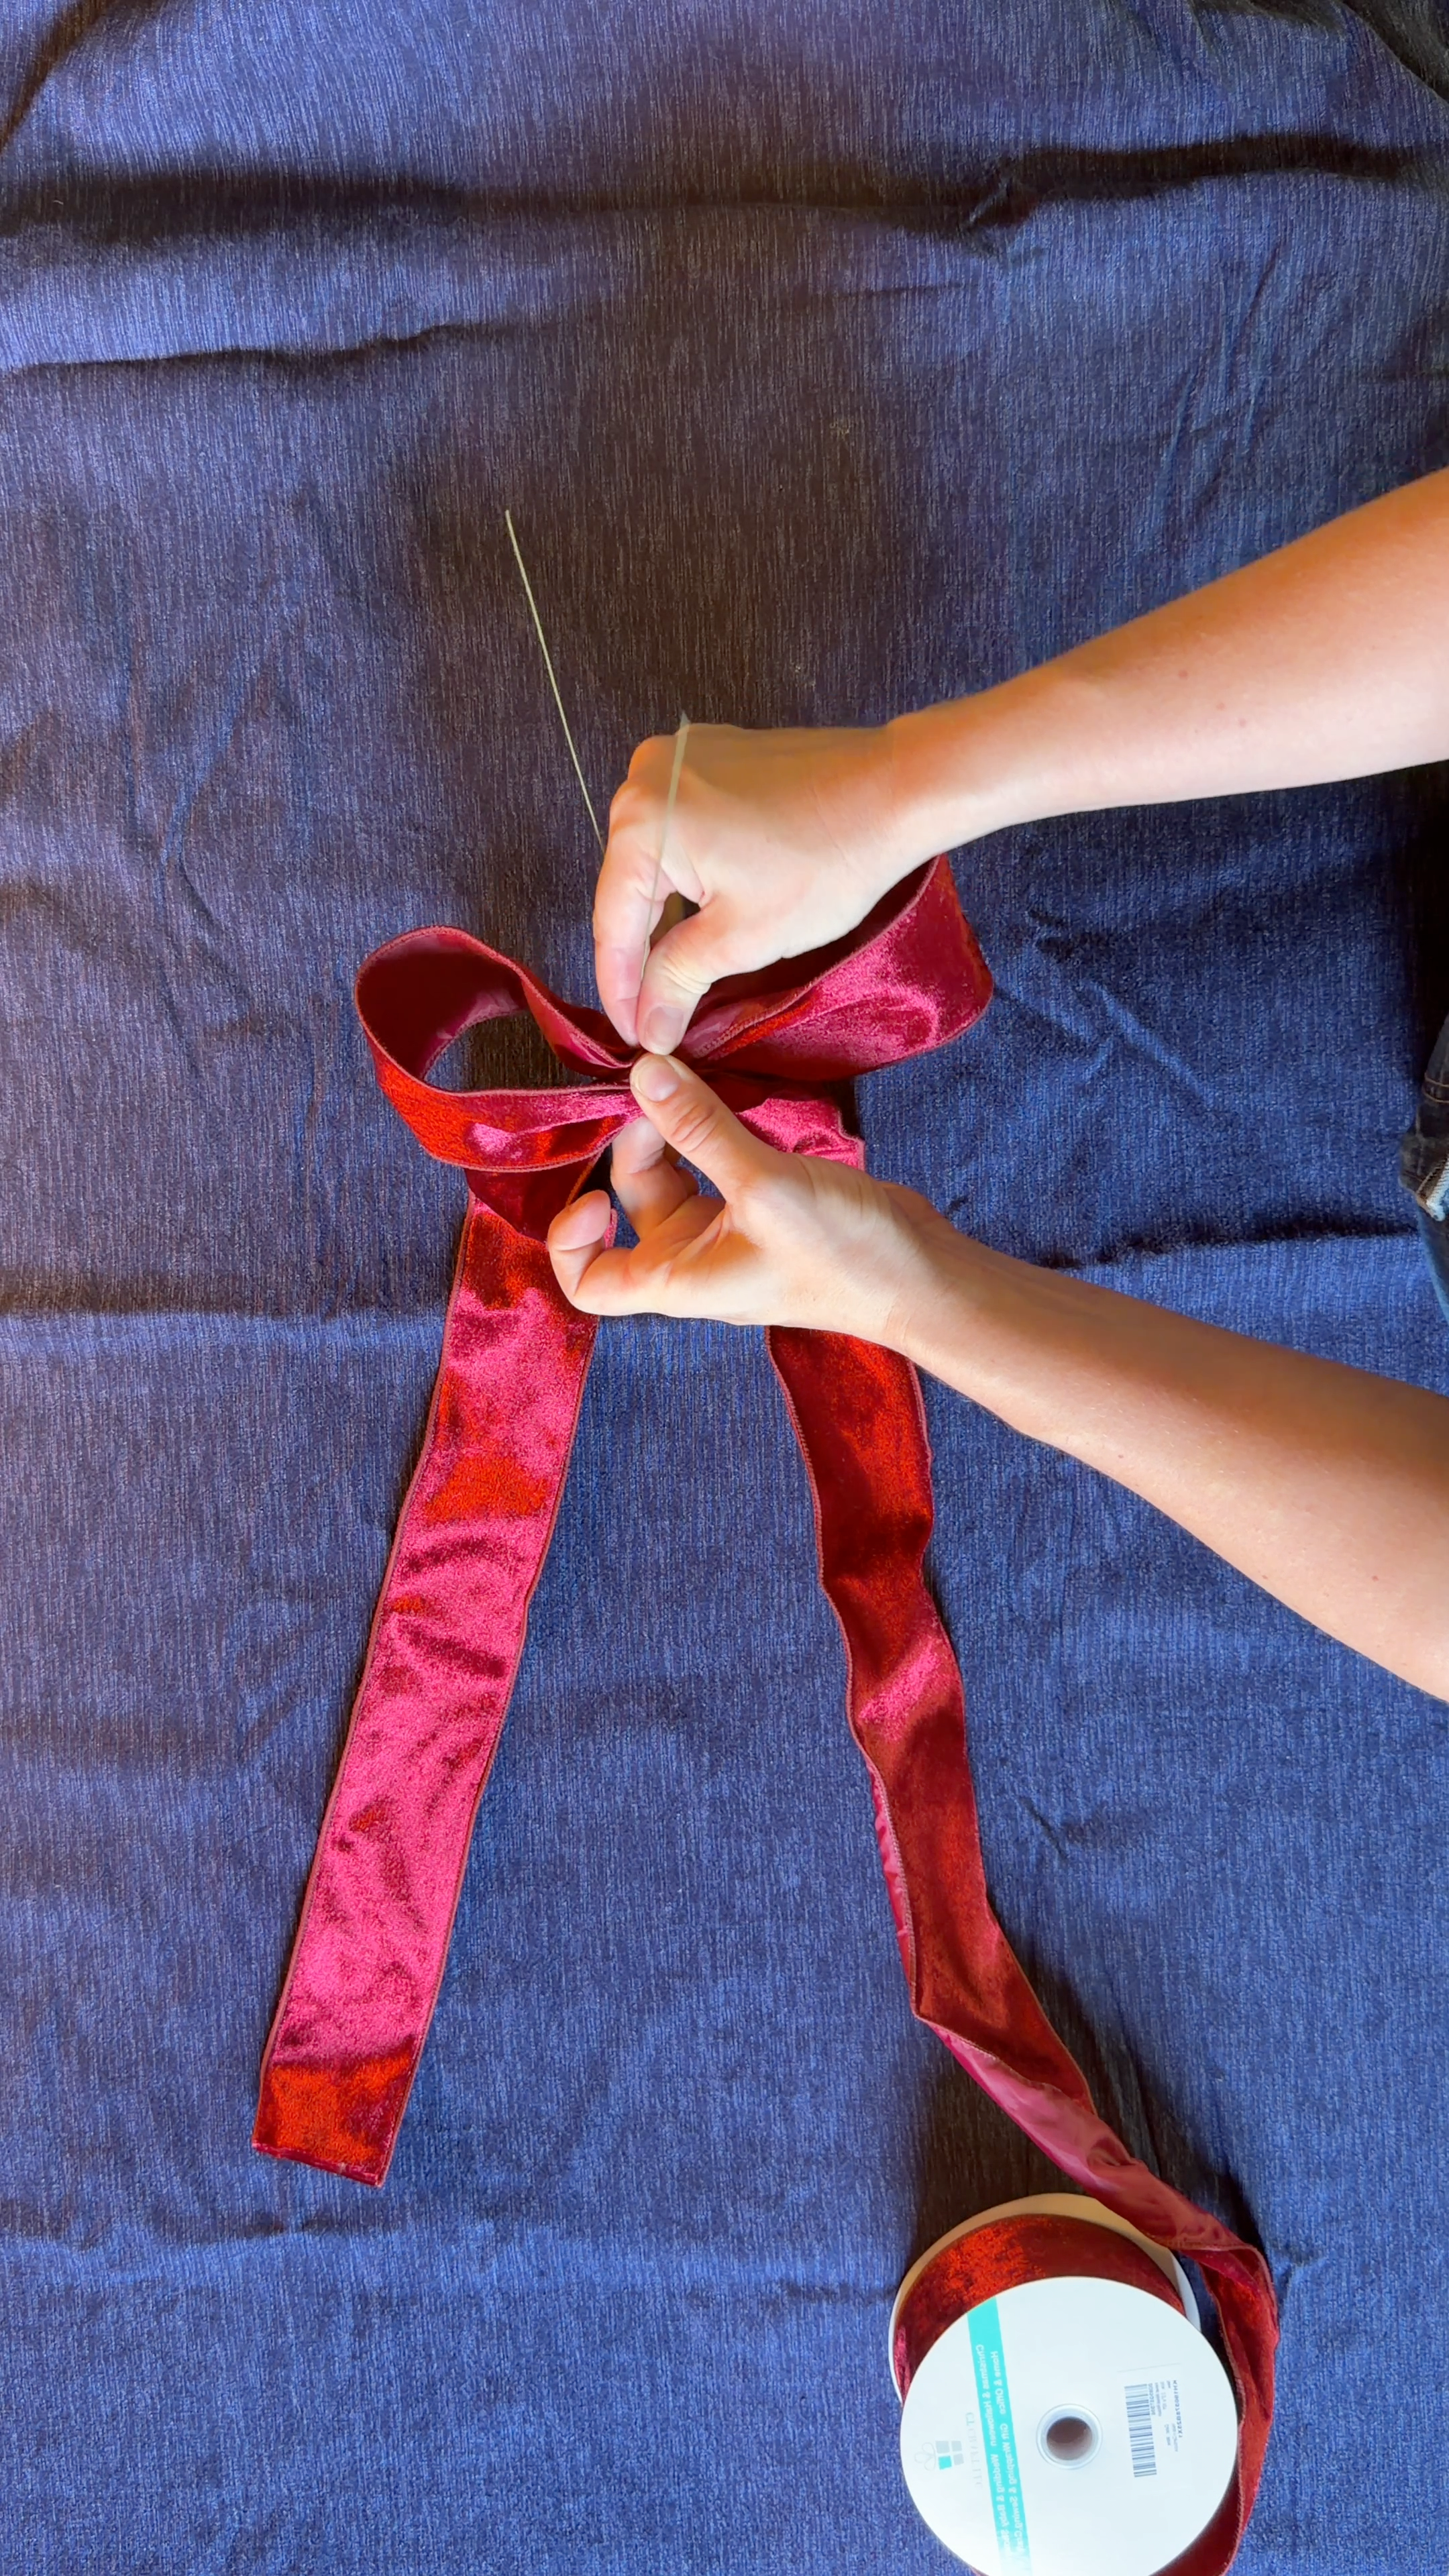
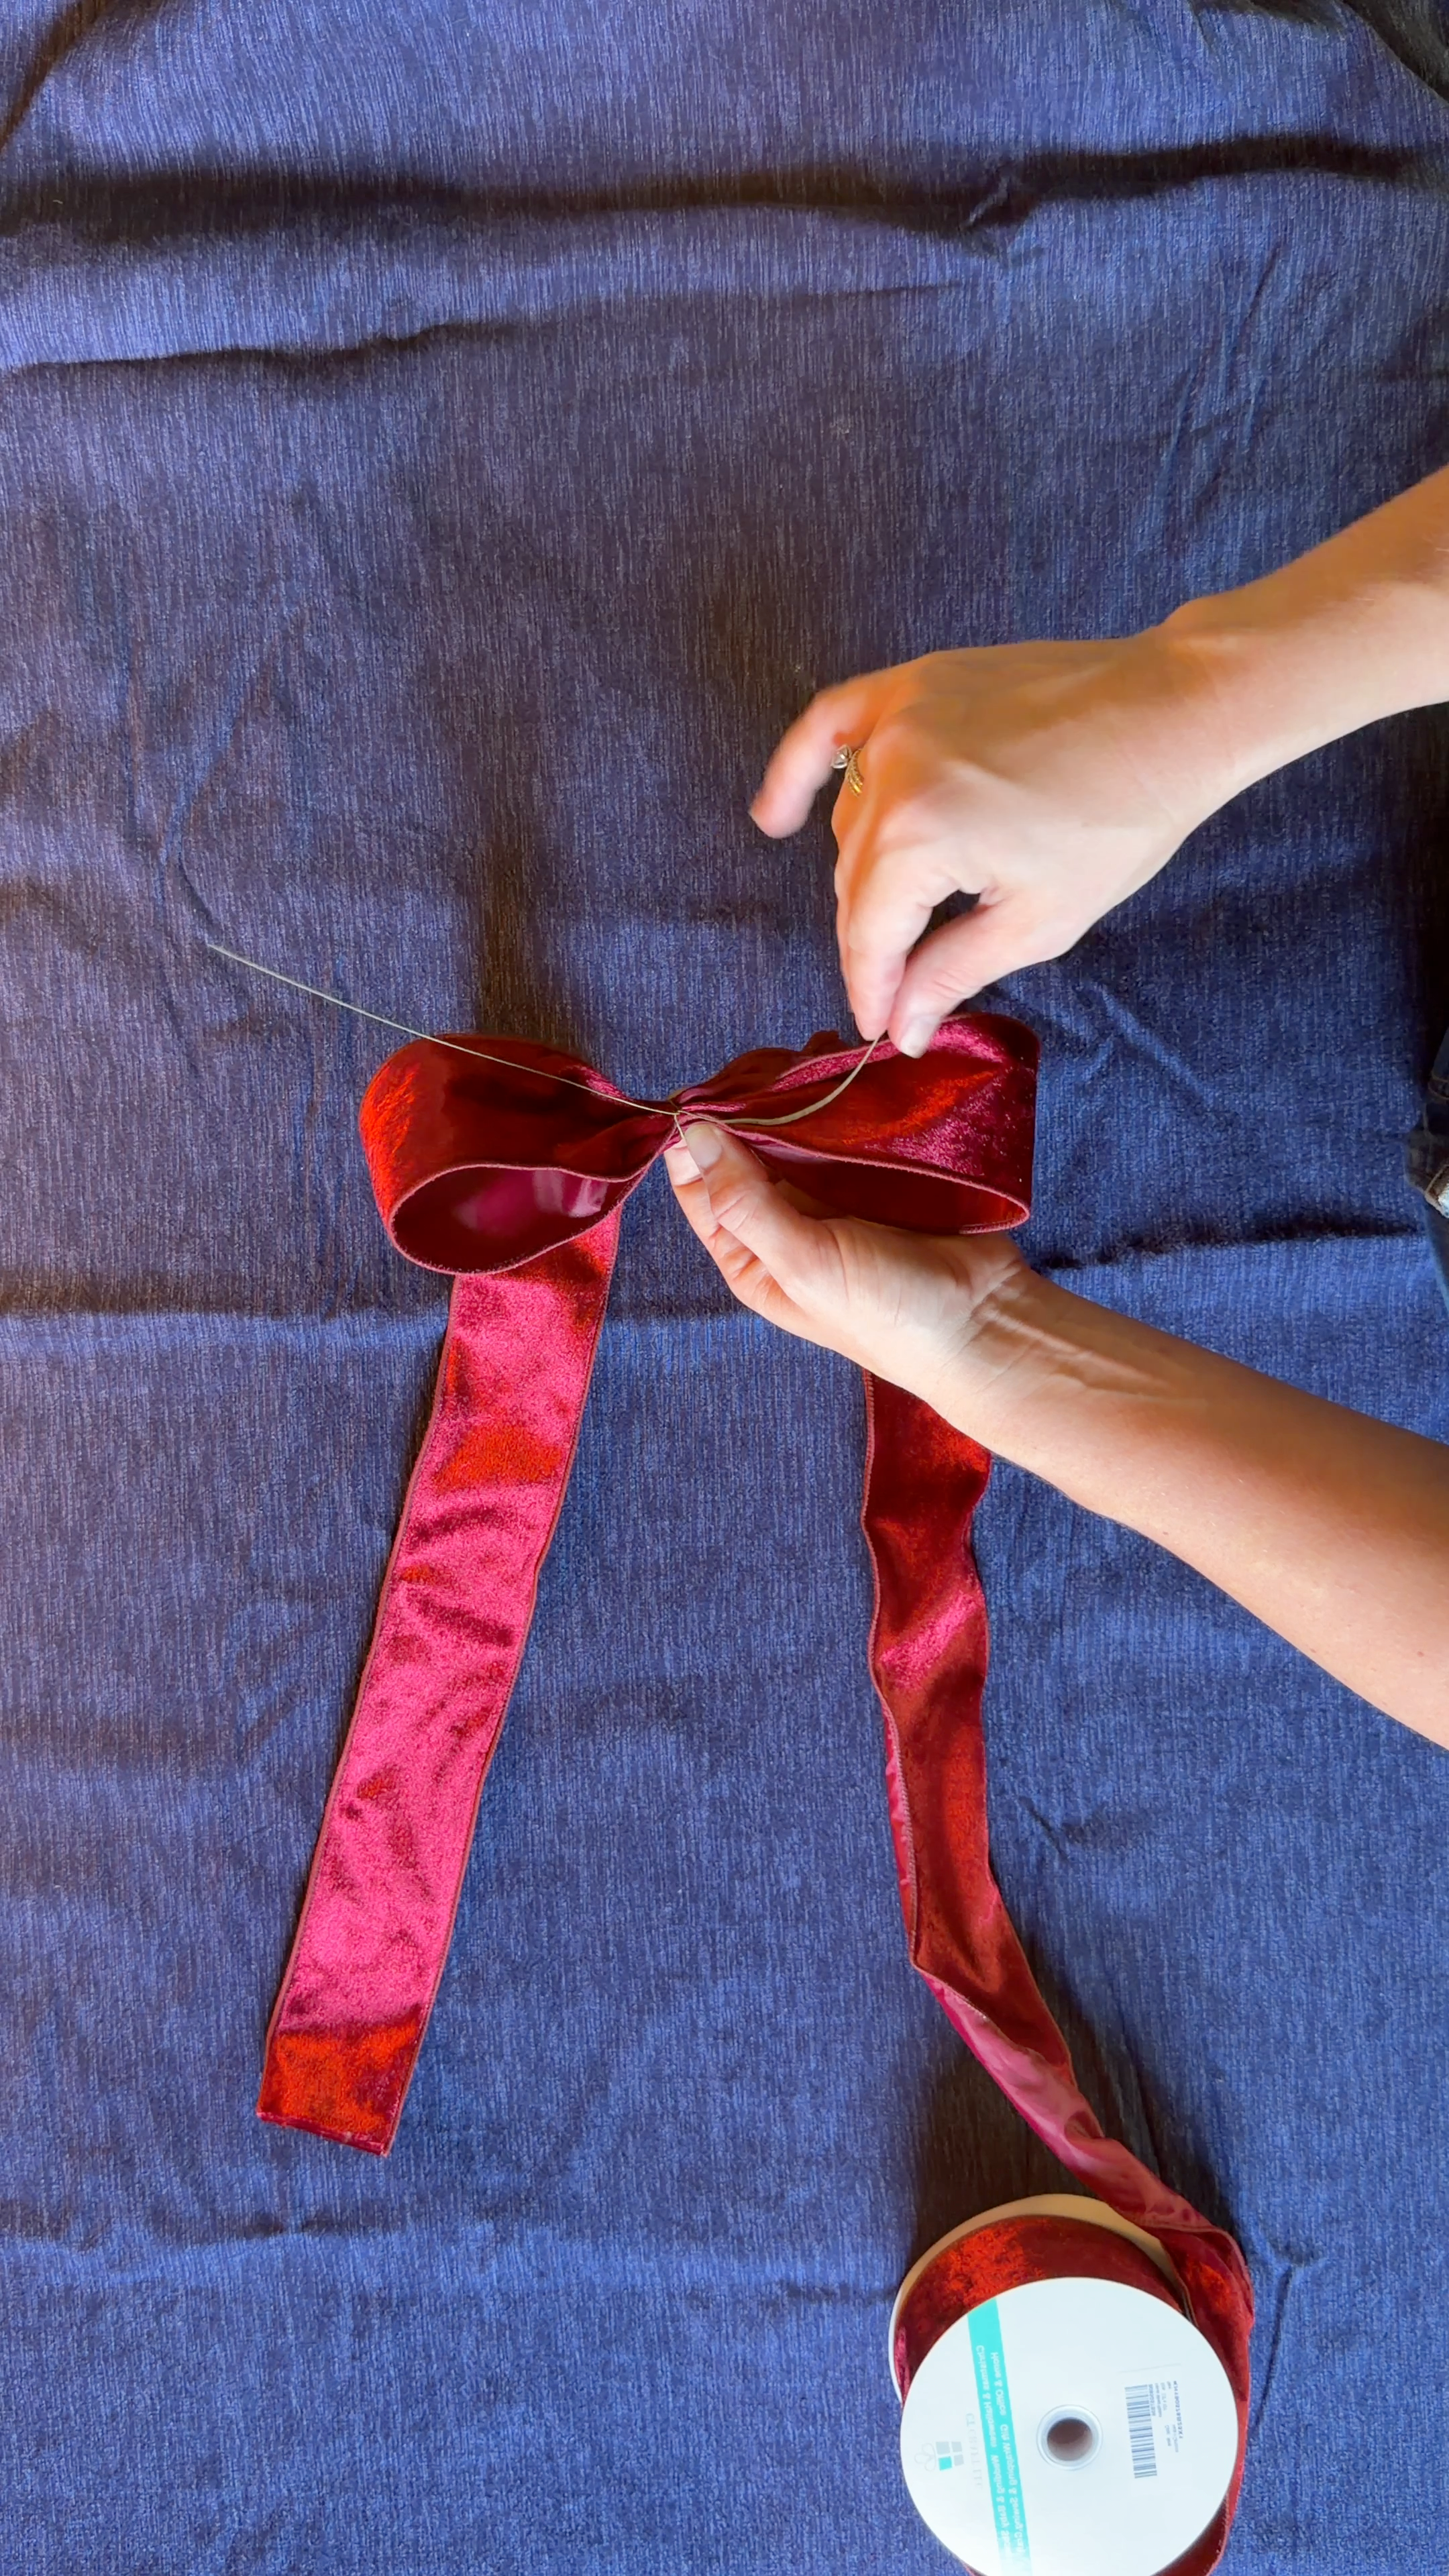
5. Make the "knot"
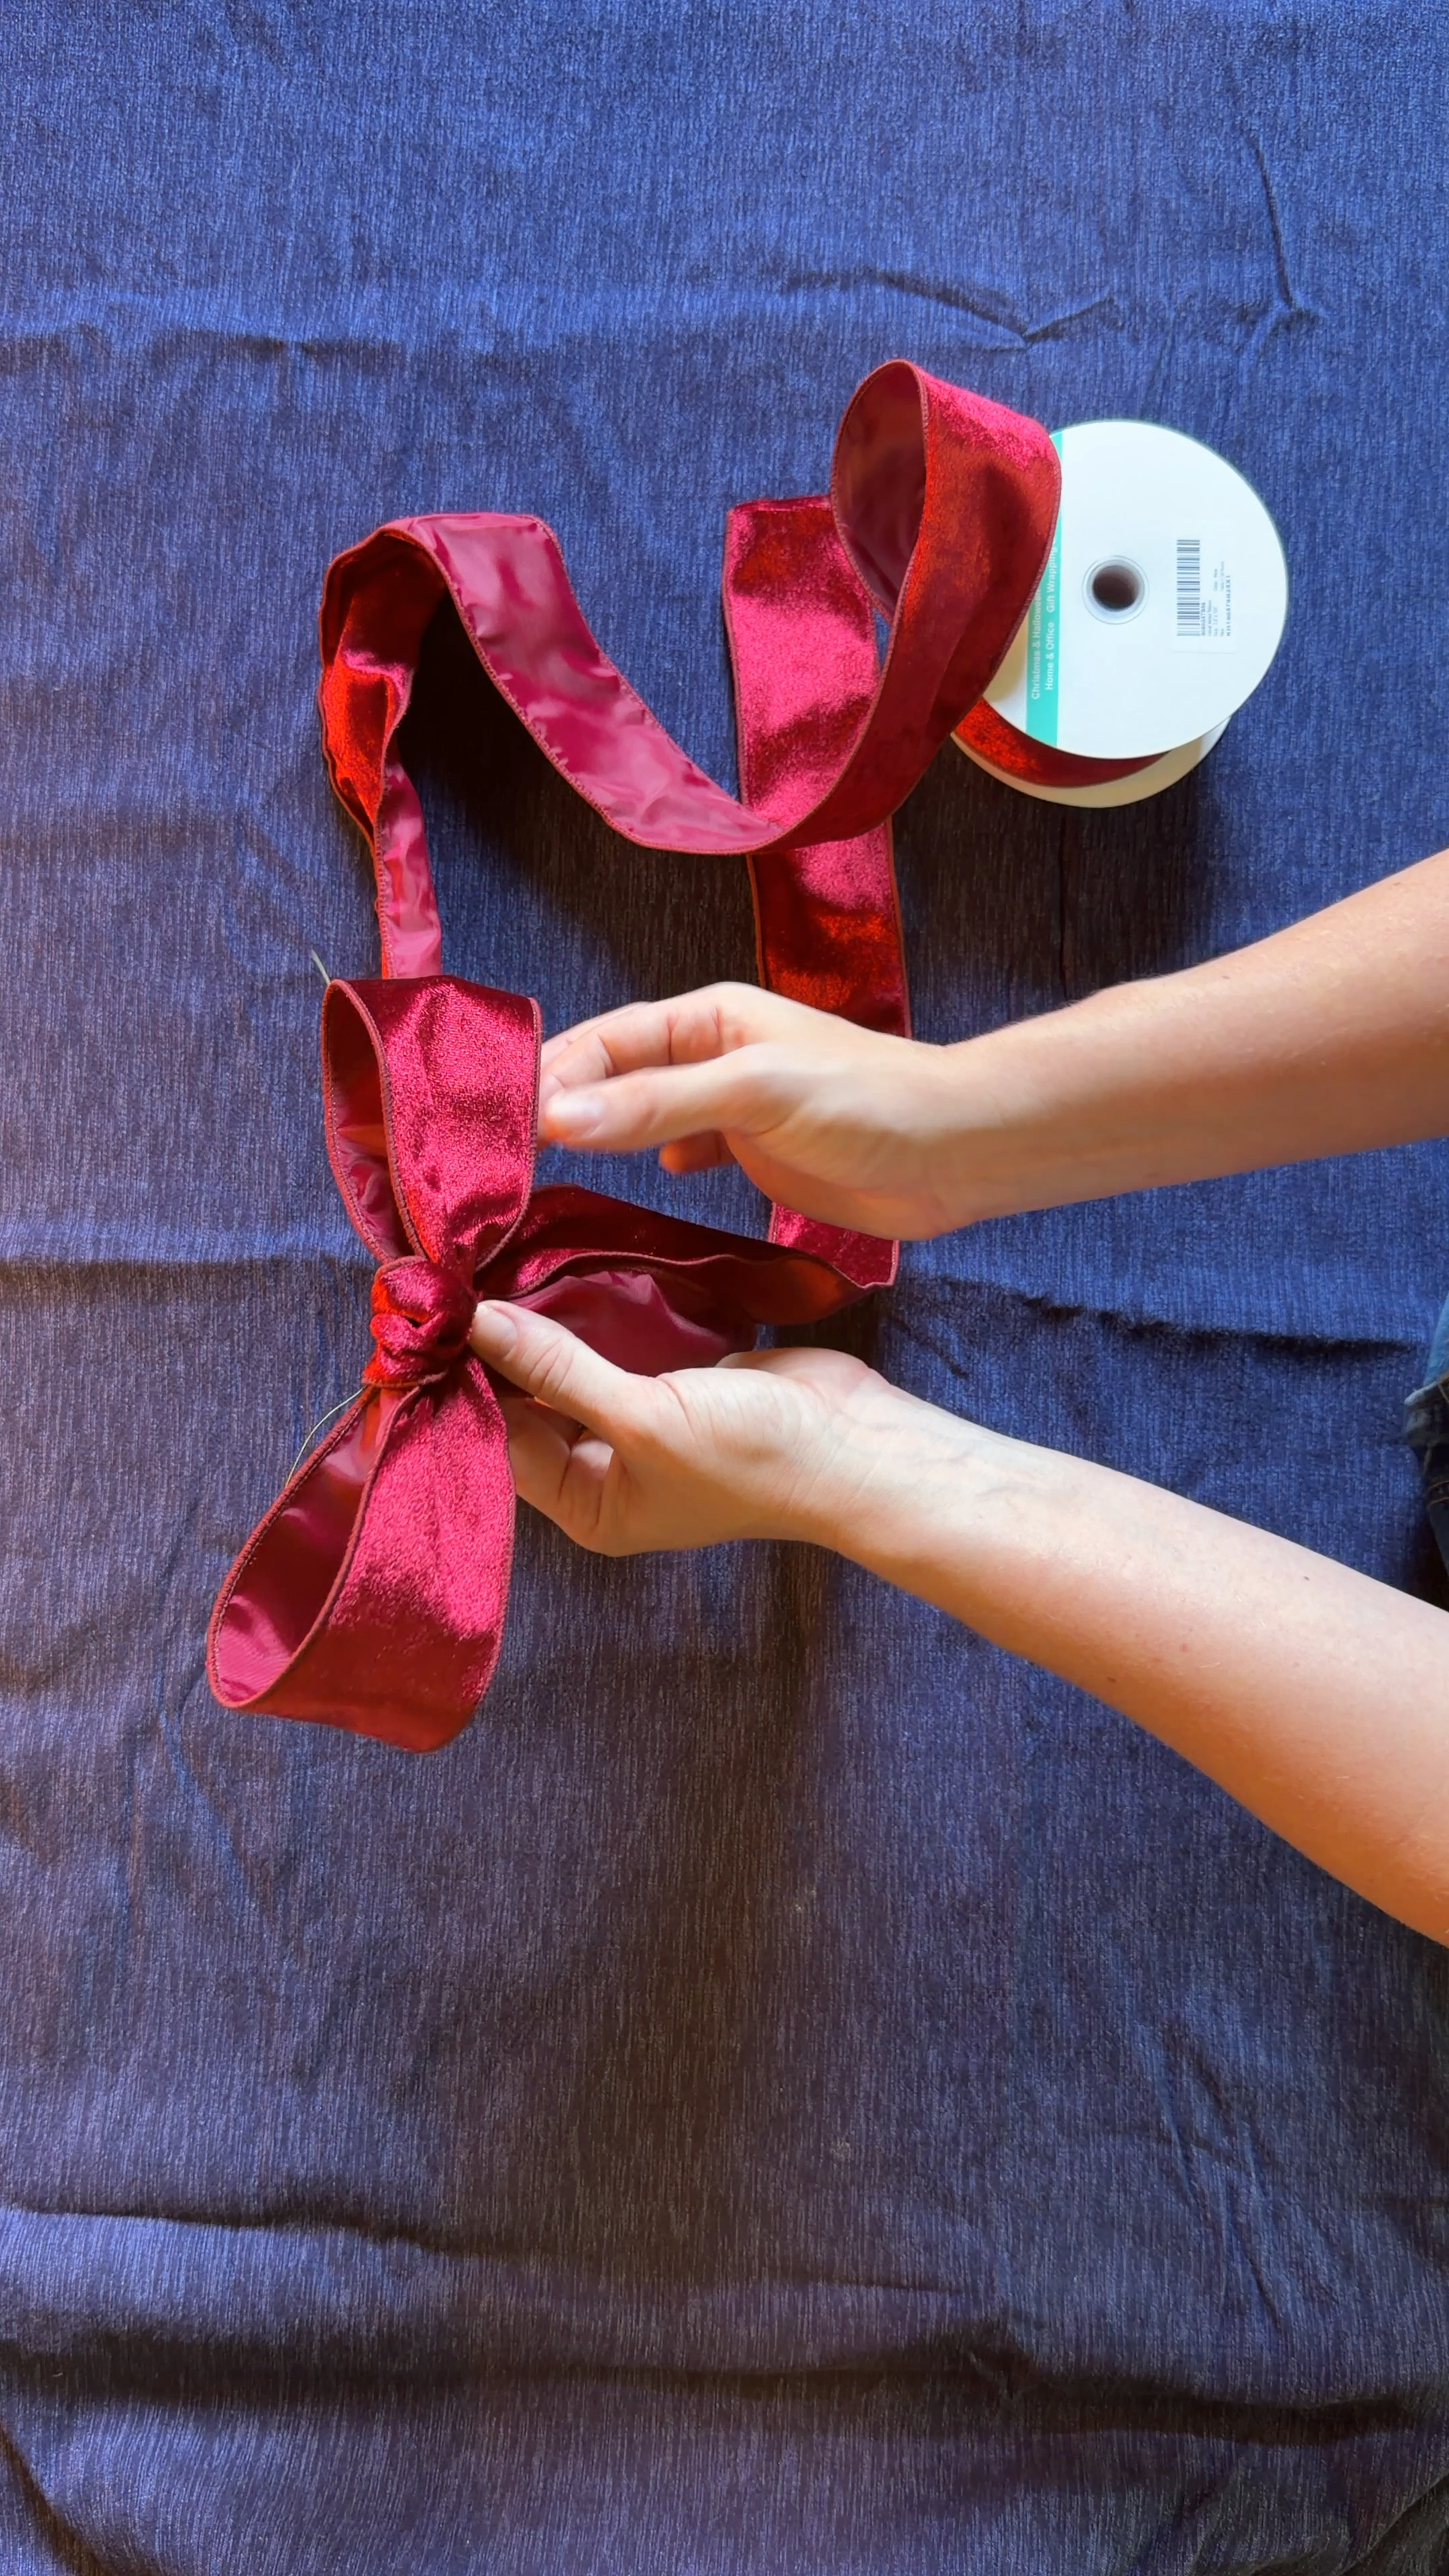
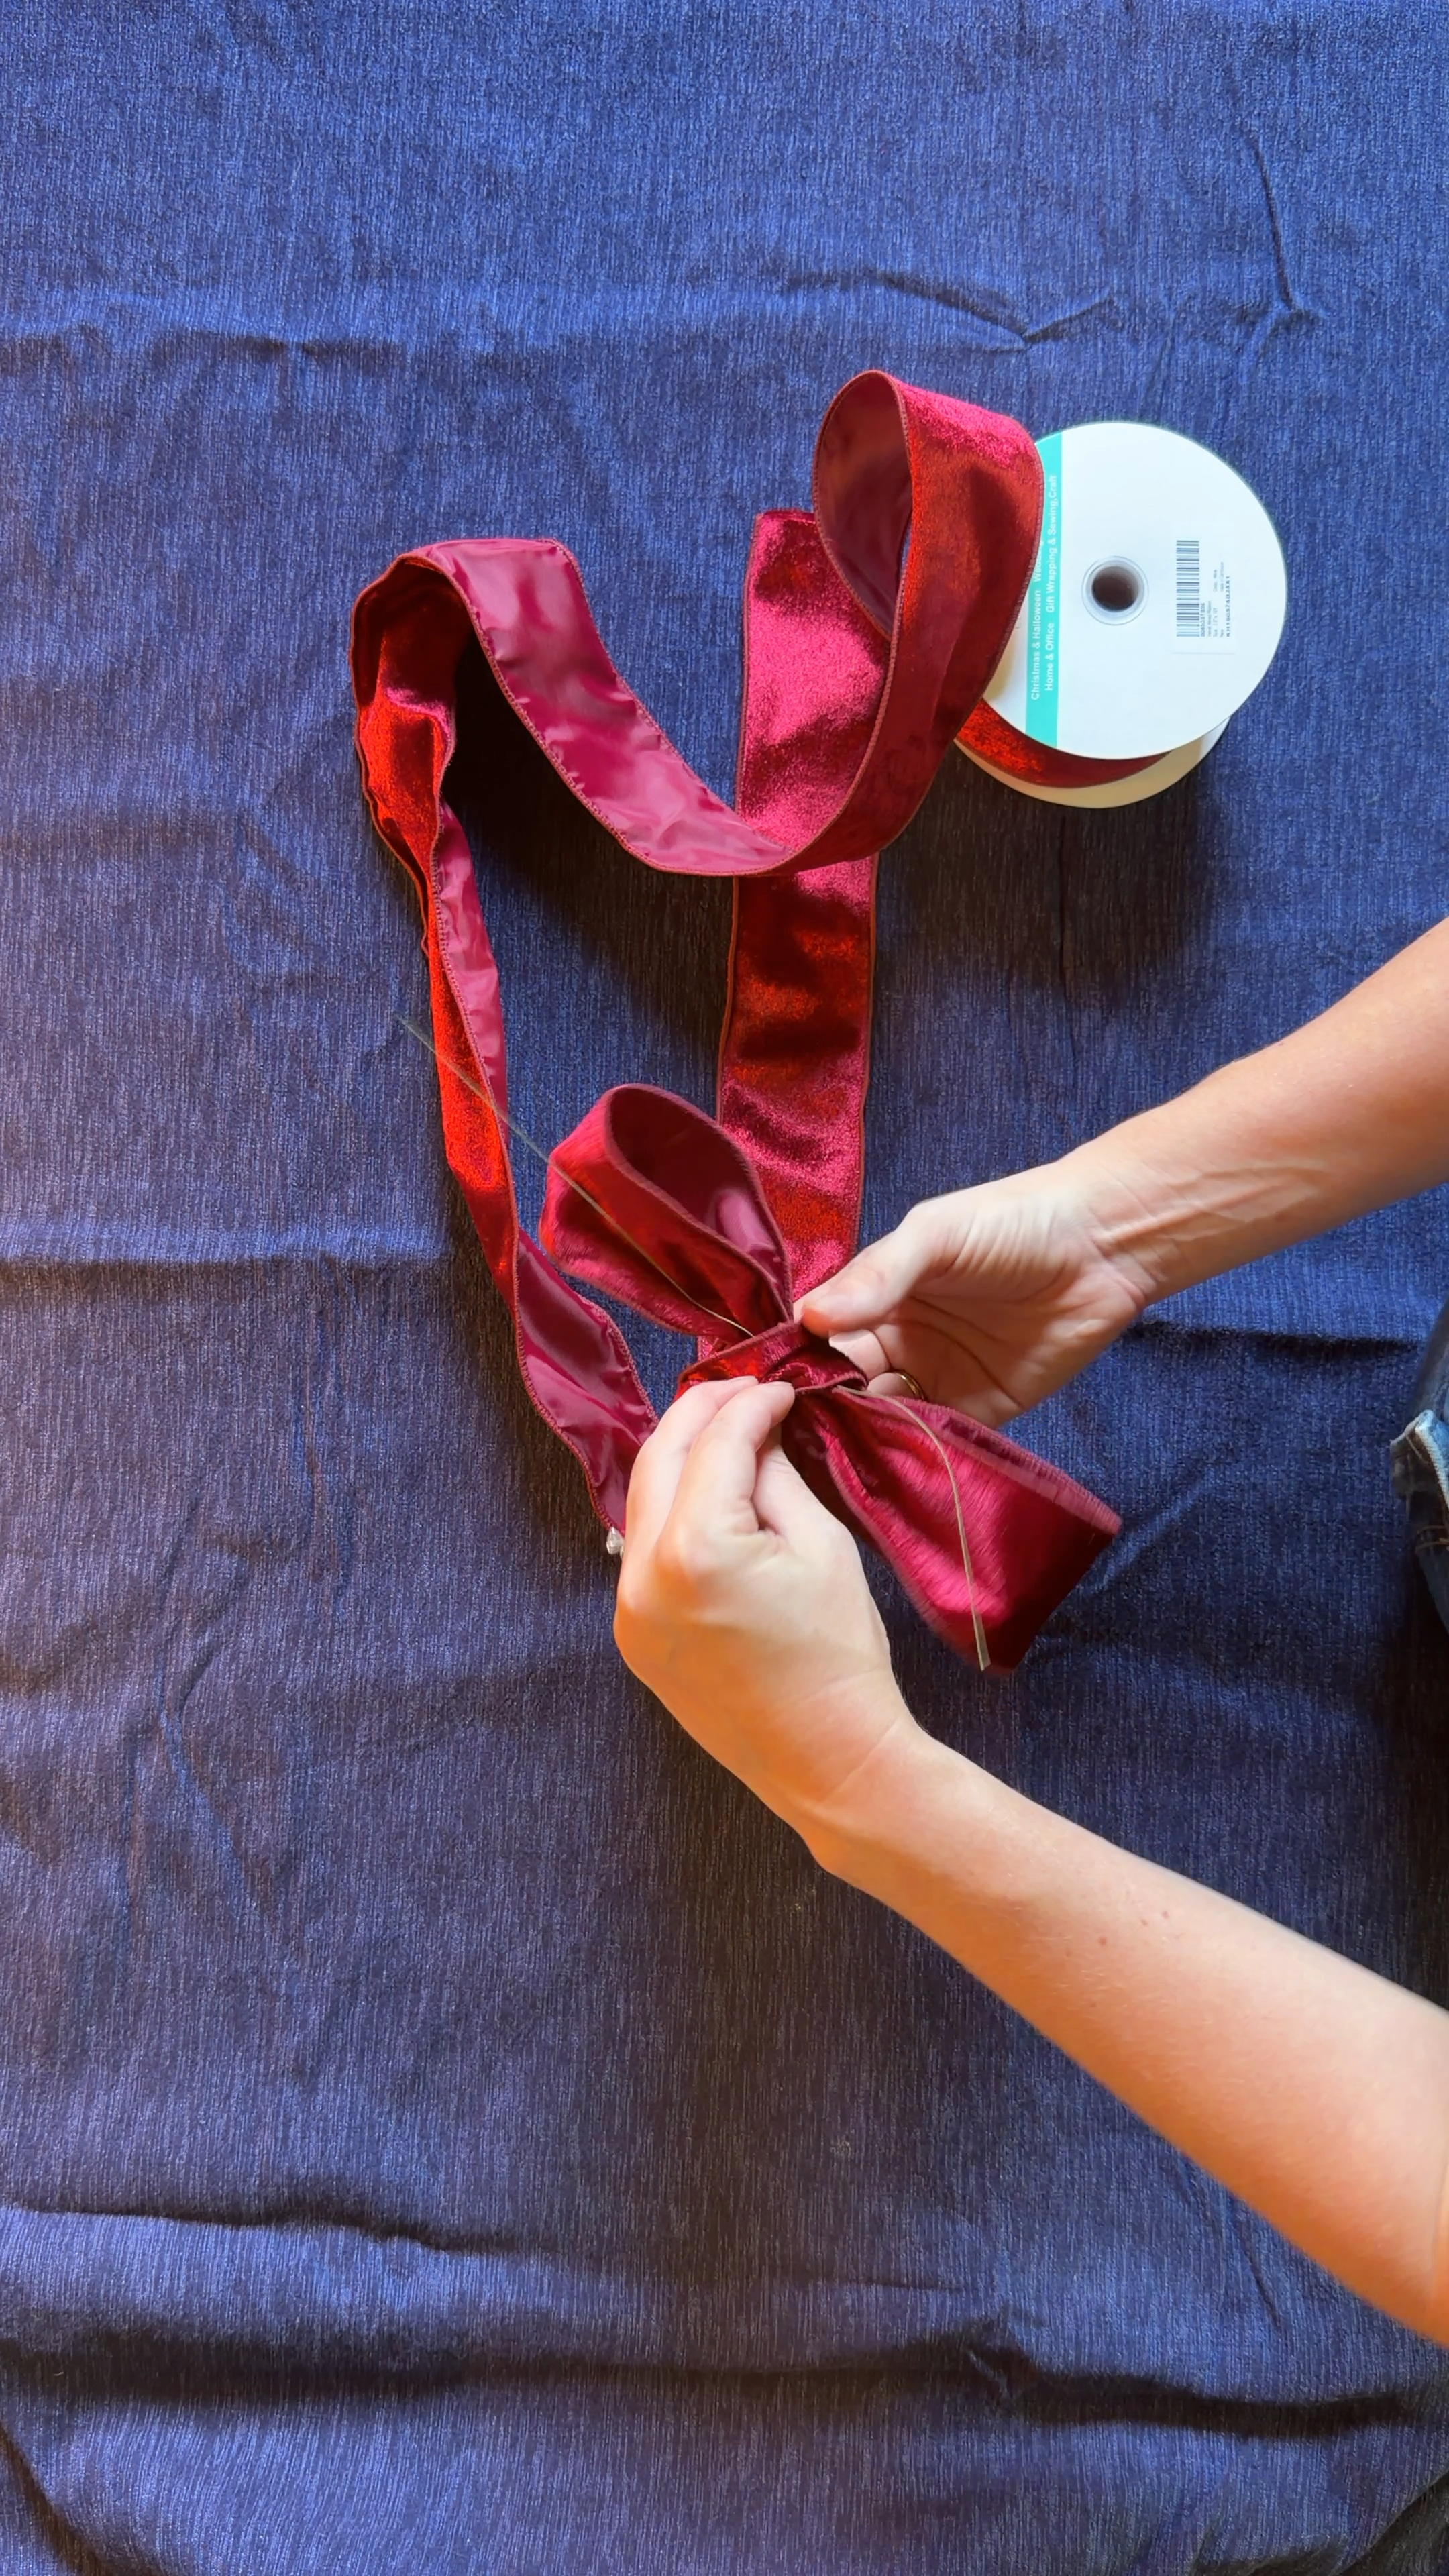
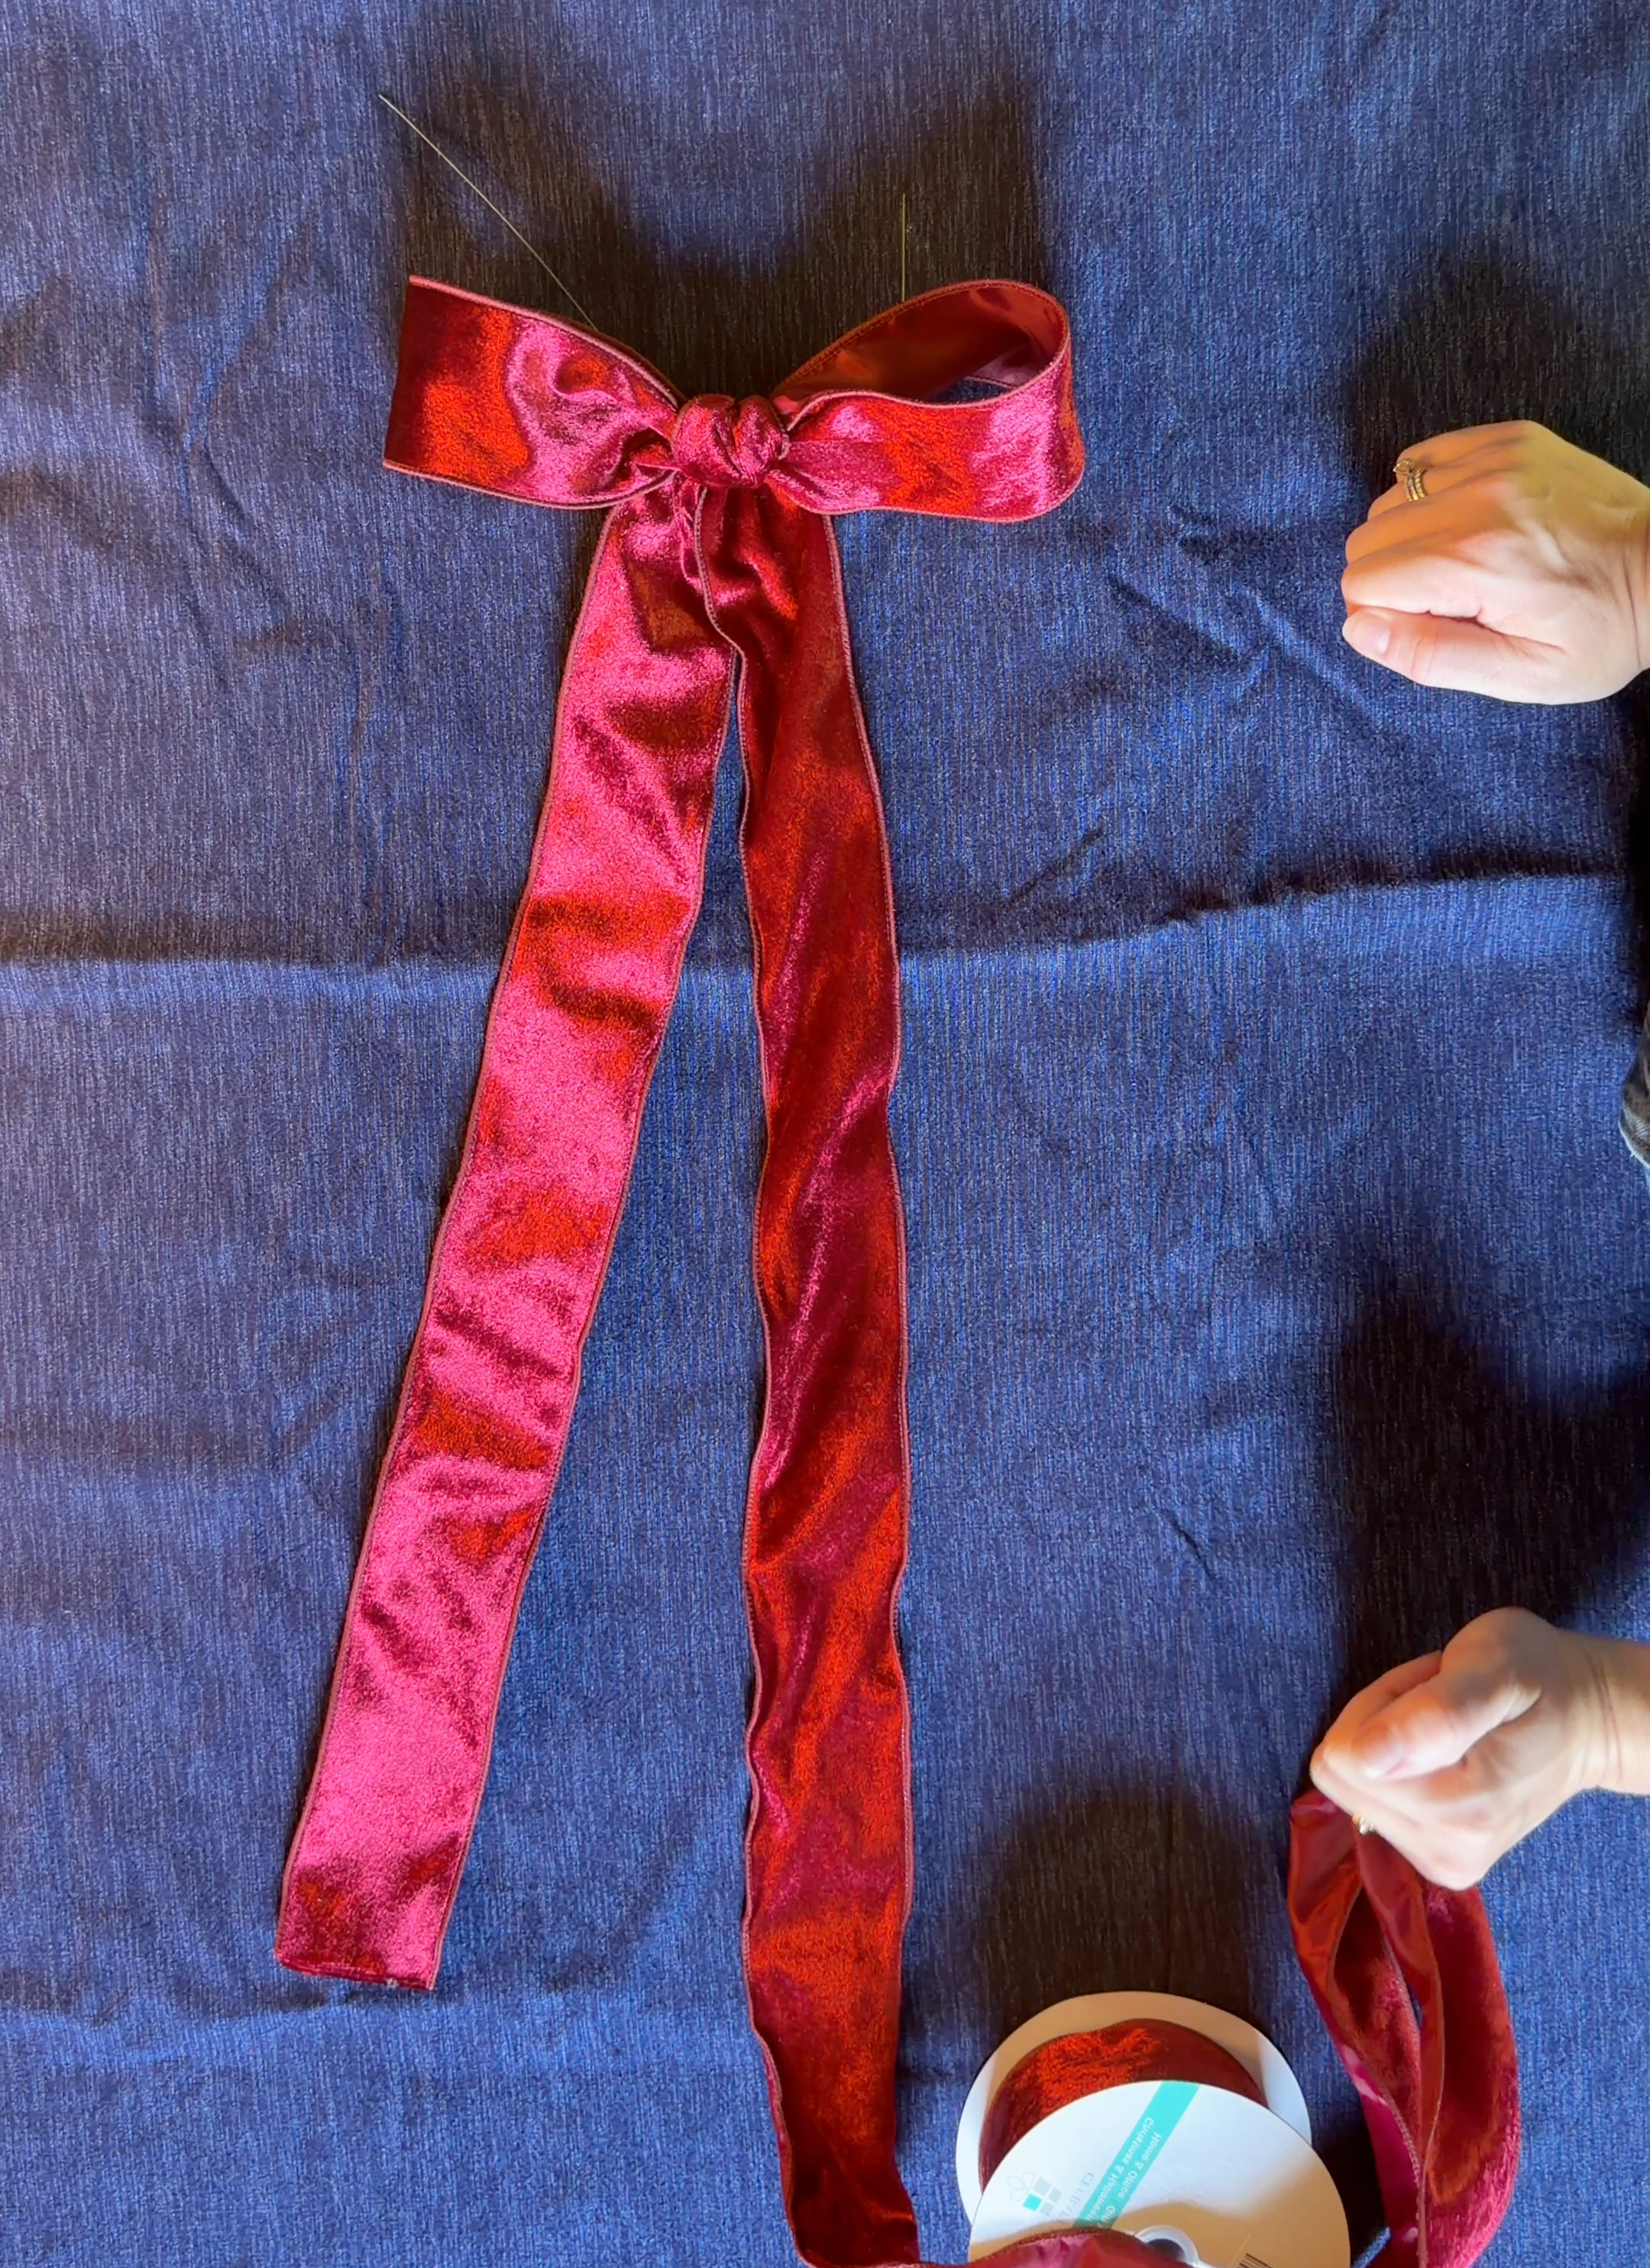
This is the step that makes it look like you actually tied a bow. The ribbon still attached to the spool is your second tail. Give the ribbon tail one small twist so the front of the ribbon faces out, then wrap it up and over the front of the wired center. Bring it around to the back, threading it between the two floral wire ends. Adjust the ribbon until it looks like a loose knot from the front.
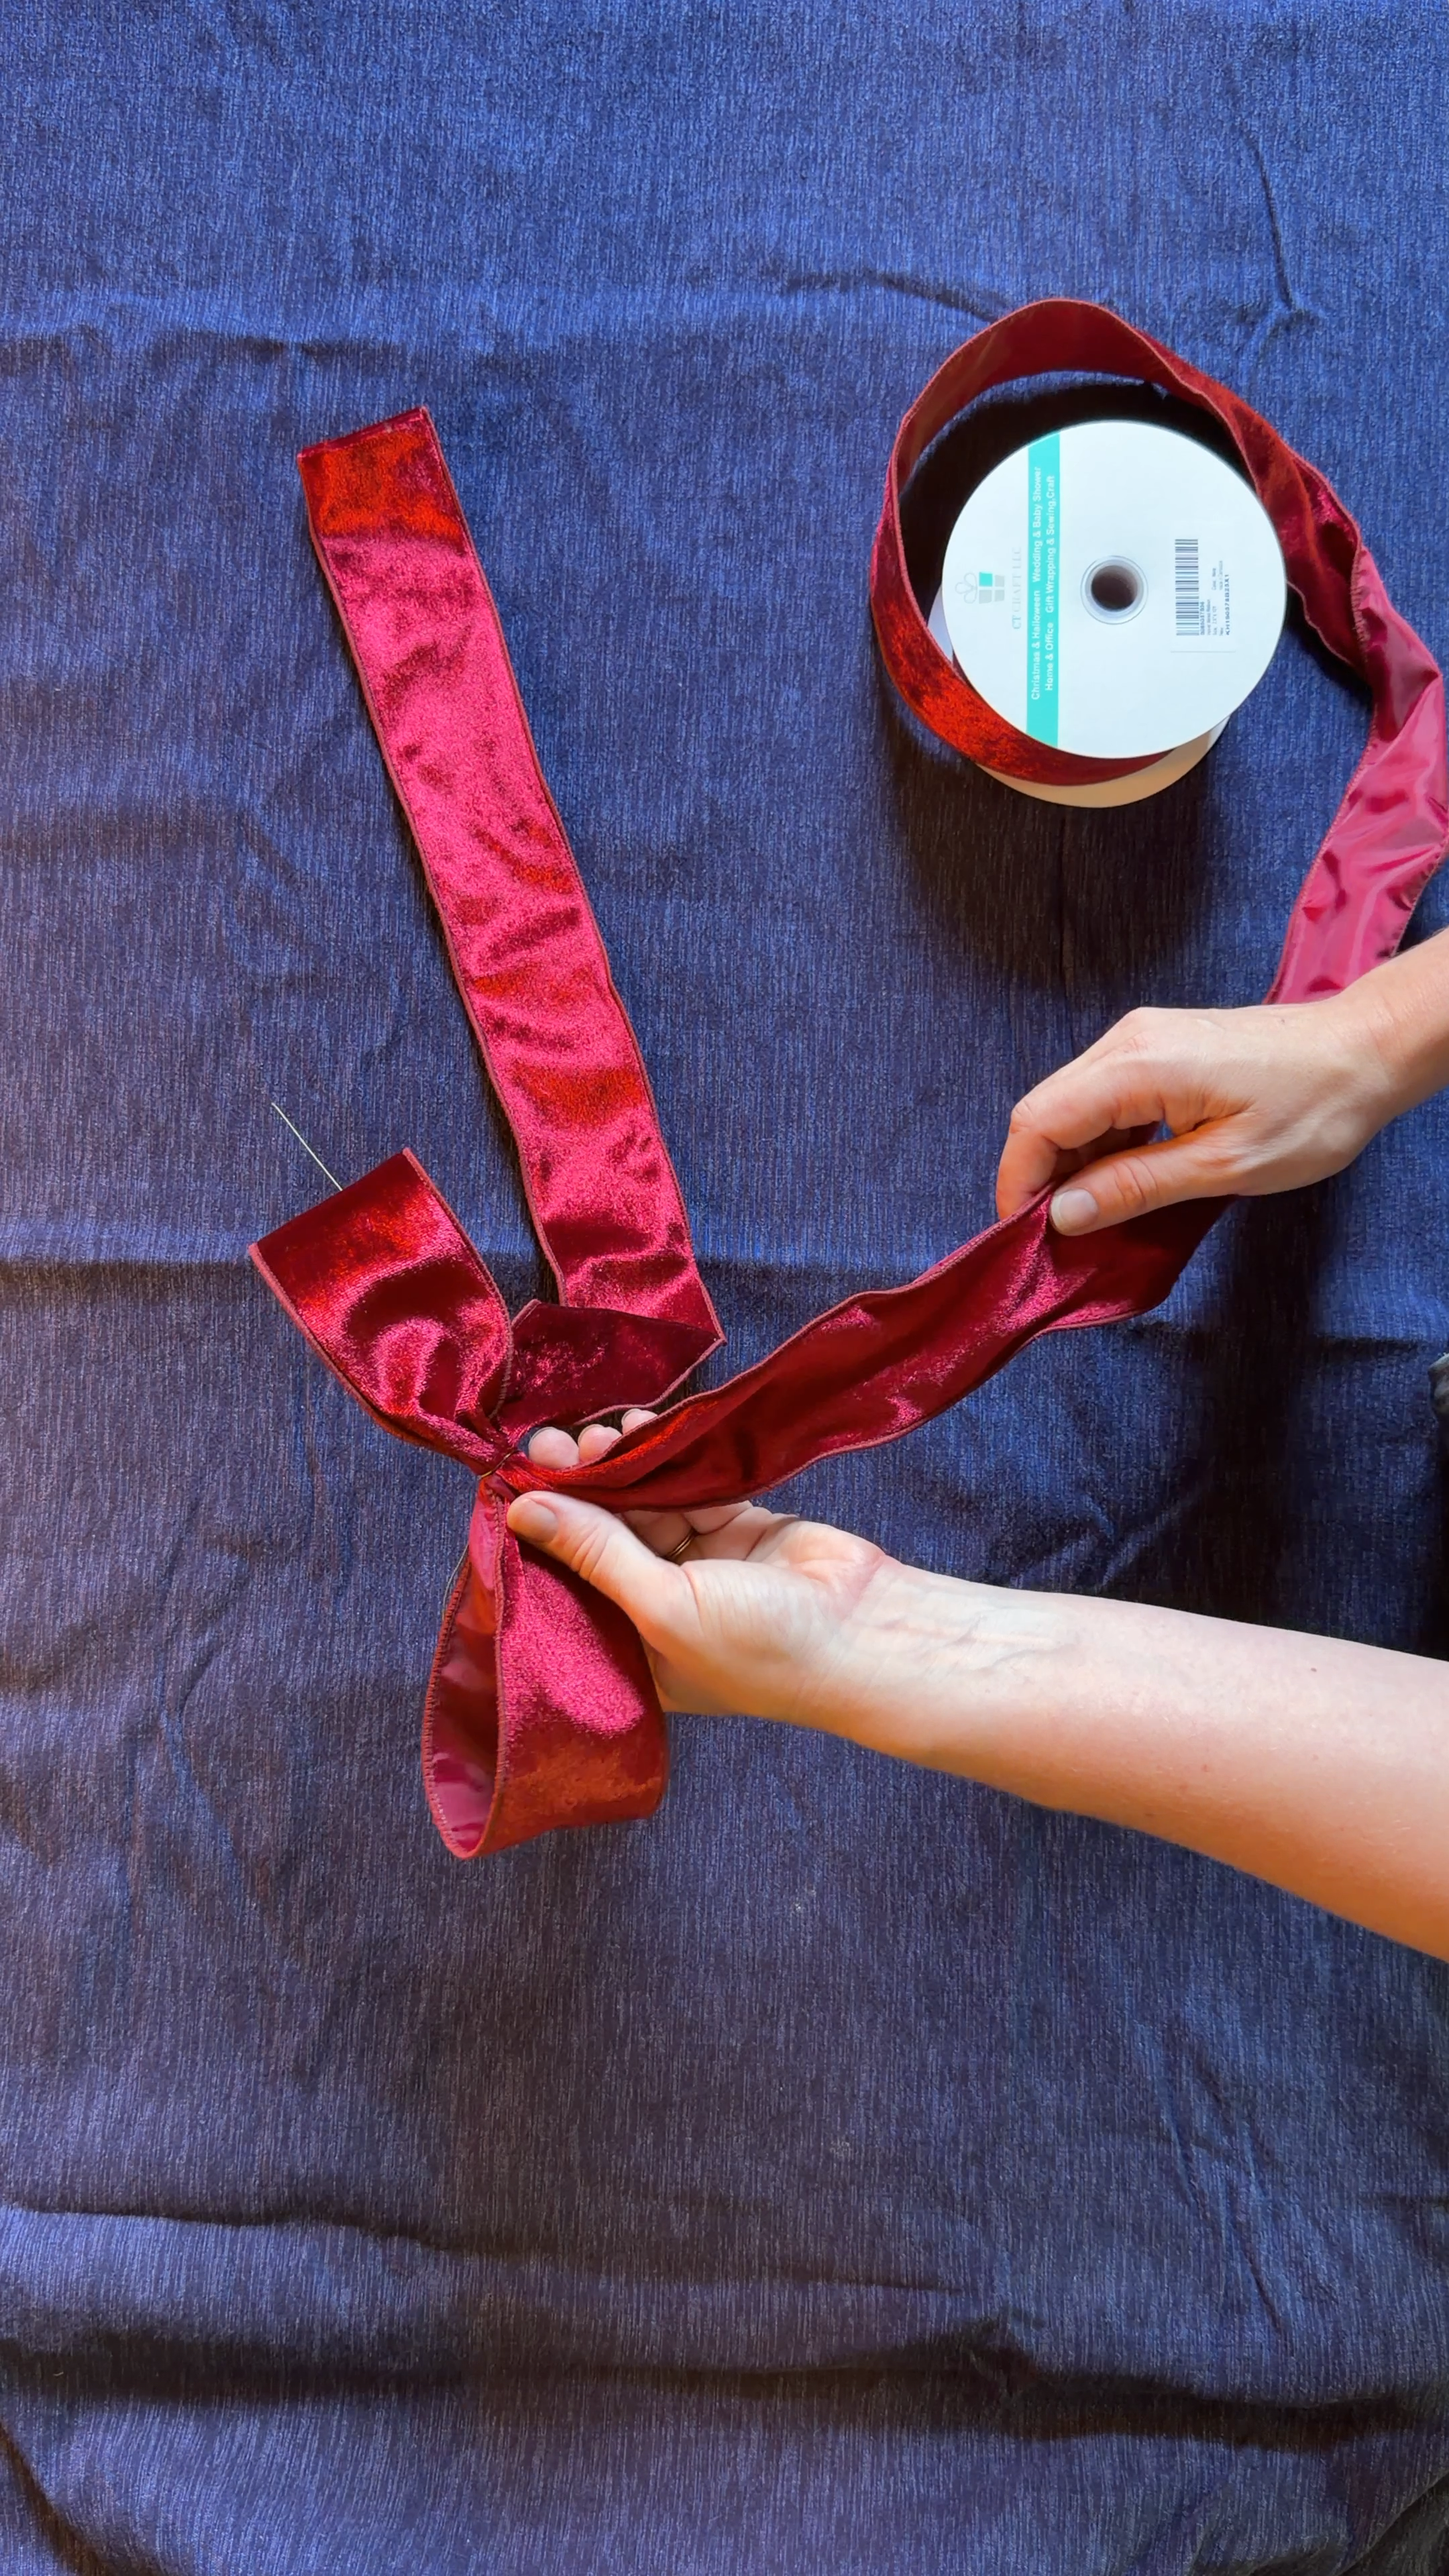
6. Secure it in the back
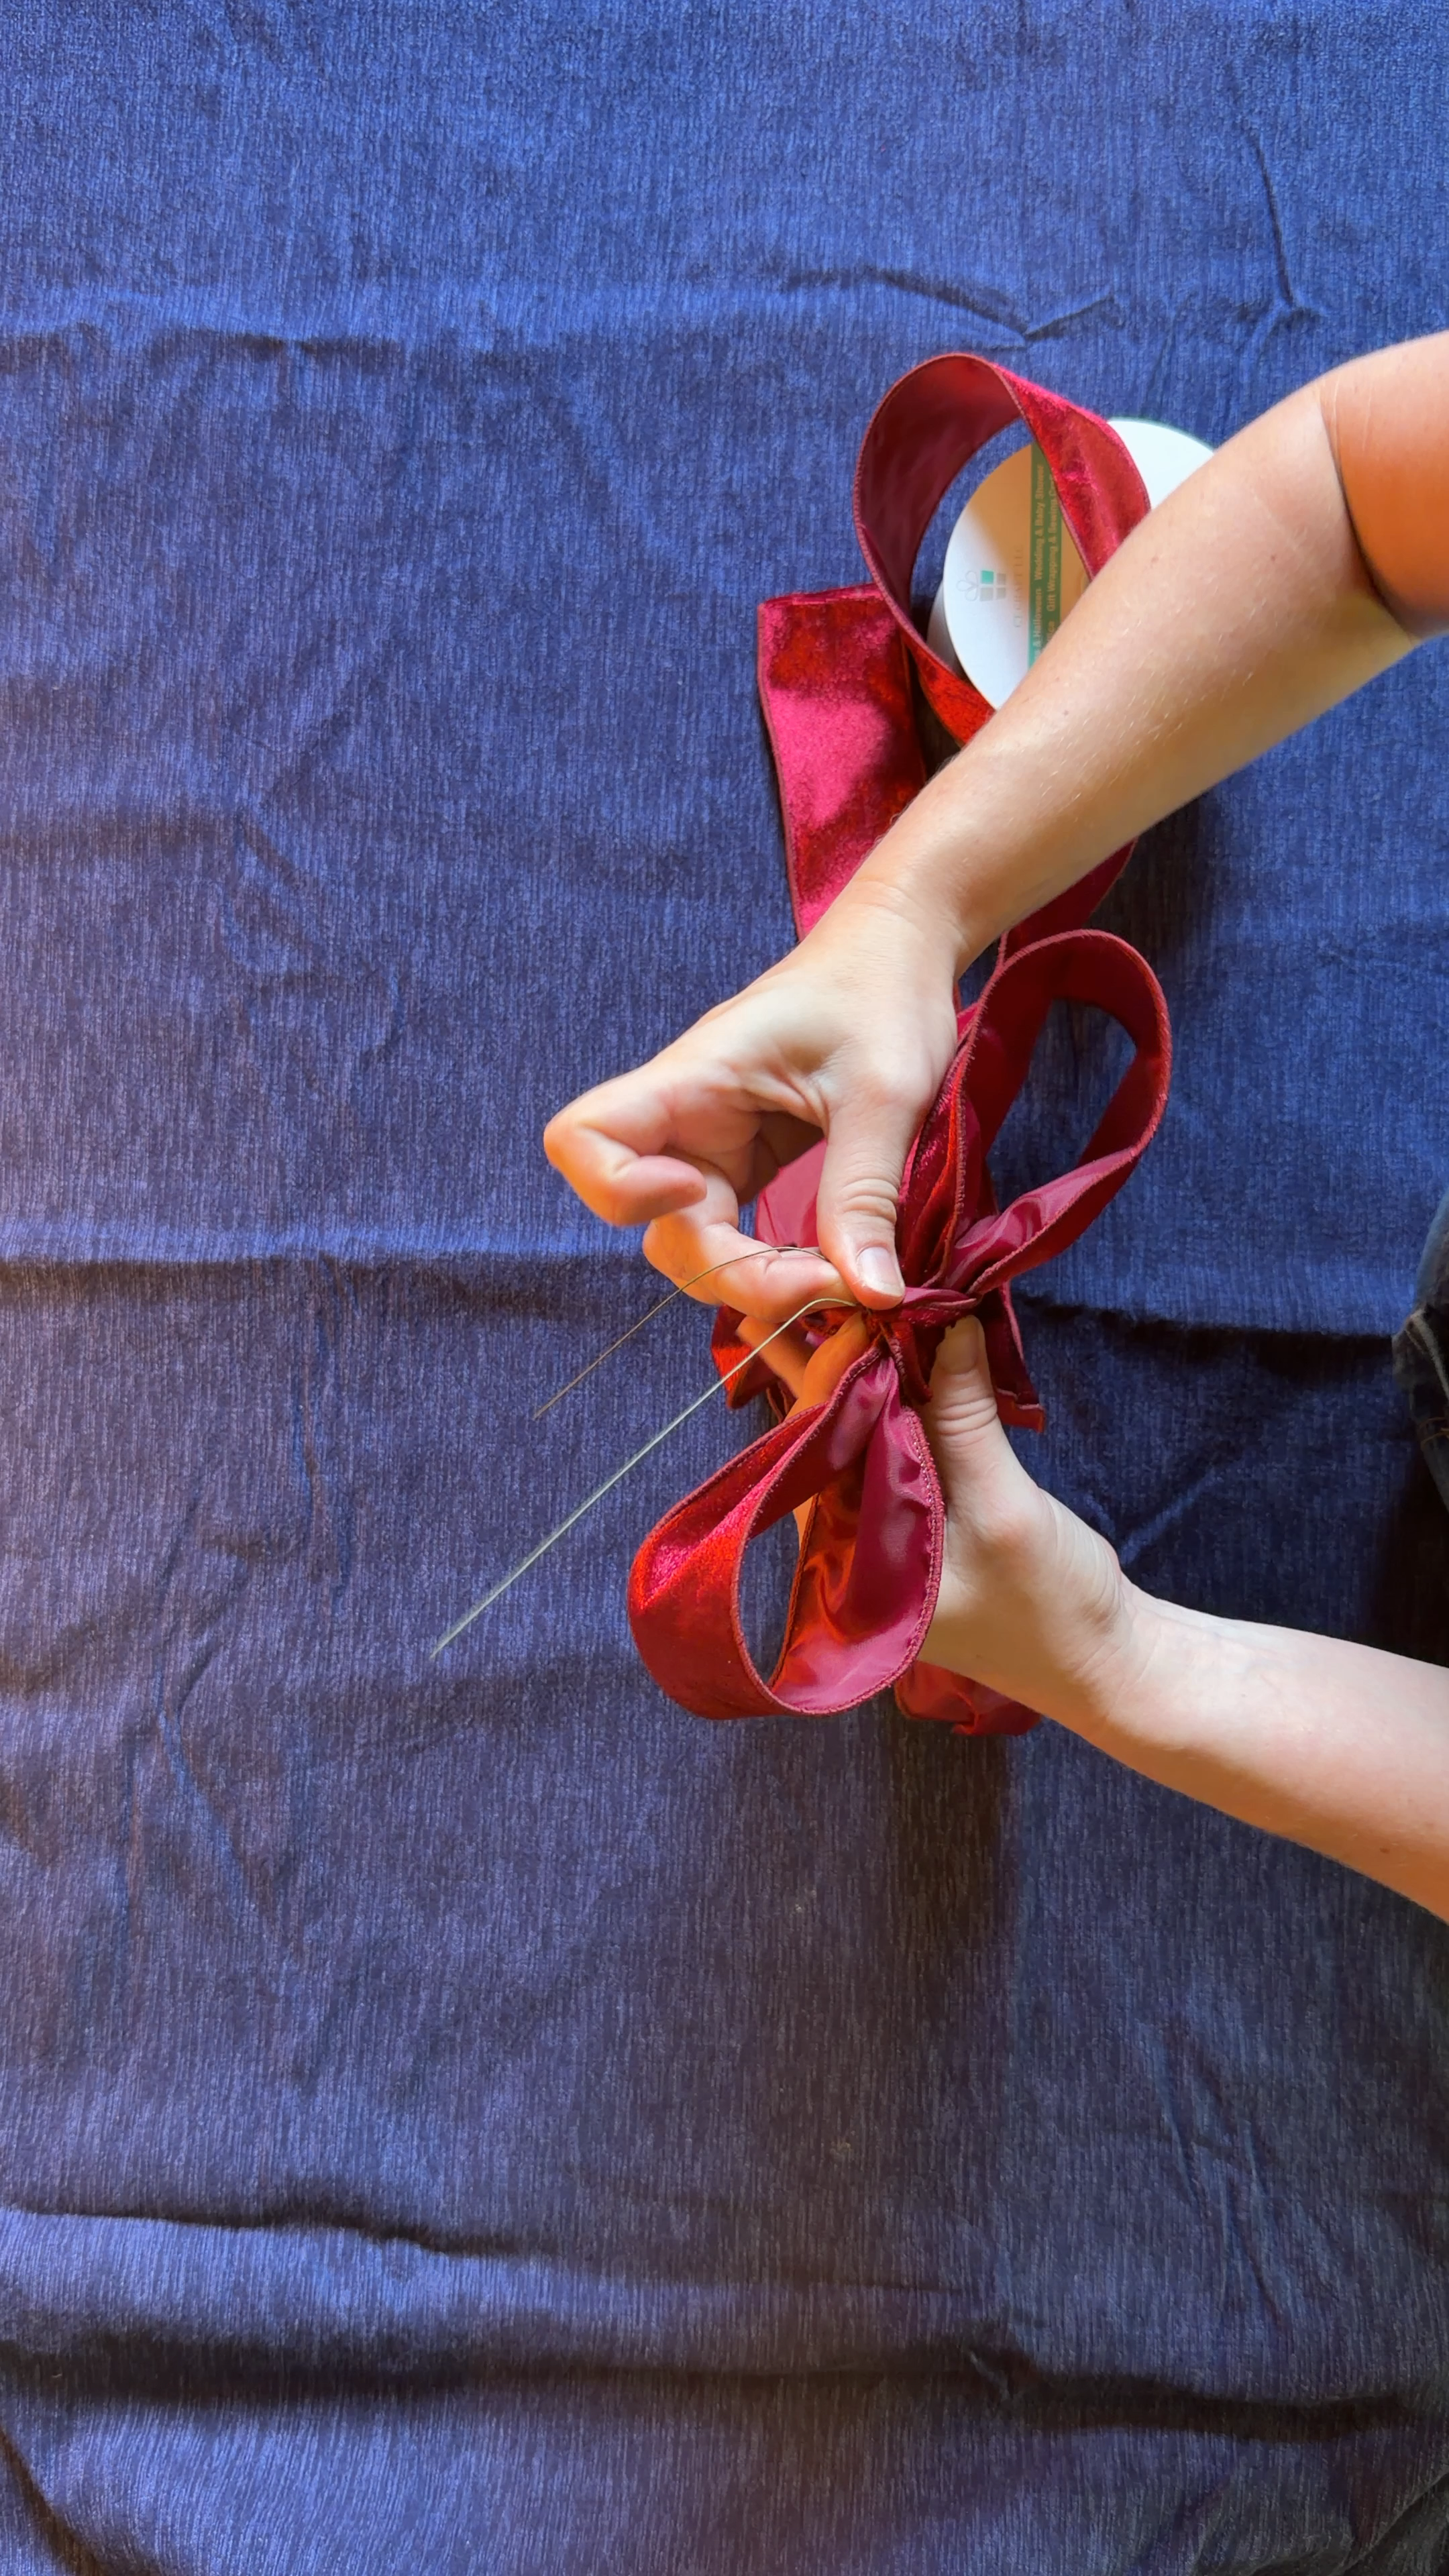
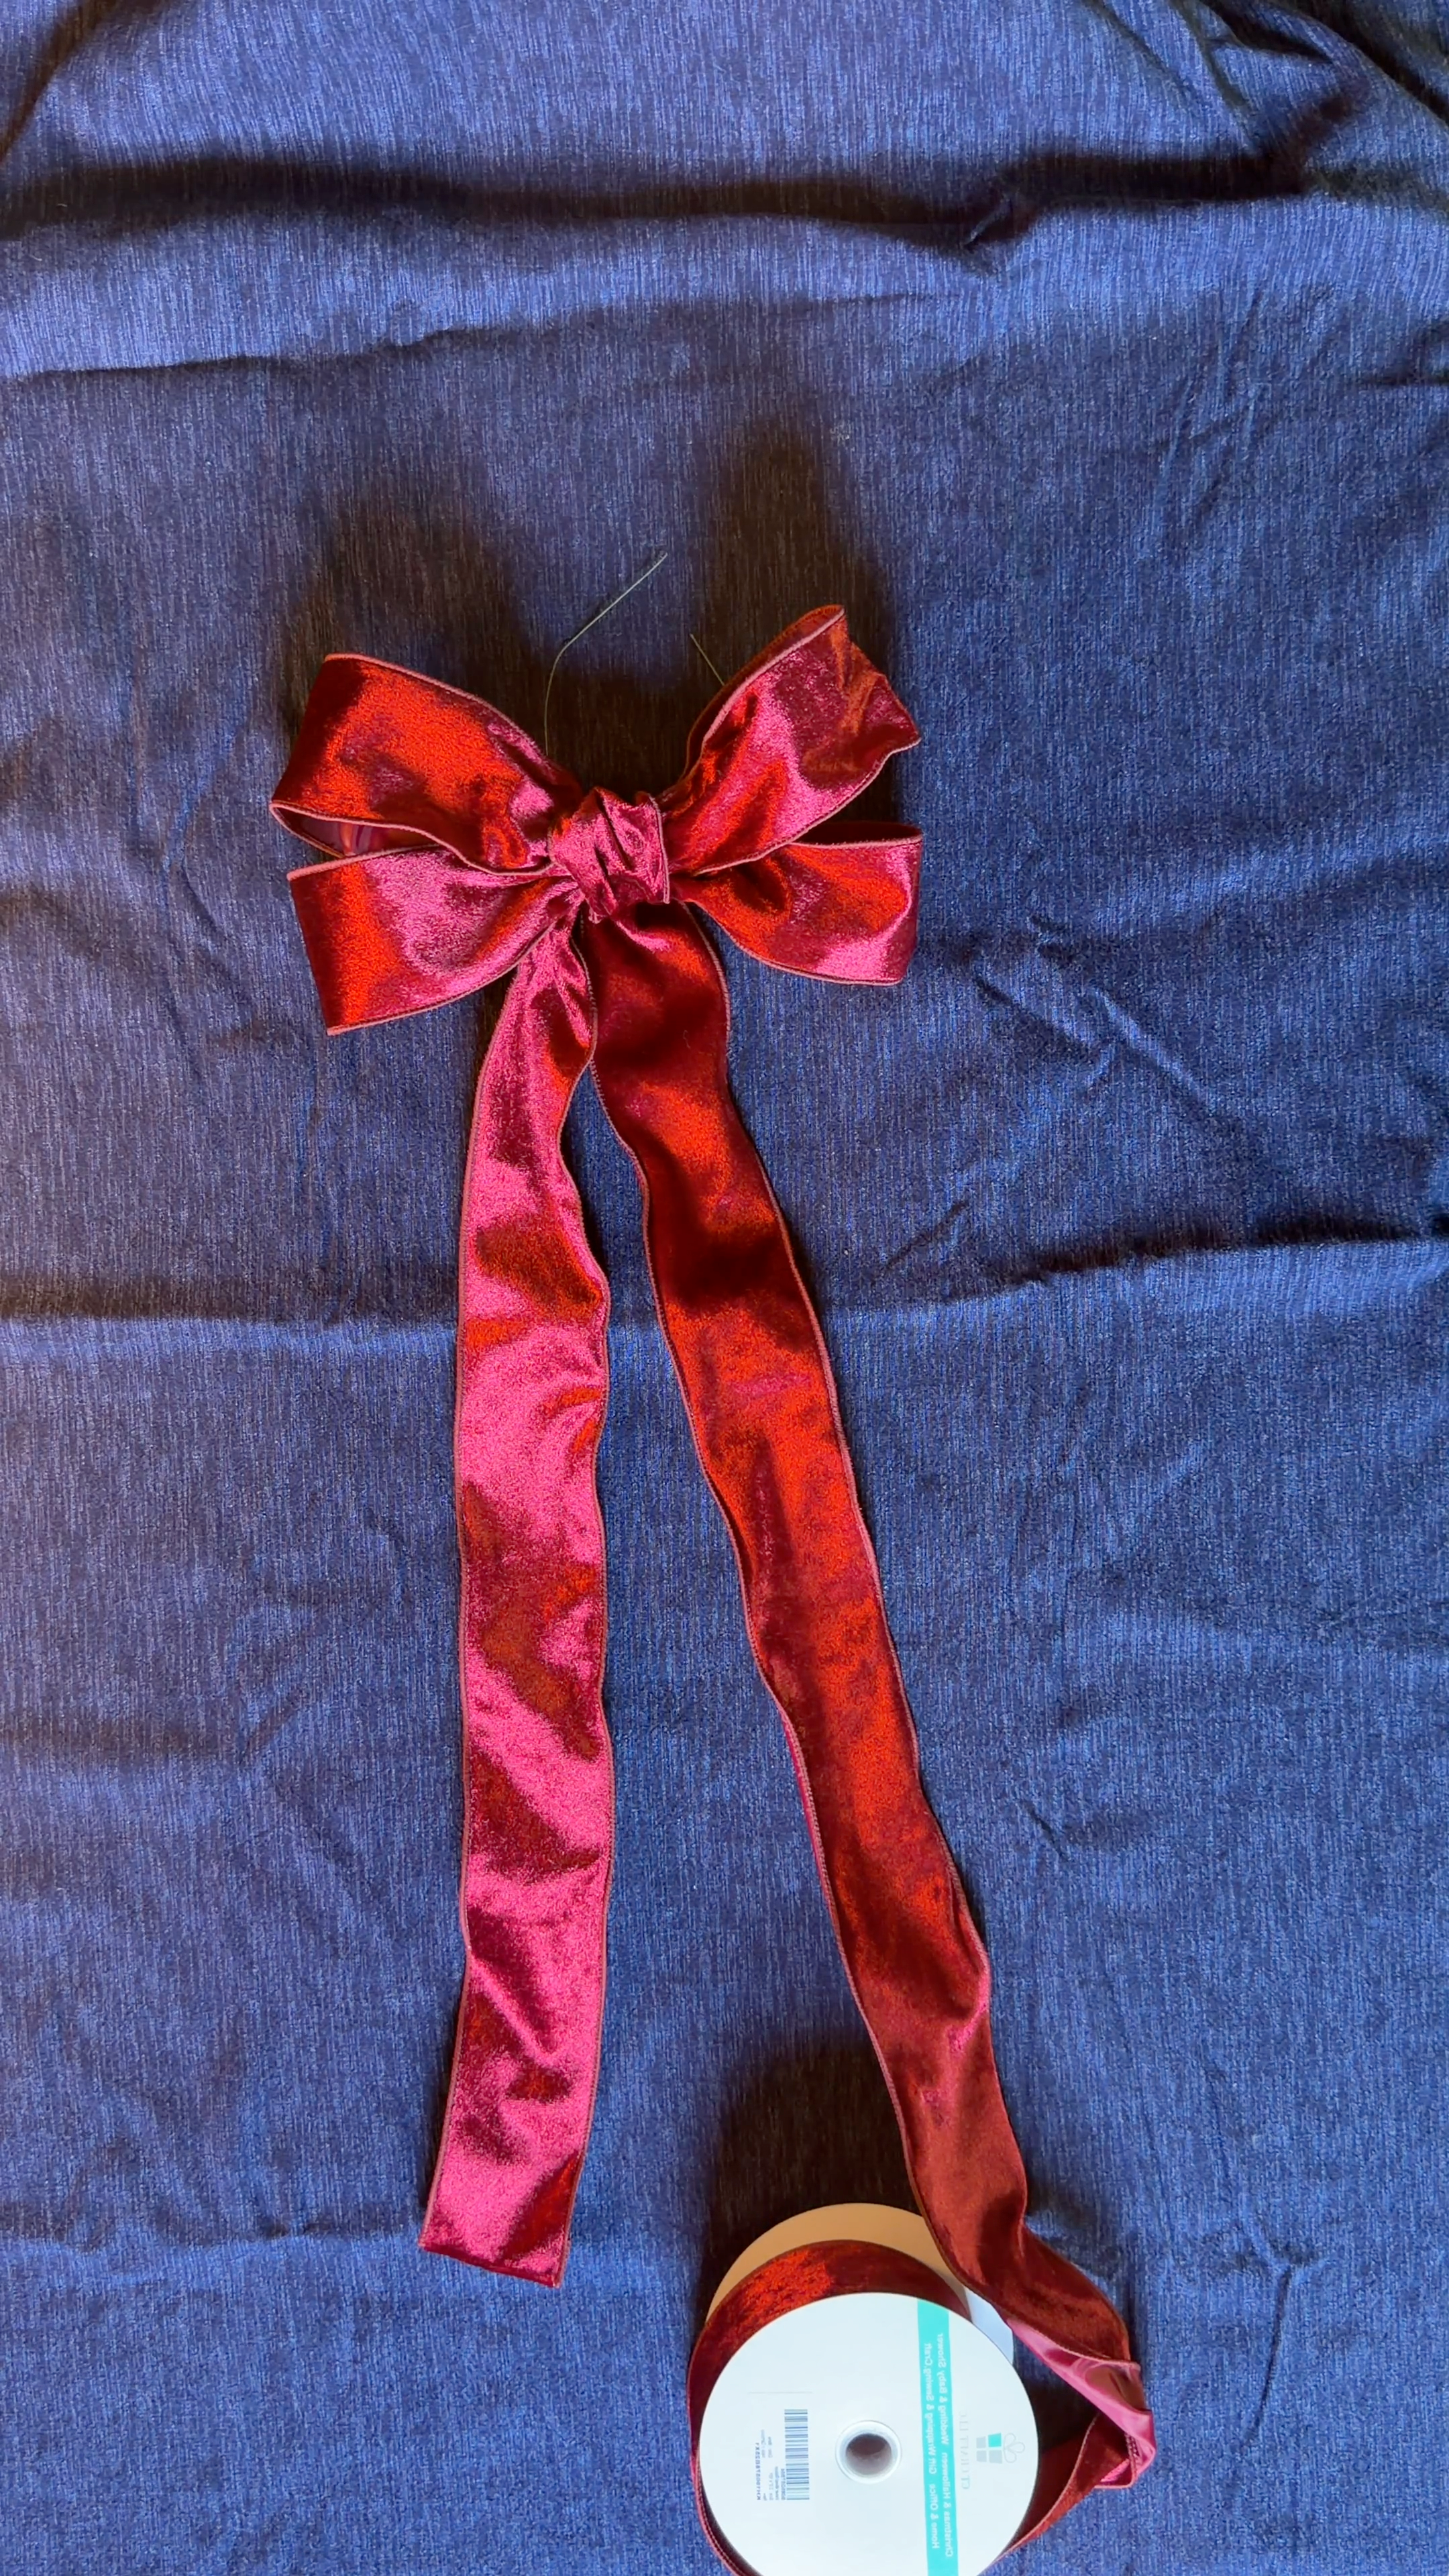
Flip your bow over so you’re looking at the back of the wired center, with the ribbon you just wrapped sitting between the two wire ends. Give that ribbon one more small twist so you’re looking at it's back side, then twist the floral wire ends together again to lock everything in place. Flip your bow back over to the front. The ribbon you just secured in the back should now hang down to as your second tail.
7. Finish it off
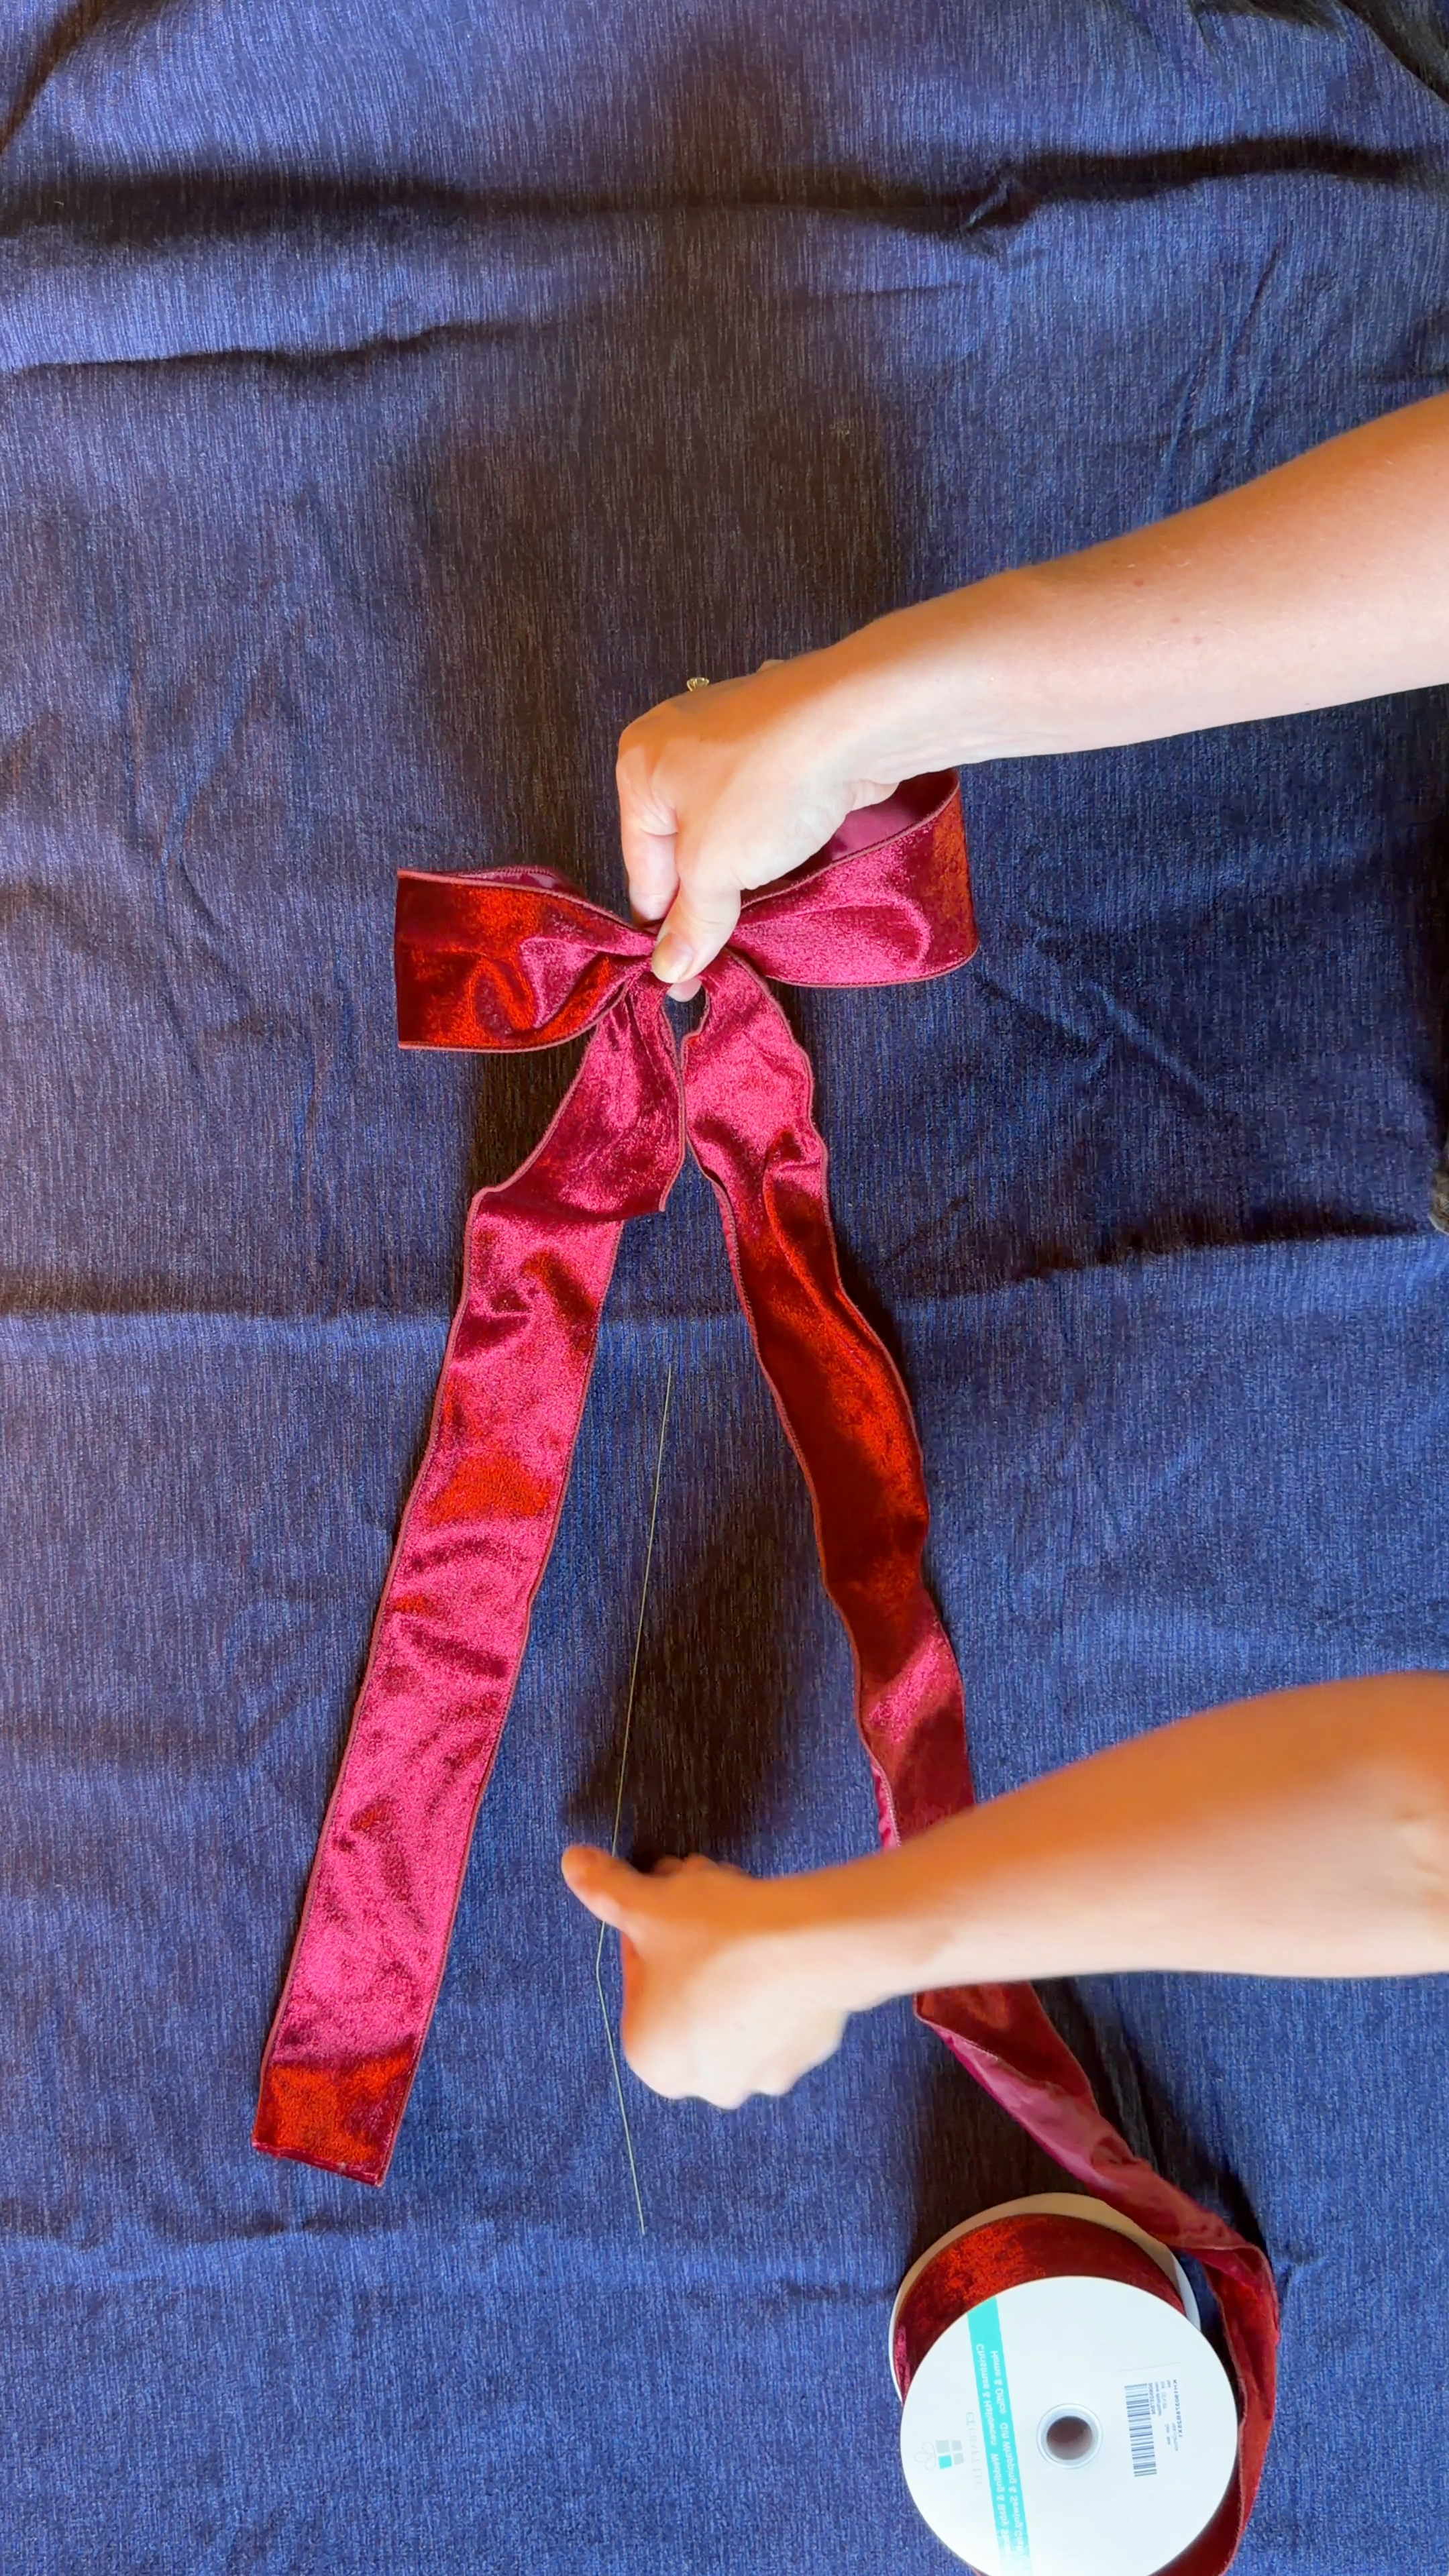
Lay the bow flat and cut the second tail to match the length of the first (personally, I like long tails). As a rule of thumb, make each tail at least three times the length of your bow loops. Take a minute to style the loops and the “knot” exactly how you want them. This is the beauty of wired ribbon—it’s much easier to reshape at the end, and it’s forgiving of anything that went sideways earlier.
8. Attach the bow to a wreath or garland
Here's the bonus of using floral wire: your bow already has a built-in hanger. Loop the wire ends around a wreath, a garland, or a bannister–anywhere you want to hang a bow. Twist to secure, then clip or tuck away any extra wire that’s showing.
Other Variations
Double loop (or more)
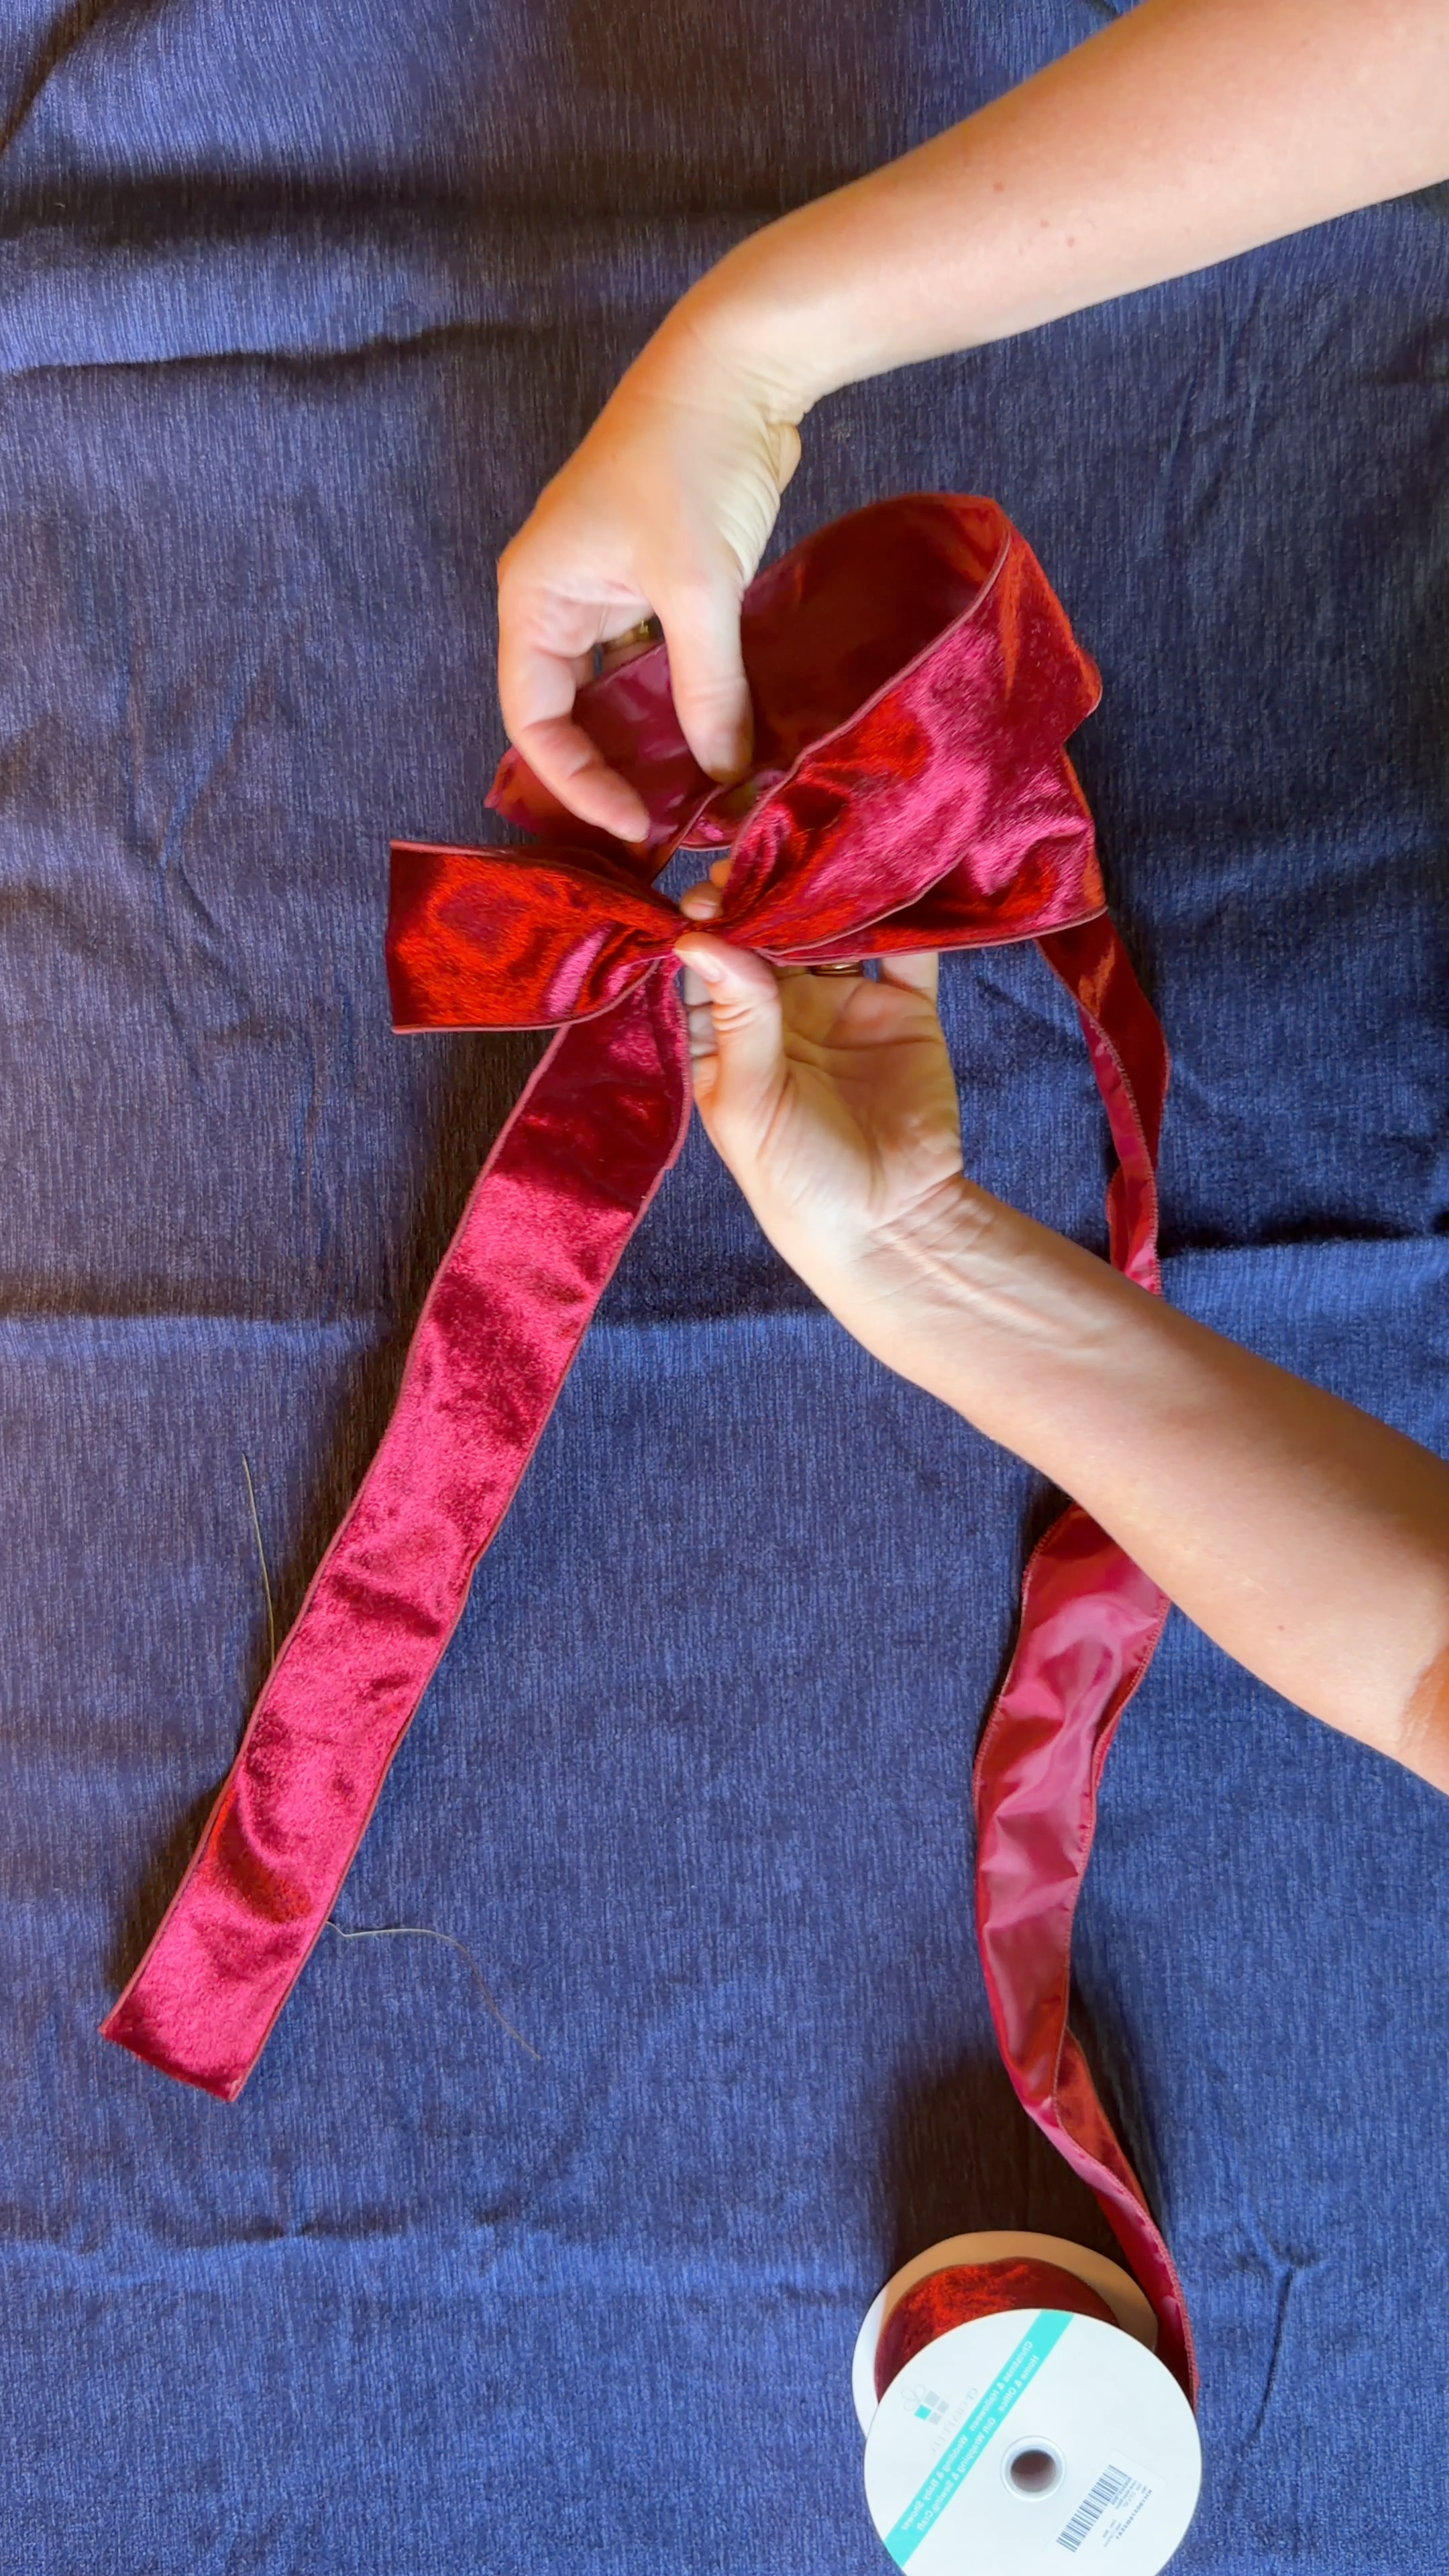
For a bigger, fuller bow, add more loops before you wire the center. After your first loop on each side, just repeat: pull the ribbon out, loop it back, pinch, and stack it with the others. Two loops per side gives you a double loop bow. Keep going to six or eight loops and you'll get something close to a full circle.
Everything after that stays the same: wire the center, wrap the knot with a small twist, secure it in the back, and cut your tails. Don't worry if the loops shift while you're wiring. You can fluff and reshape them once it's secured.
Add a second-color tail
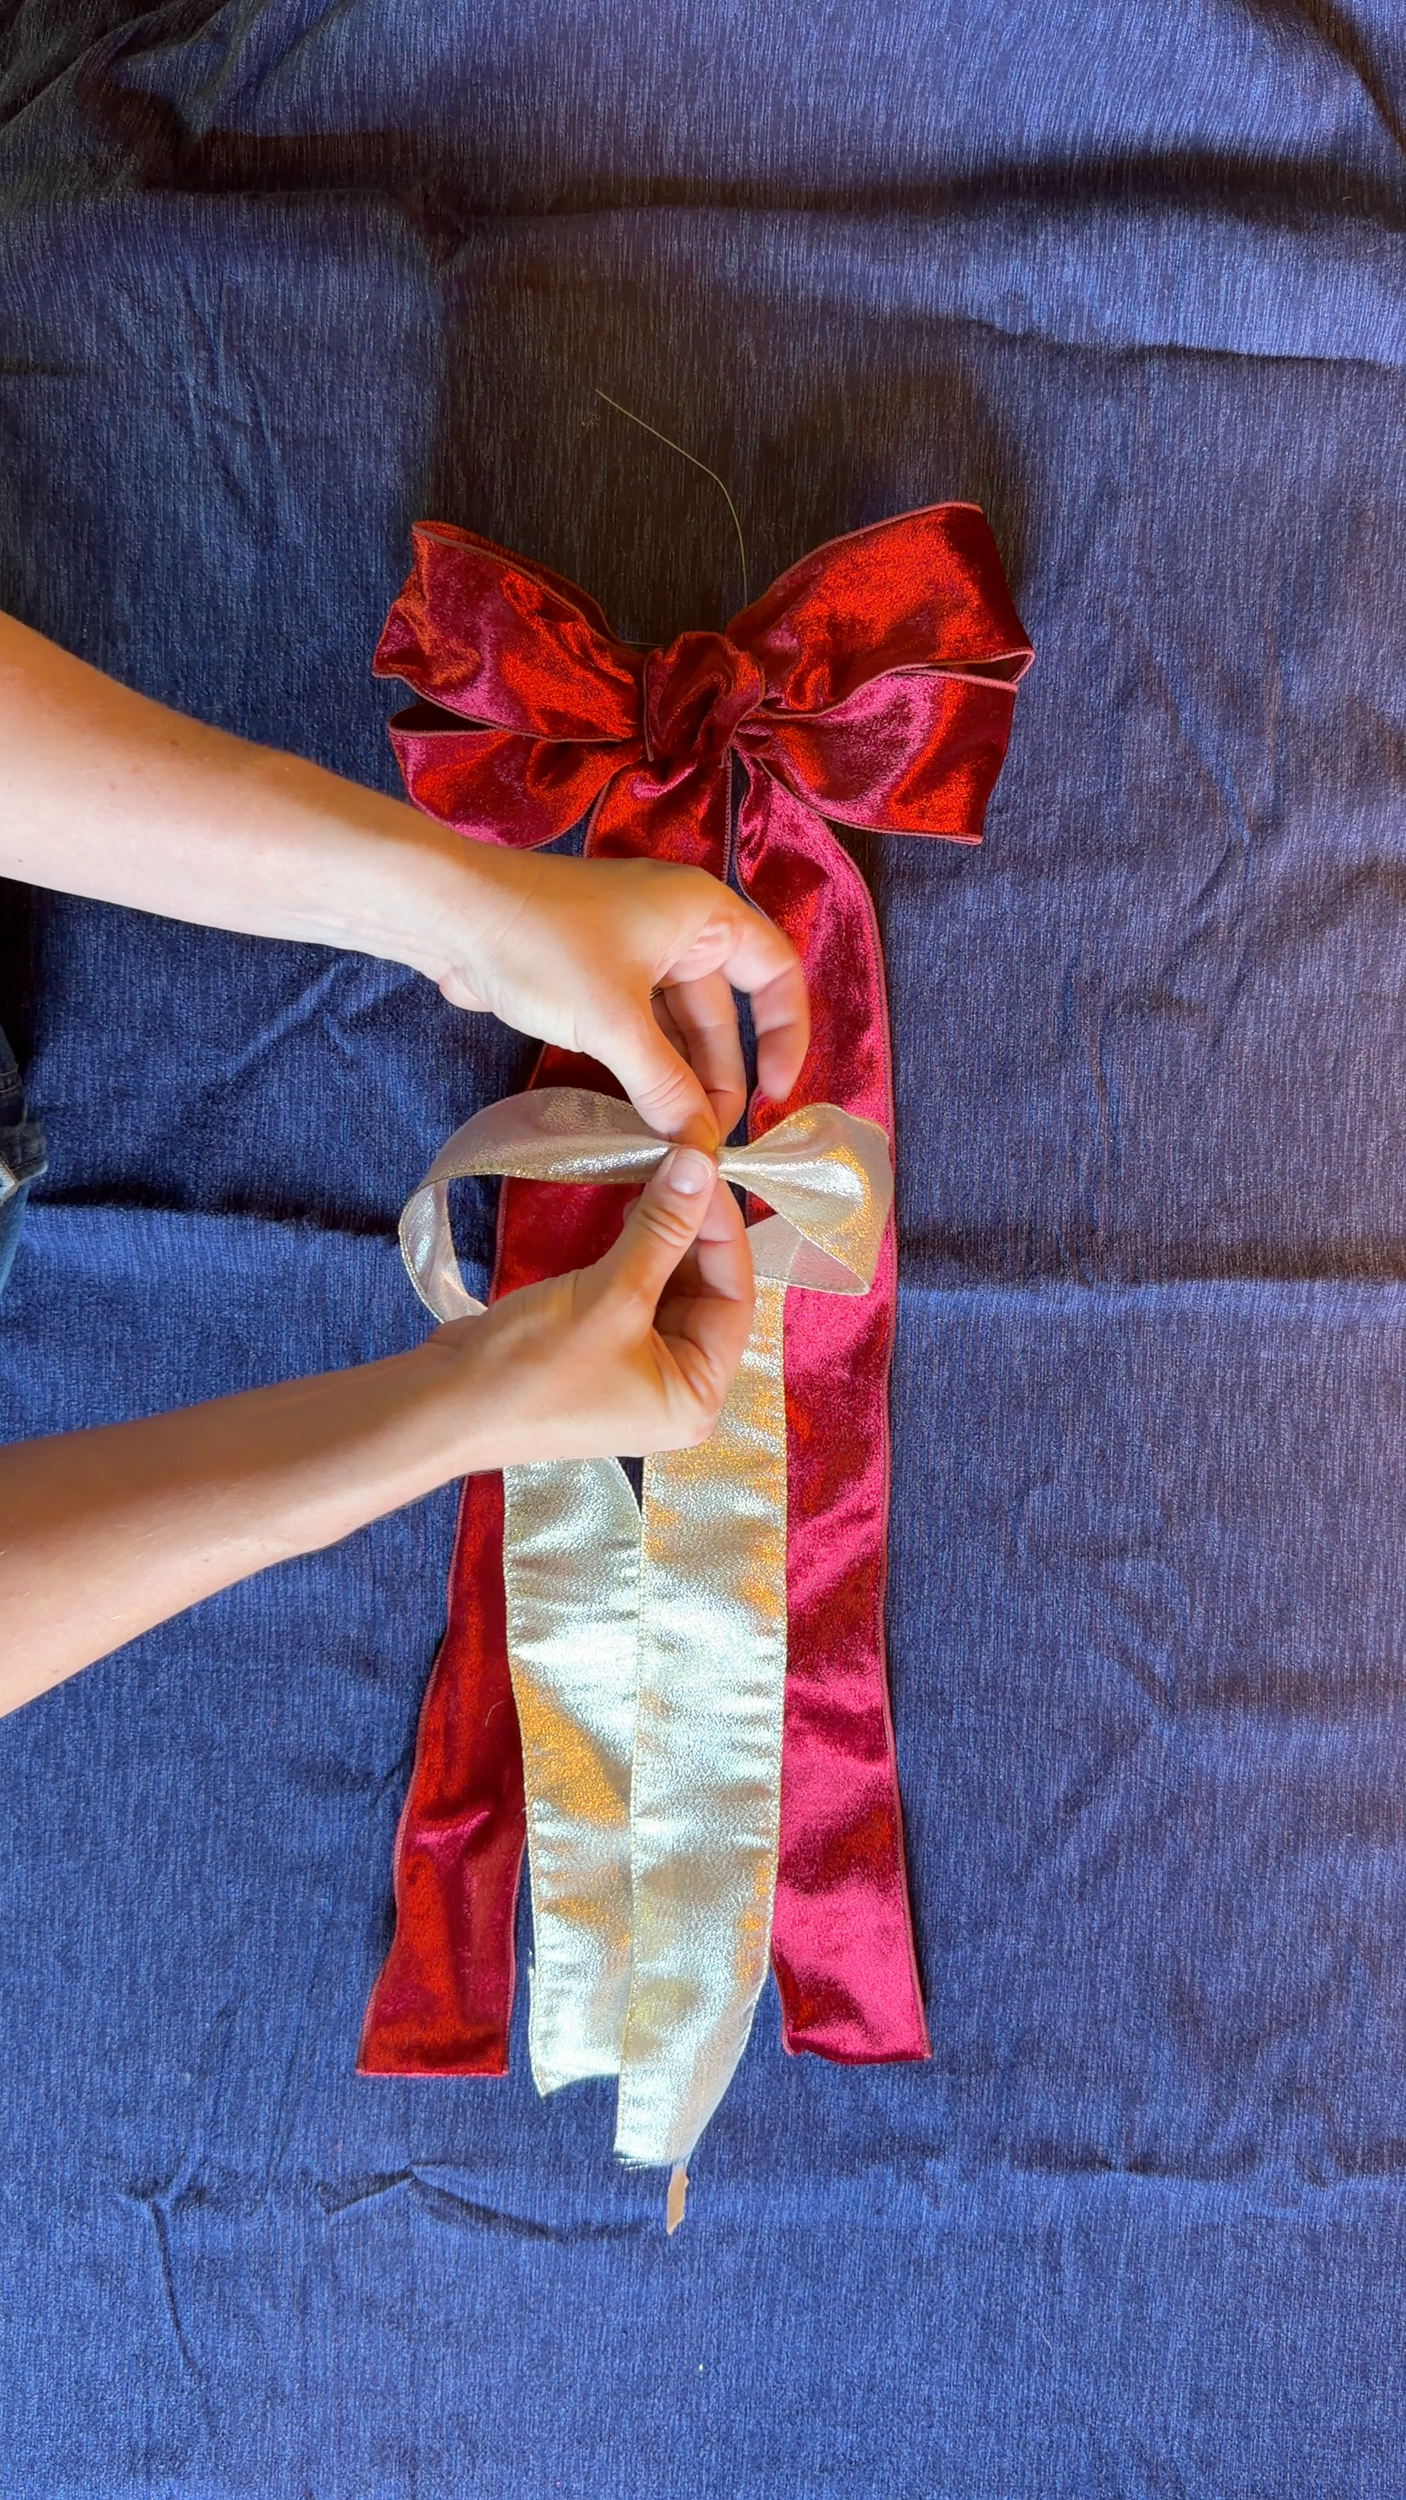
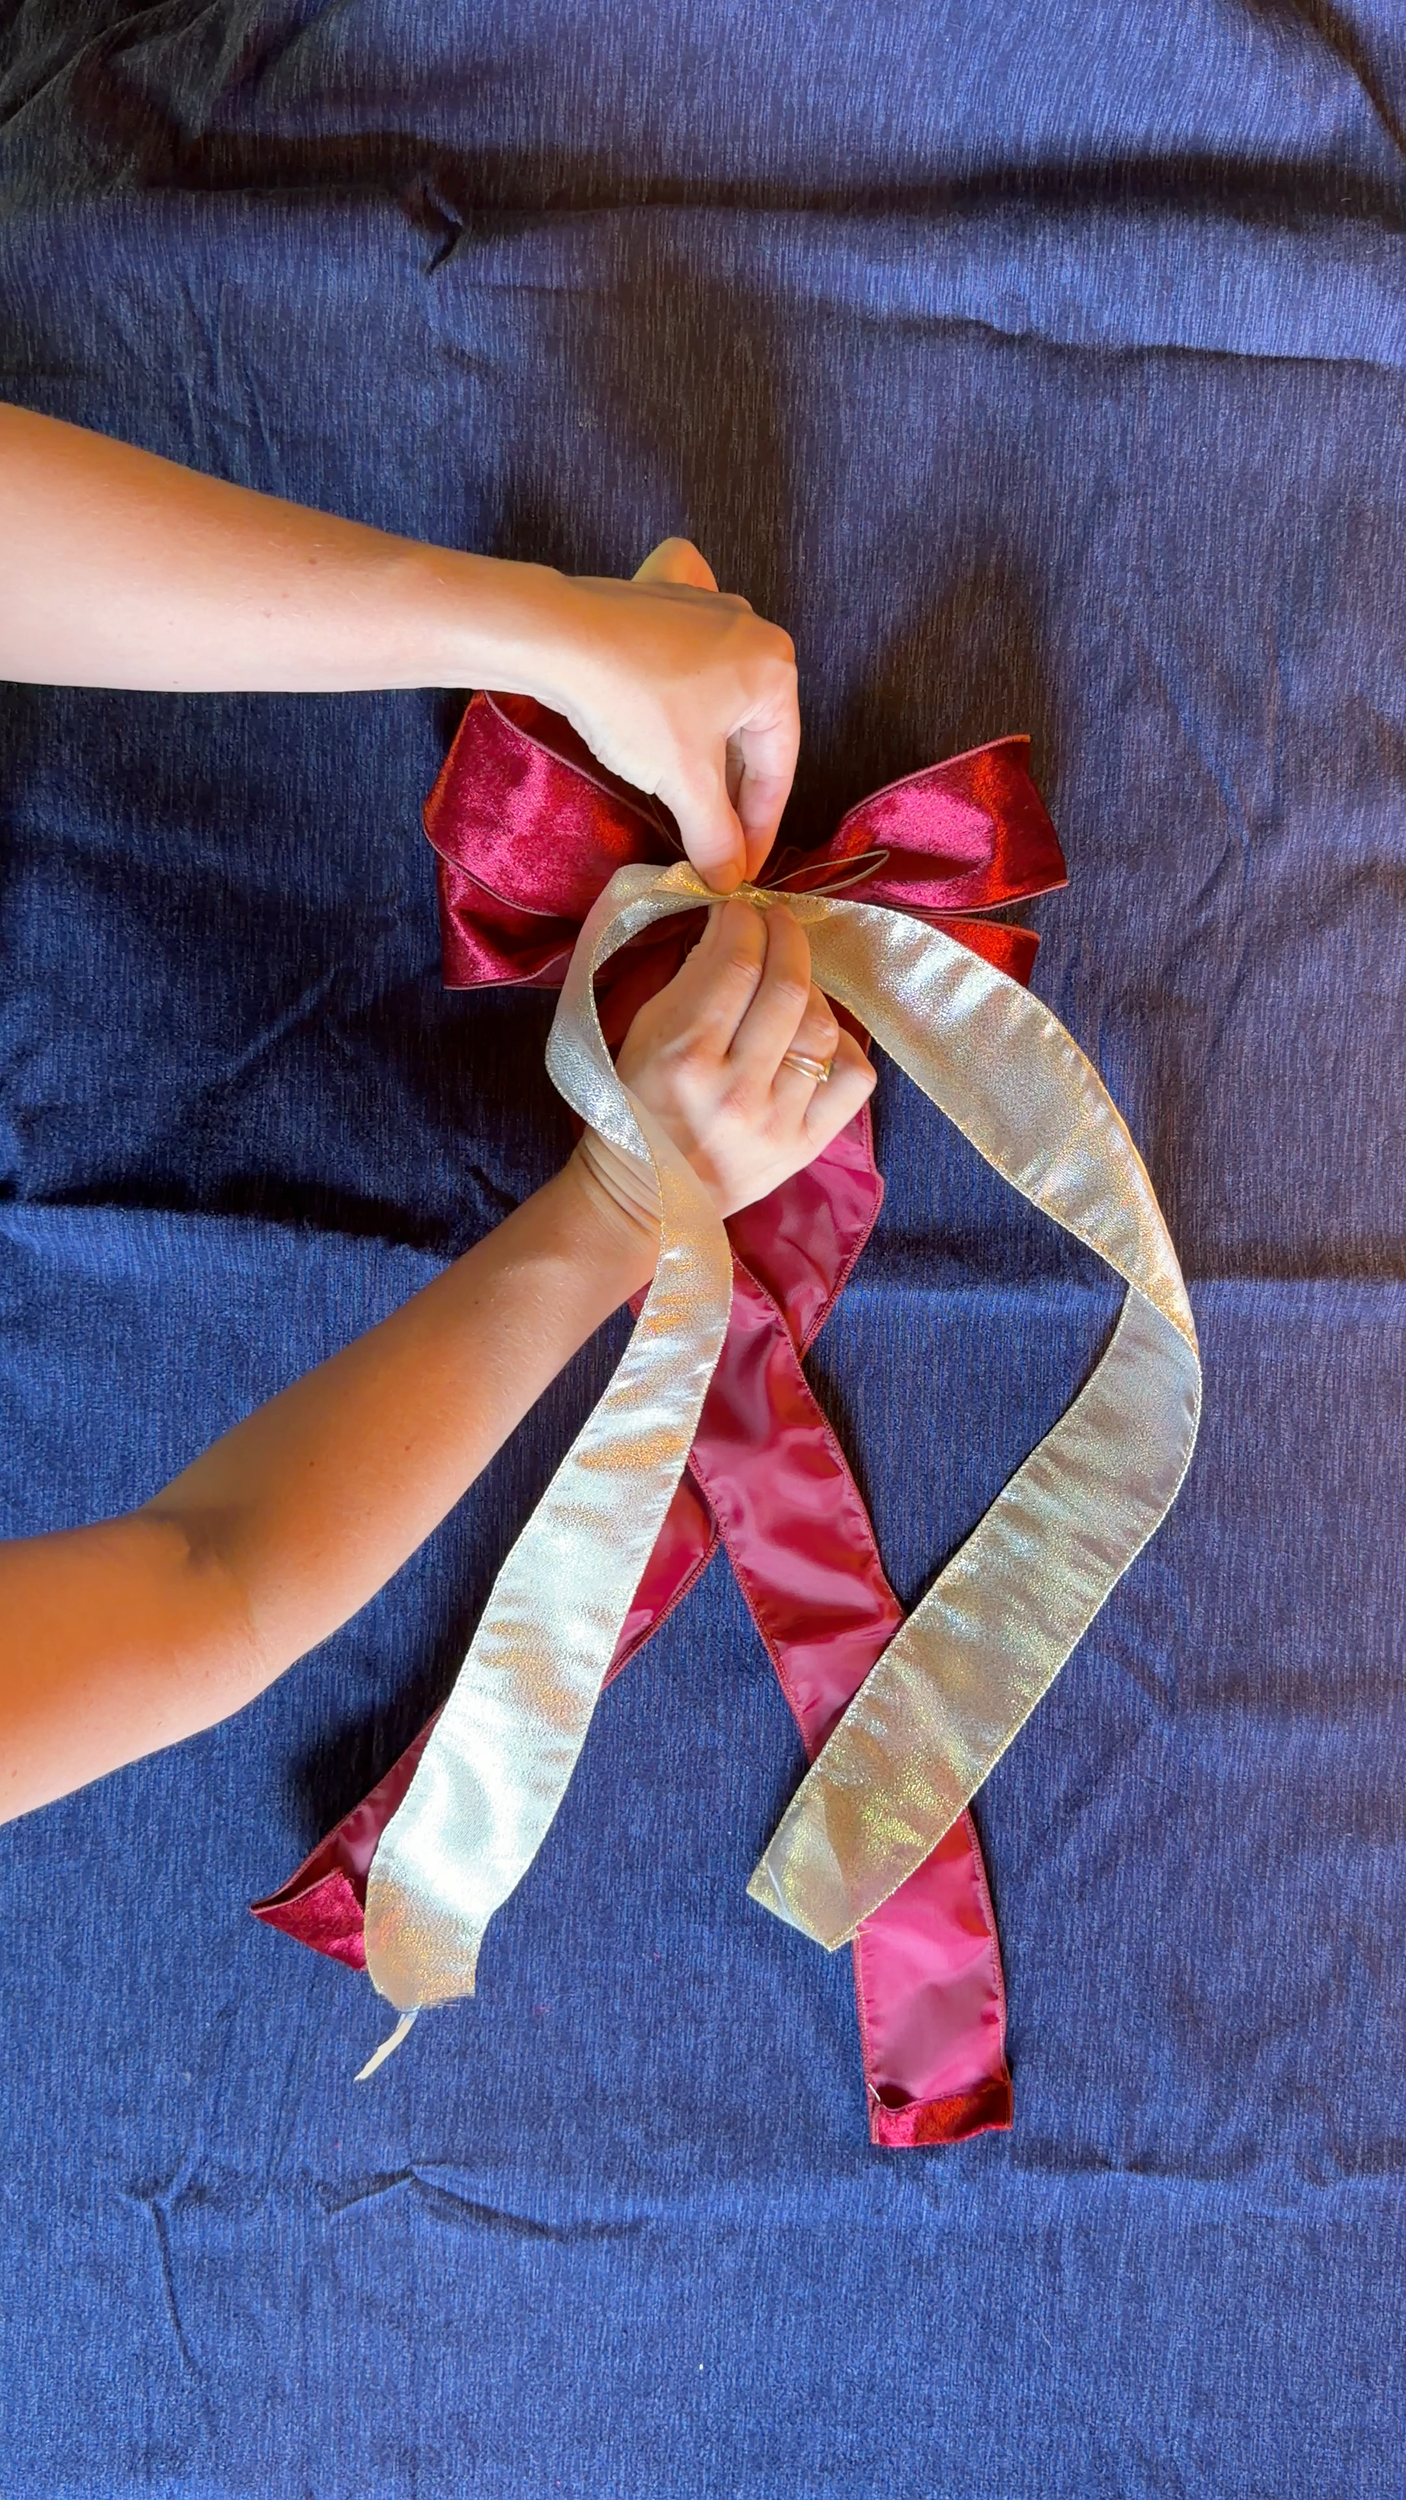
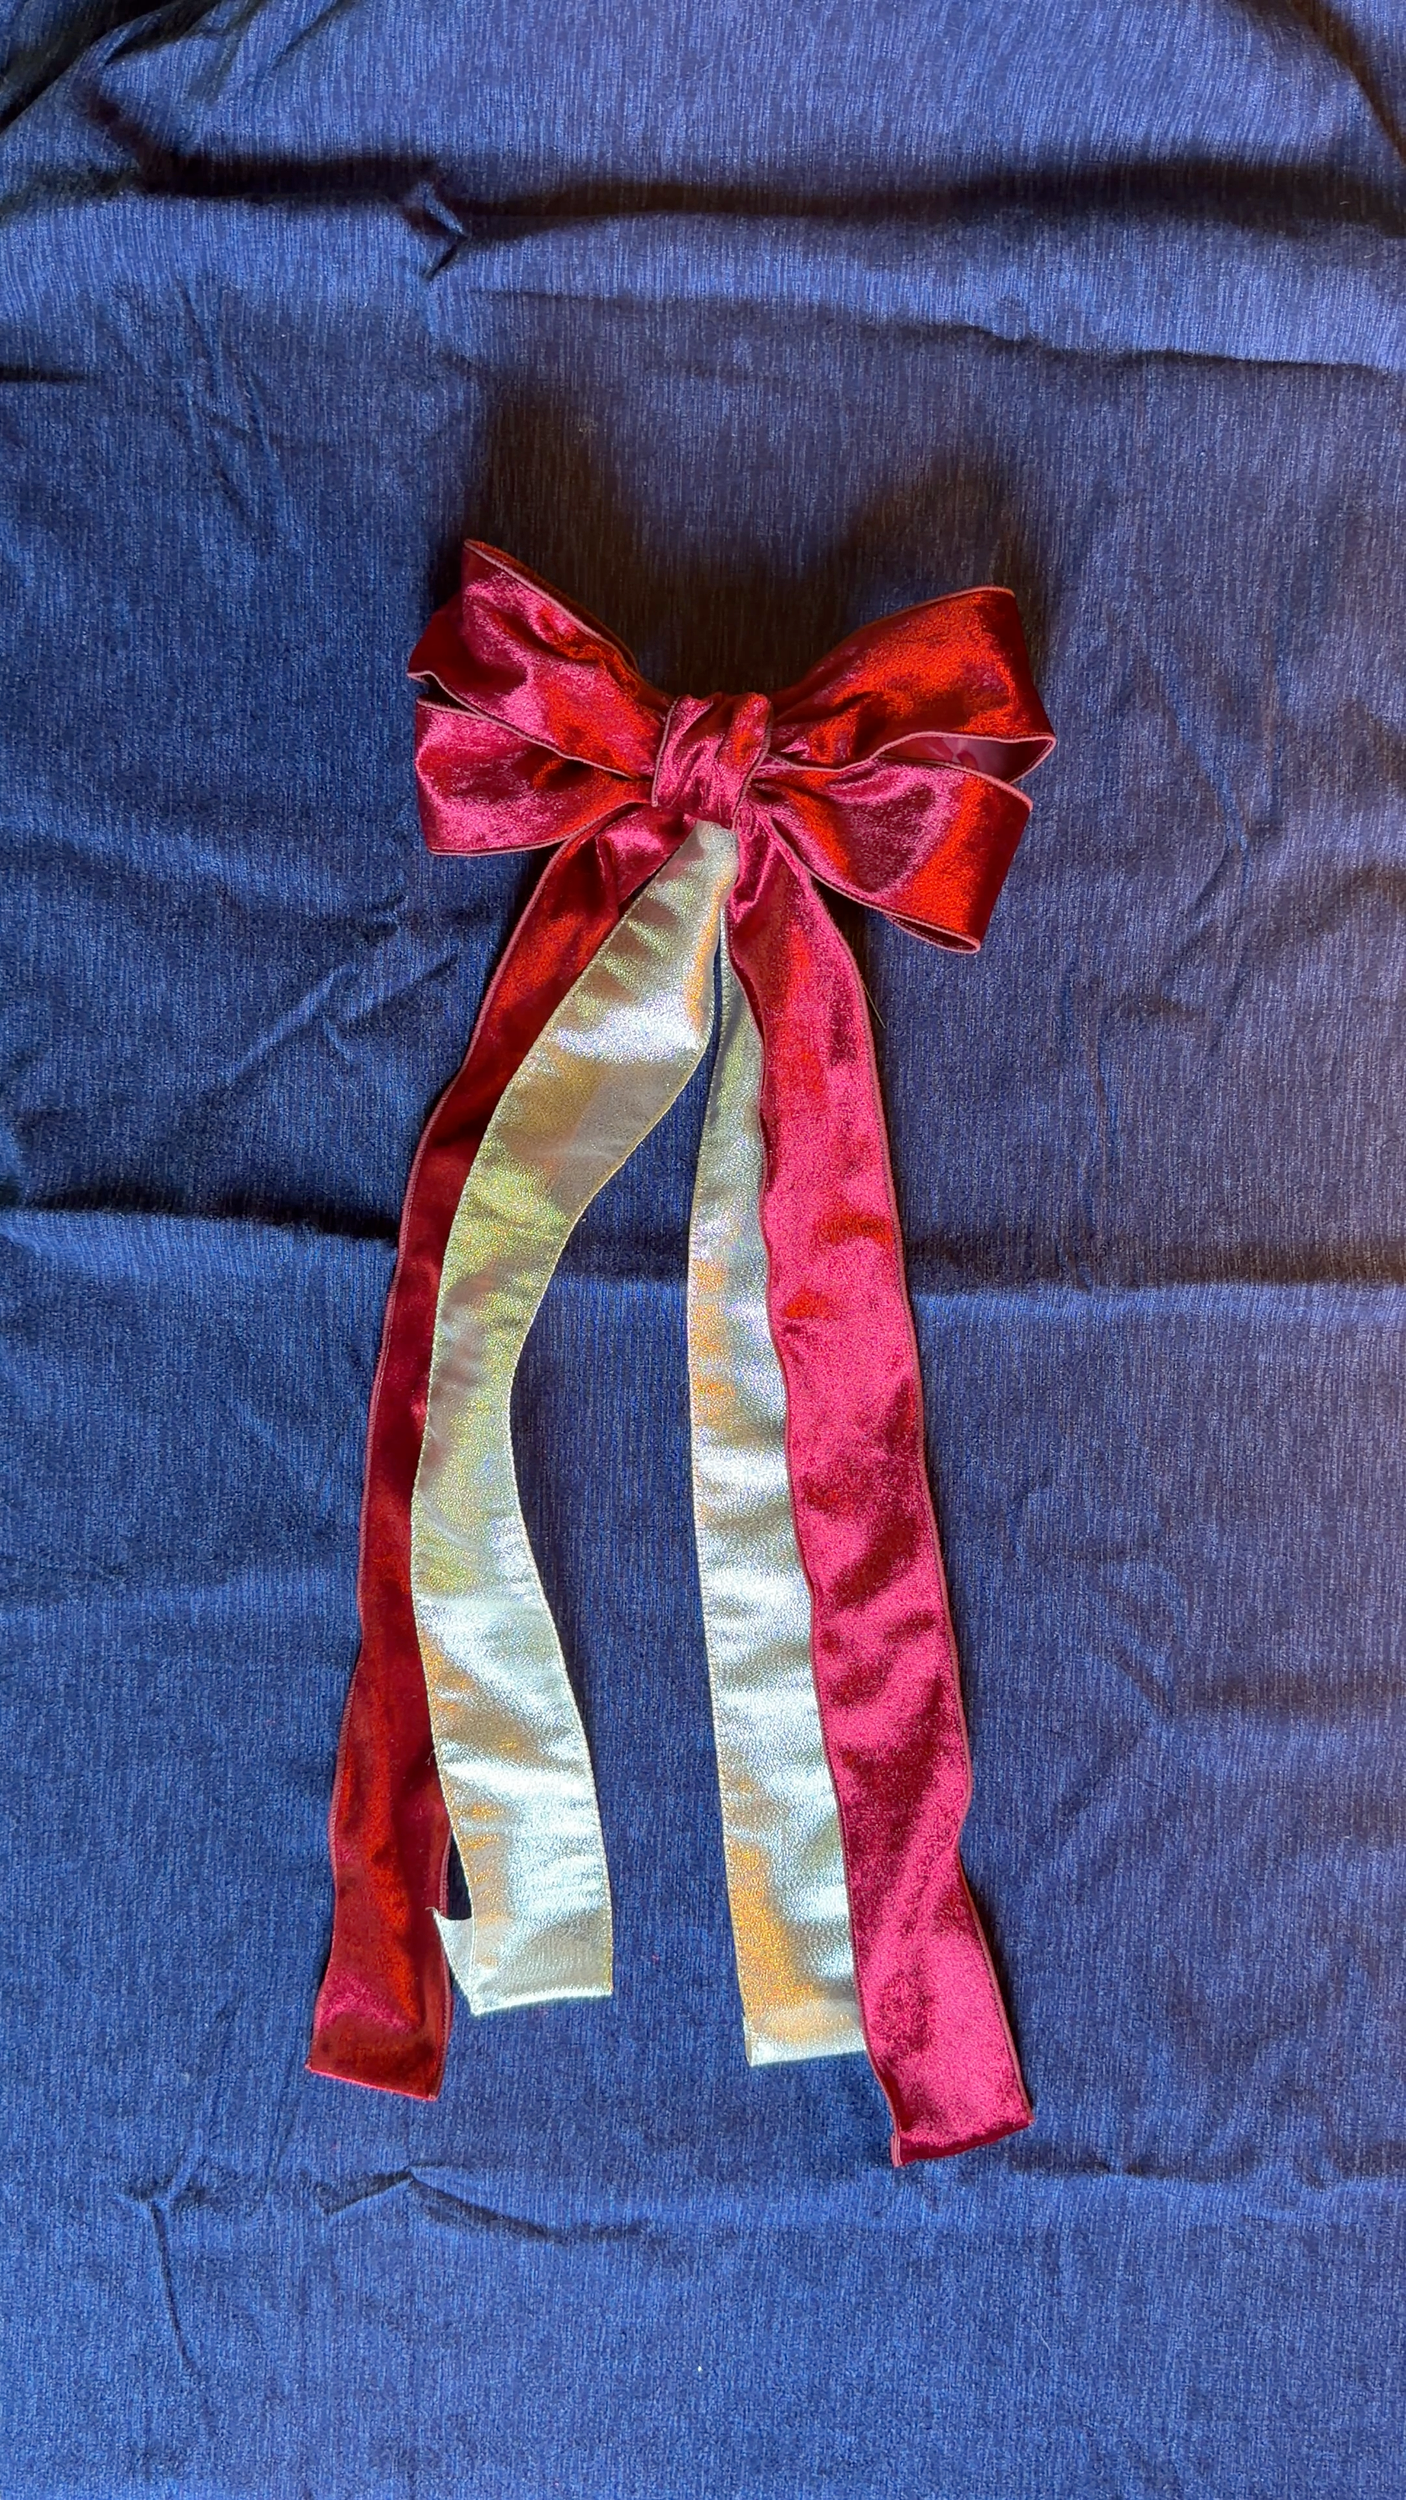
This is my favorite way to layer in another shade. Cut a length of a second ribbon, fold it in half, and pinch it at the fold. Flip your finished bow over and use floral wire to attach the pinched point to the back of the center. Flip it back and arrange the new tails however you like. It looks like it was part of the bow all along.
Some of the links in this post are affiliate links, which means I may get a small commission if you make a purchase—at no additional cost to you. As an Amazon Associate I earn from qualifying purchases.
Shopping List
Get the look! Where my actual products are sold out, I share the best alternative for the same results.
