Four Step Format for a Show-Stopping Front Porch Every Time
Create a porch garland people assume you paid a designer for—starting with faux garland you can buy anywhere. Once you nail this format, it works regardless of your style and favorite color scheme. I link to the products I used at the end, so you can replicate my exact look or swap in your own colors for personalized results.
The four layers:
Greenery base
Centerpiece and corner anchors
Cascading echoes
Layered ribbon
(Adding lights? Read the bonus section at the bottom first—the first pass happens right after Step 1.)
Before you get started, don’t forget all the boring supplies you’ll need to finish—from floral wire and zip ties to command hooks and a hammer.
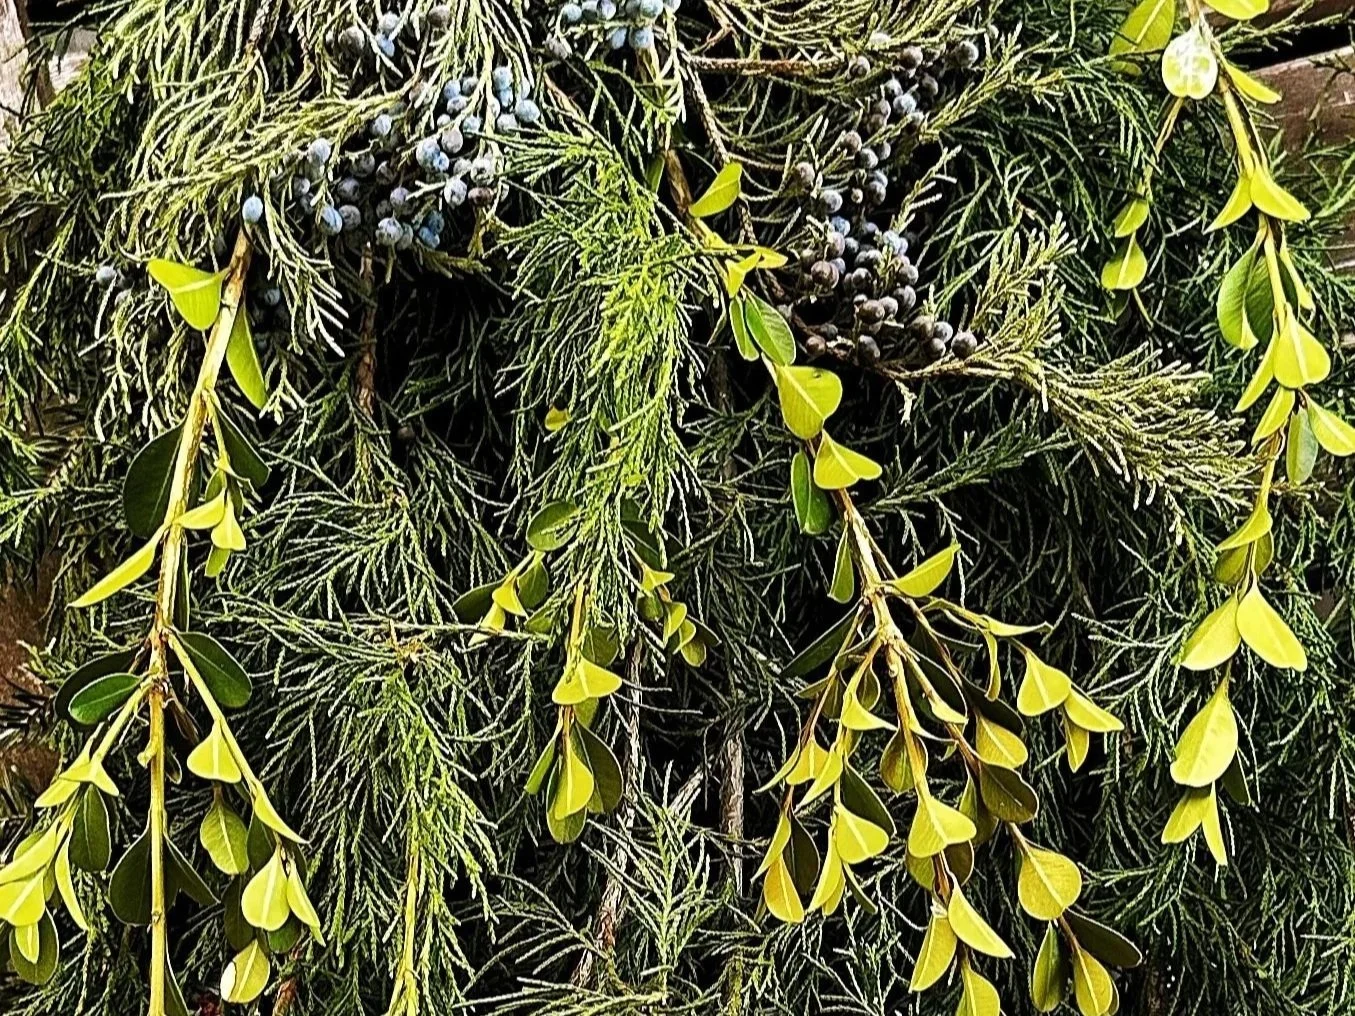
Create the Greenery Base
Think of the greenery as your garland backdrop. It’s like your Christmas tree before you add lights or ornaments. Get it right, and the next layers will look even better.
I don’t buy live garland for my own home–I love the look, but not the price tag. Instead, begin with faux garland, then layer branches of real greenery. This creates the full, textured look we love about live garland.
Many Christmas tree sellers let you take the extra branches they’ve cut off the bottom of purchased fir trees. I also like to layer cedar, holly, nandina, boxwood, or magnolia to add texture and color variety.
You’ll use the wired branches of the faux garland to hold the live greenery - wrap it around the real branches a few times so it’s secure. If you need step-by-step instructions, get it here: How to Build a Full Christmas Garland Base.
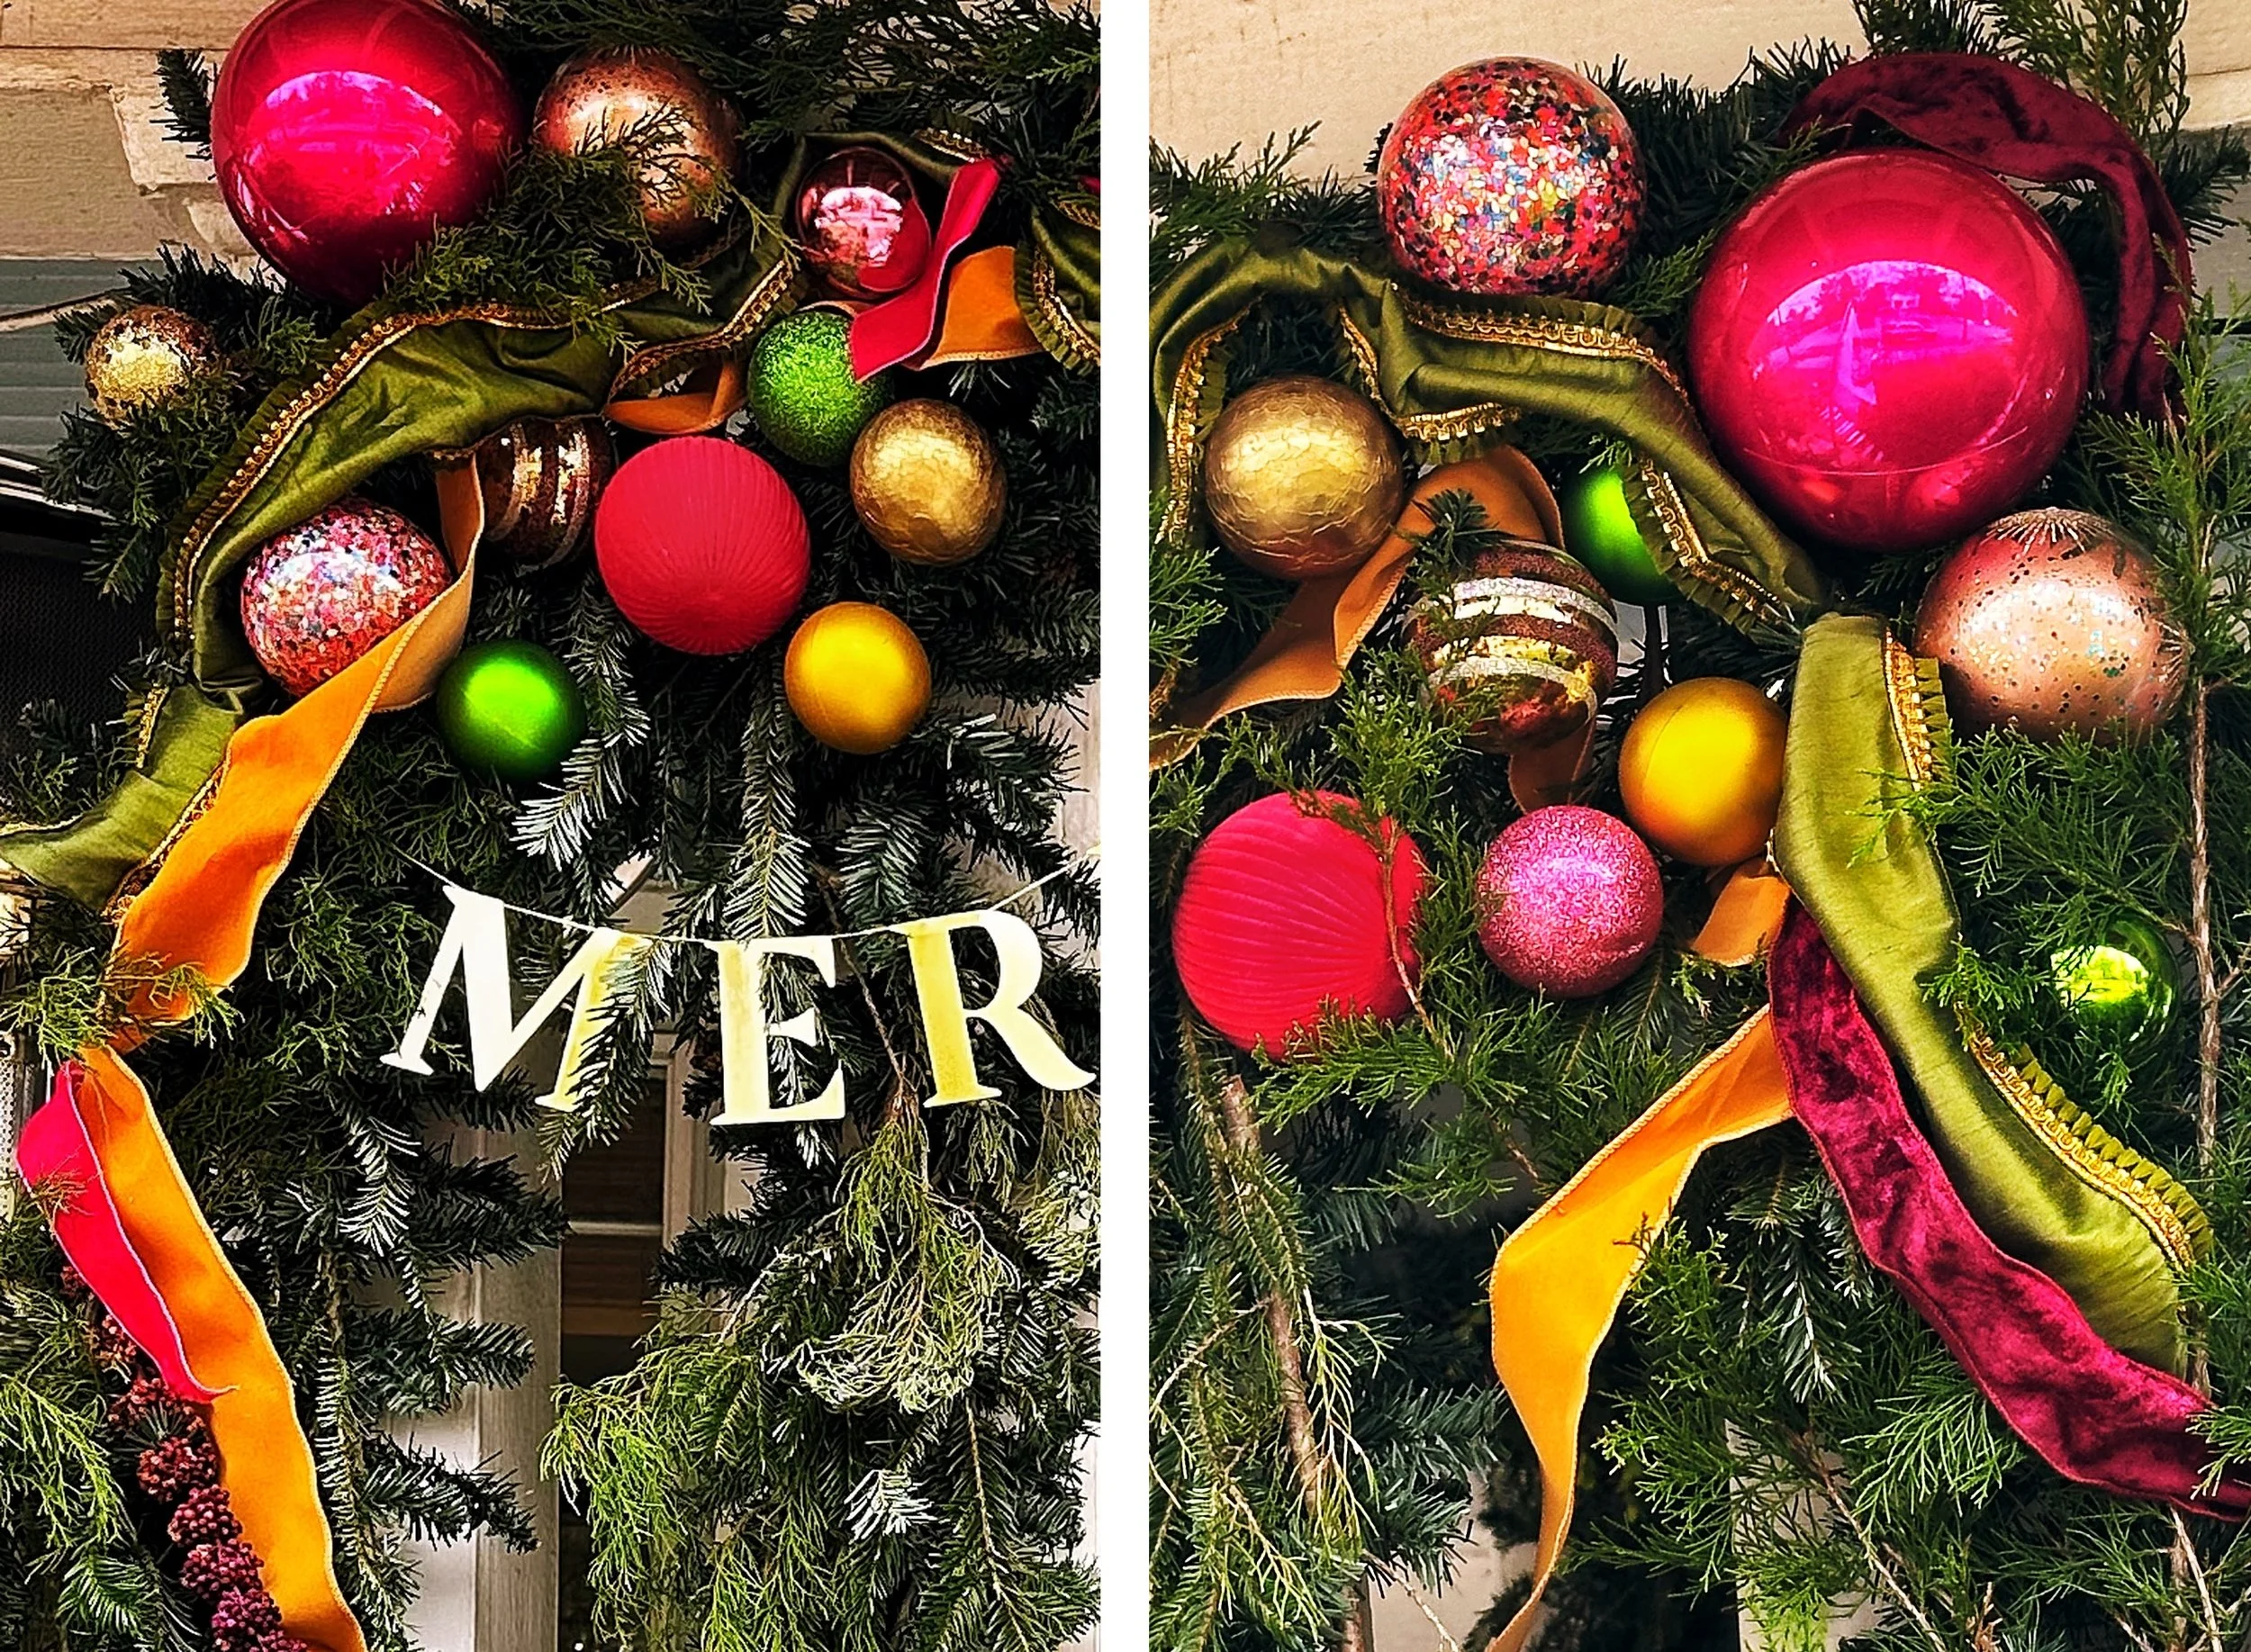
Build the Centerpiece and Corner Anchors
Now that you have your garland base, you need a centerpiece, corner anchors, or both.
If you have a wide porch, create the centerpiece and corner anchors–just one won’t make the statement you want. Keep reading to learn how we connect them together to keep them cohesive. For a narrower porch, choose the two corner anchors or a single centerpiece–not both. Three statement points on a narrow opening will fight for attention.
I love using ornaments for my corner anchors, and a statement bow for my centerpiece. I’ve also used dried hydrangeas and other florals in my corner anchors. For step-by-step on how to create ornament clusters, read here: How to Make Christmas Ornament Clusters.
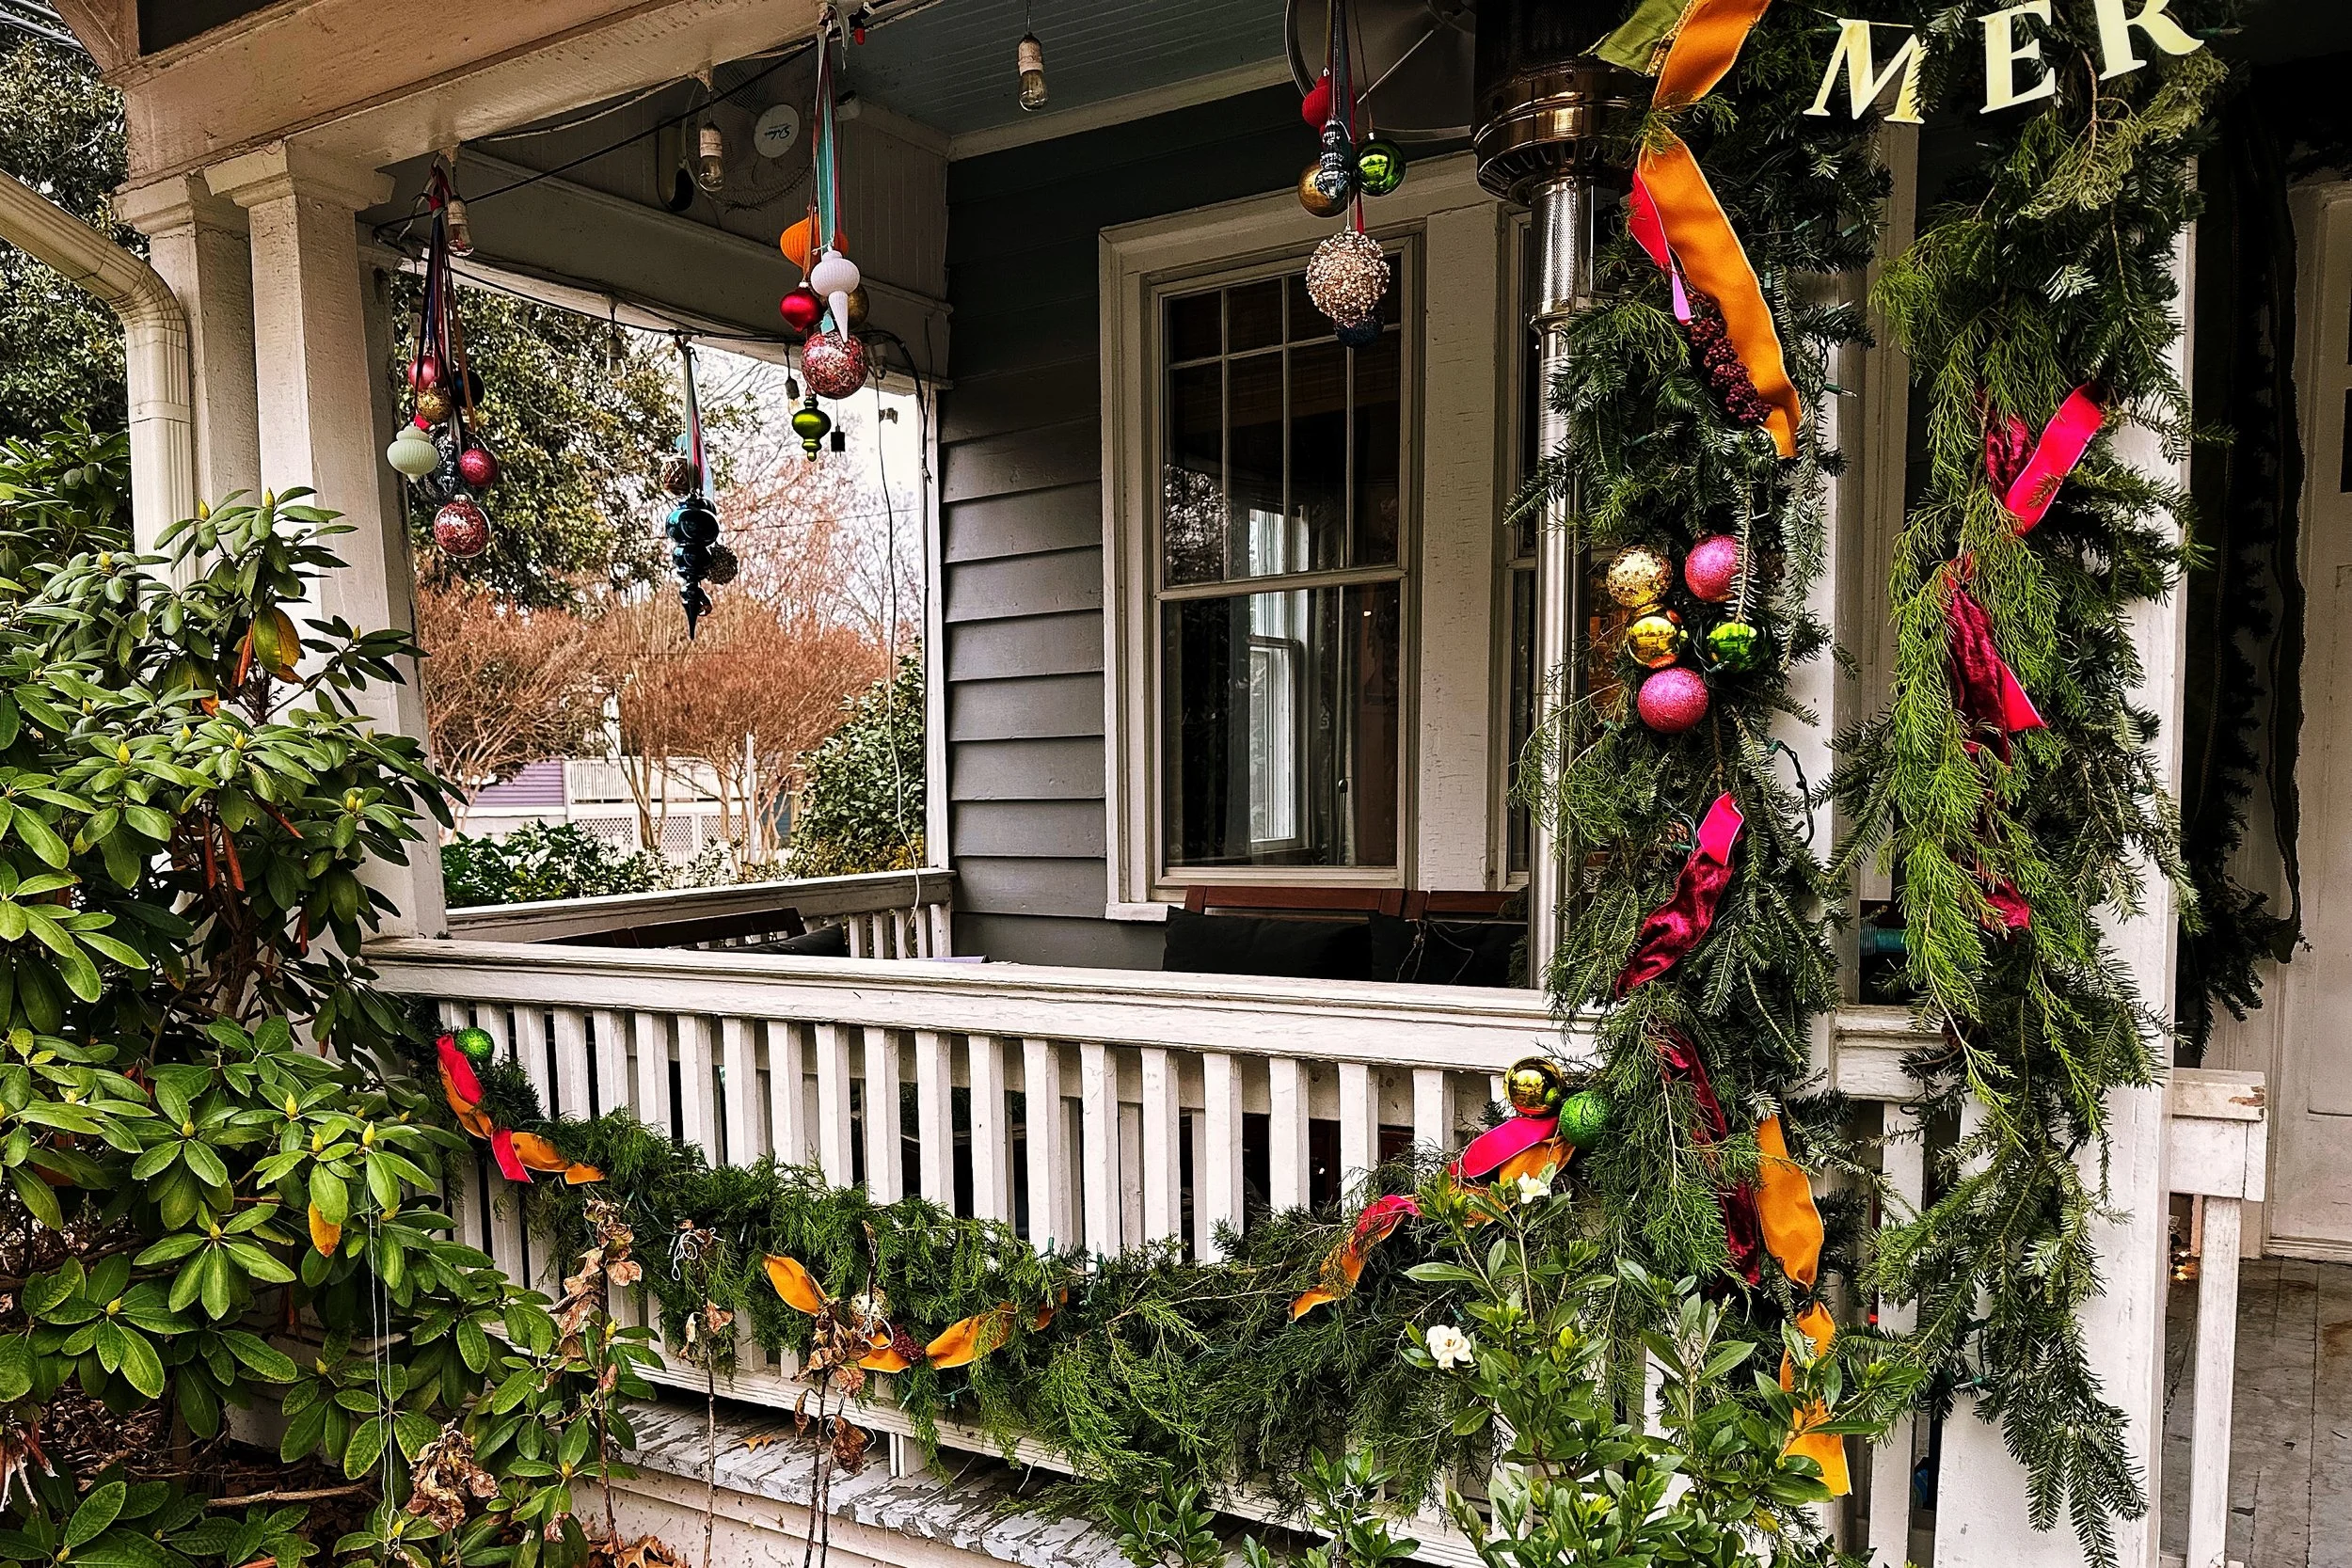
Add Cascading Echoes
If you want the professionally-styled look, do not skip this step. Most people will skip it; their porch still looks great, but it will not have the WOW factor.
What are cascading echoes? These are smaller clusters that mimic and complement your statement pieces—ornaments, dried citrus, florals. They catch your eye to improve the look, without detracting from your statements.
If I used nine ornaments for my corner anchor clusters, my cascading clusters are going to use 3 ornaments. Same color scheme, smaller scale. I also used dried oranges and purple beauty berry stems to pull through more of the natural color I love.
As these cascade down your garland, widen the space between each one. For a step-by-step guide, read here: Cascading Echoes: The Step Most People Skip.
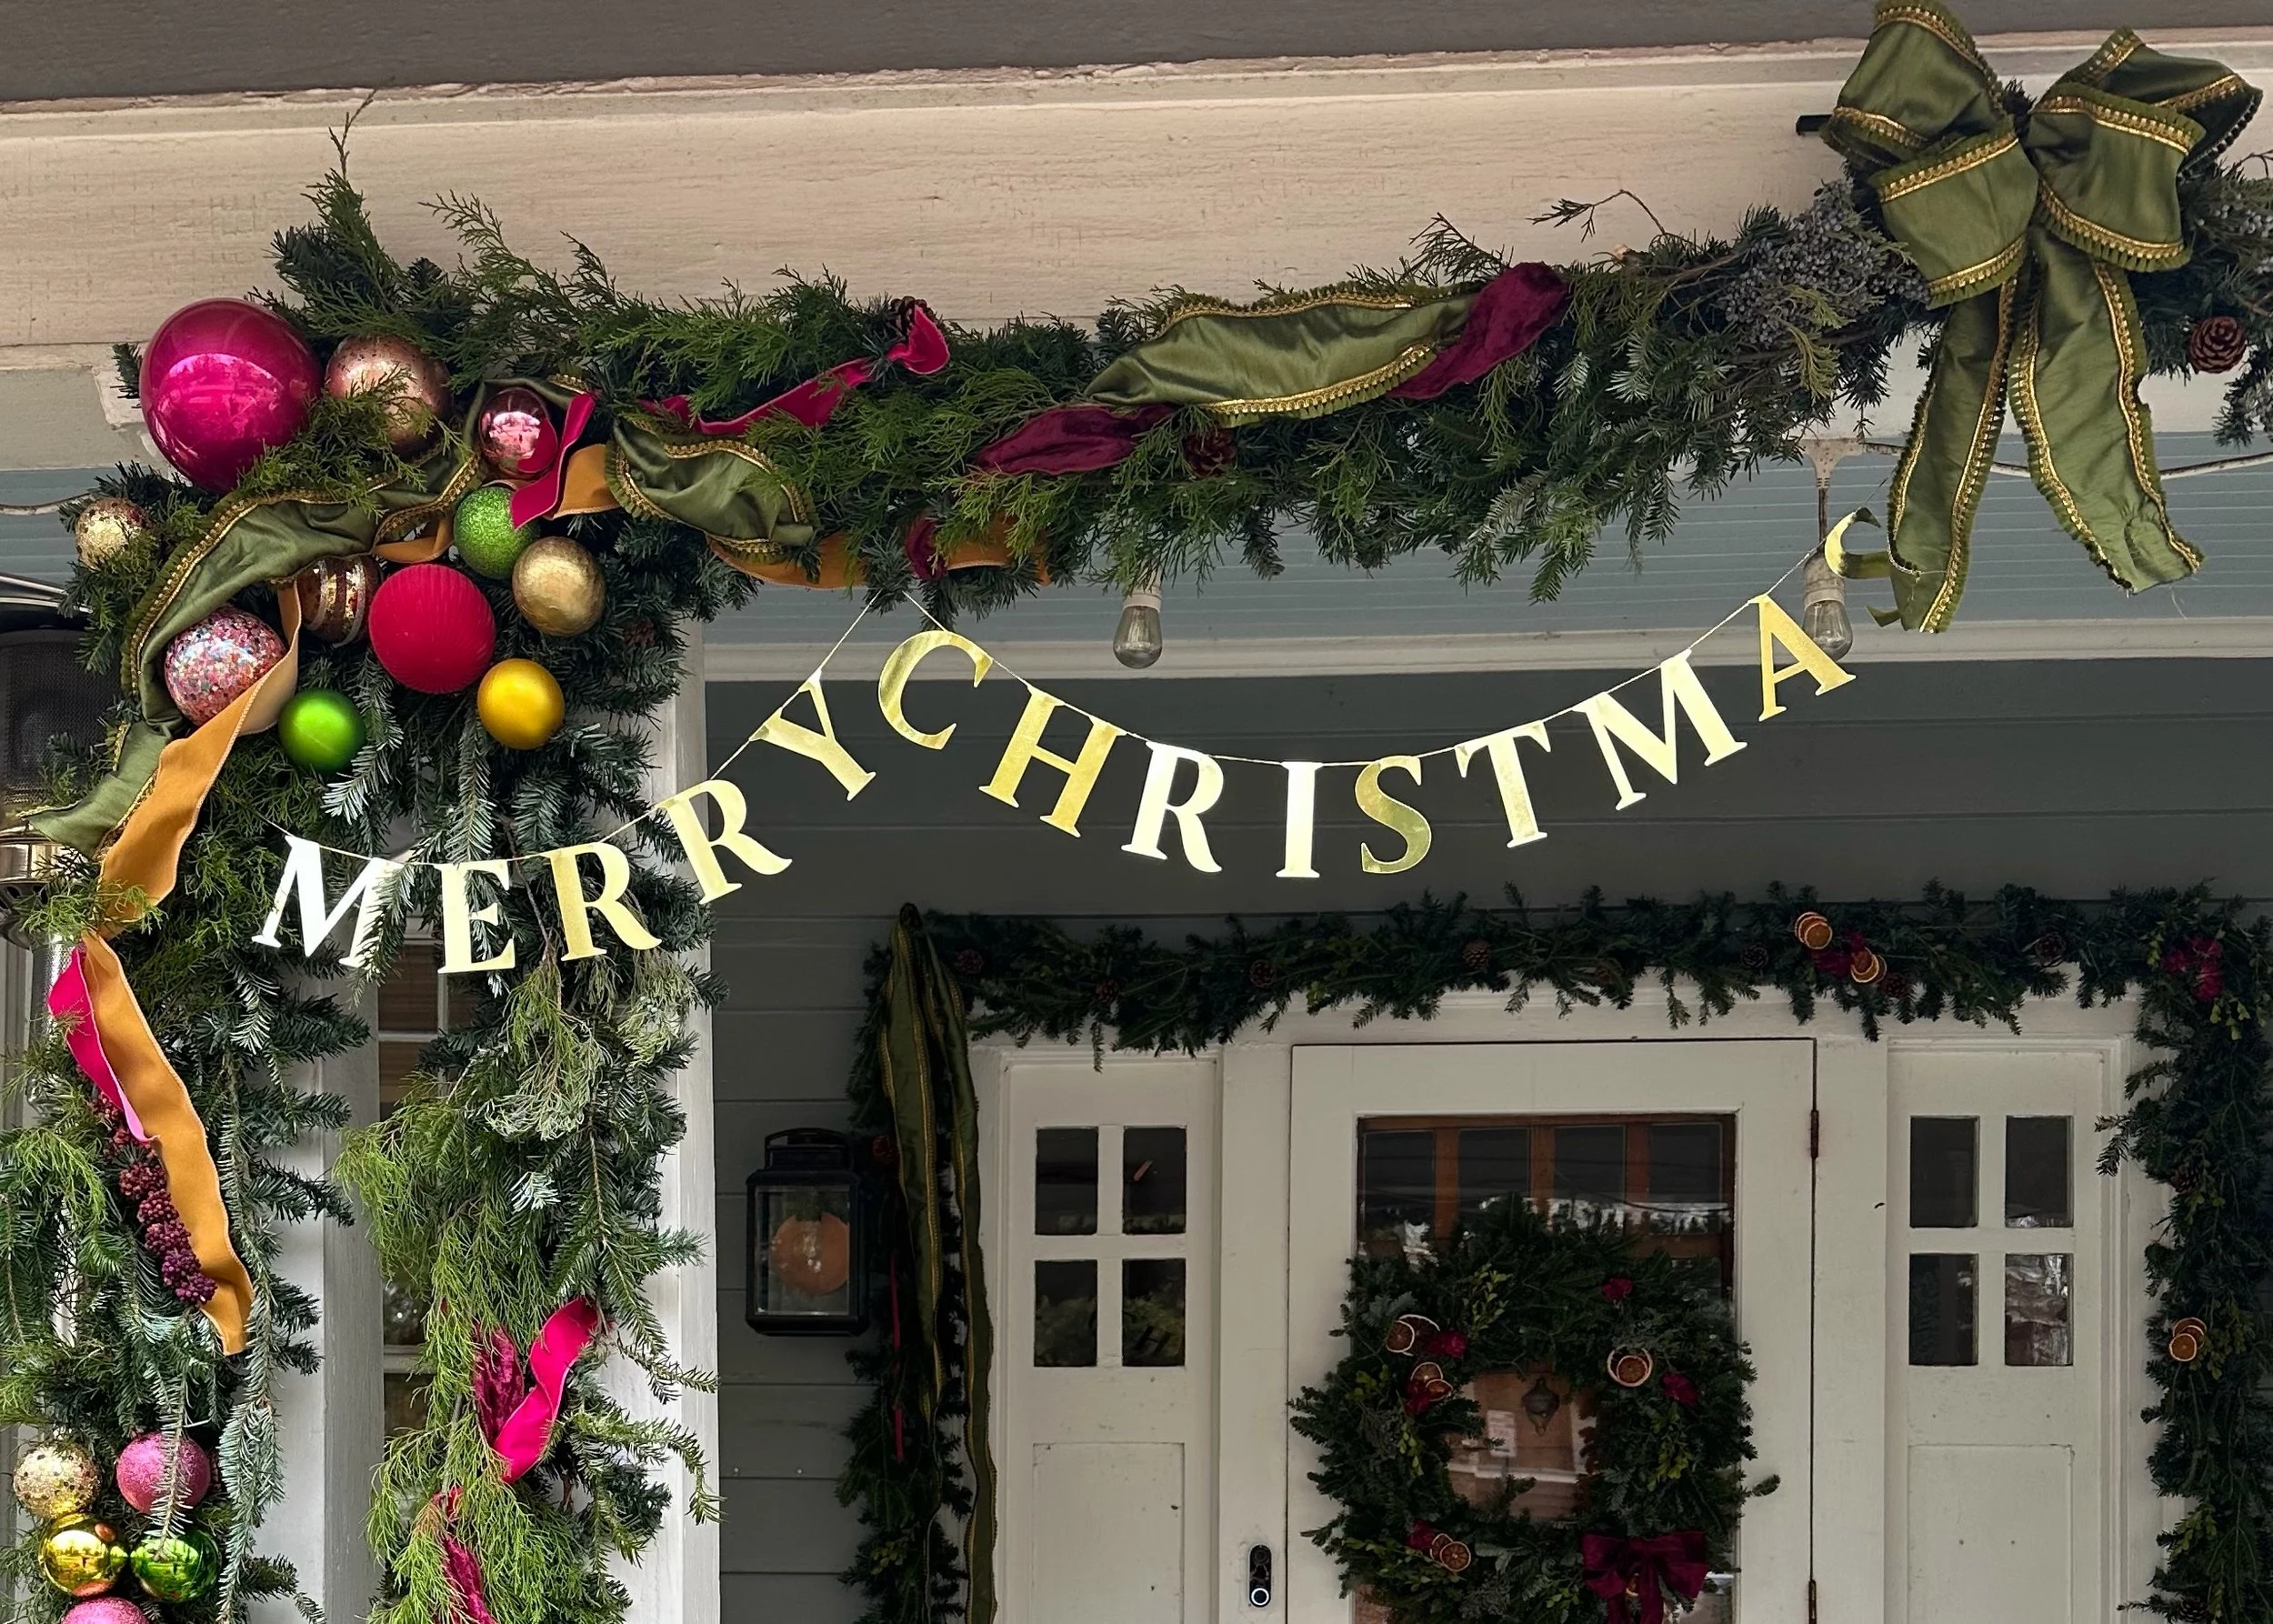
Finish the Look with Layered Ribbons
Complete your look with flowing ribbon. Think of ribbon as a connector, drawing attention across the garland and creating a cohesive visual story.
Ribbon should be heaviest in your statement areas–the centerpiece bow, the corner anchors–then naturally cascade to connect to the next part of your garland where you want people to look.
For step by step instructions on how to make your ribbon look professionally styled, read more here: How to Add Ribbon around Ornaments. (Hint: Don’t let it lay flat on top of your garland–the key is nestling it in.)
For best results, make sure you choose the right ribbon—here’s how: How to choose ribbons that work together
Evening Bonus: Add Lights
If you want that warm, magical glow as you walk through your door each evening–add the lights. You need a mix of lights–don’t go overboard, but do invest in the standard Christmas tree lights and outdoor fairy lights.
Lights happen in two stages:
First, right after you create the base. This is when you’re going to want to use standard Christmas lights. Tuck them into the garland. Use the wire stems on the faux garland to keep it in place. Do not just run them up and down or straight across–they need to weave back and forth so the garland looks lit from within, and not like we added lights at the last minute.
The second time is after your ribbon. This is when we bring in the fairy lights. They’re easier to manipulate around your ornaments and ribbons. They’re also lighter, so they blend in more naturally. Here you’re going to focus on tucking them in with your other pieces.
Just like the ribbon, don’t let lights just sit on top. Tuck it in, and let it gently flow across the garland. Lights are there to draw attention to your statement pieces—add more where you want people to focus. If you have shiny or sparkly ornaments that reflect light, use them to your benefit. Position the lights close to the shiny ornaments to extend the glowing effect. This keeps it from looking like lots of little points of light, and really brings out the glow.
For more tips on using lights, read here: How to Light a Christmas Garland.
Some of the links in this post are affiliate links, which means I may get a small commission if you make a purchase—at no additional cost to you. As an Amazon Associate I earn from qualifying purchases.
Shopping List
Get the look! Where my actual products are sold out, I share the best alternative for the same results.
Ribbons
Ornaments
Standard Christmas Lights (Warm White, Green String)
Warm White Fairy Lights
Short Strand, Battery-Operated (6-pack) | for small decor, like a wreath
Long Strand, Battery-Operated | for bigger spaces with no outlet, like a staircase or mantle
Long Strand, Plug-In | for bigger spaces with an outlet, like a tree or porch garland
Extras
